Dressmaker Camera Controls and How to Zoom on the Mannequin
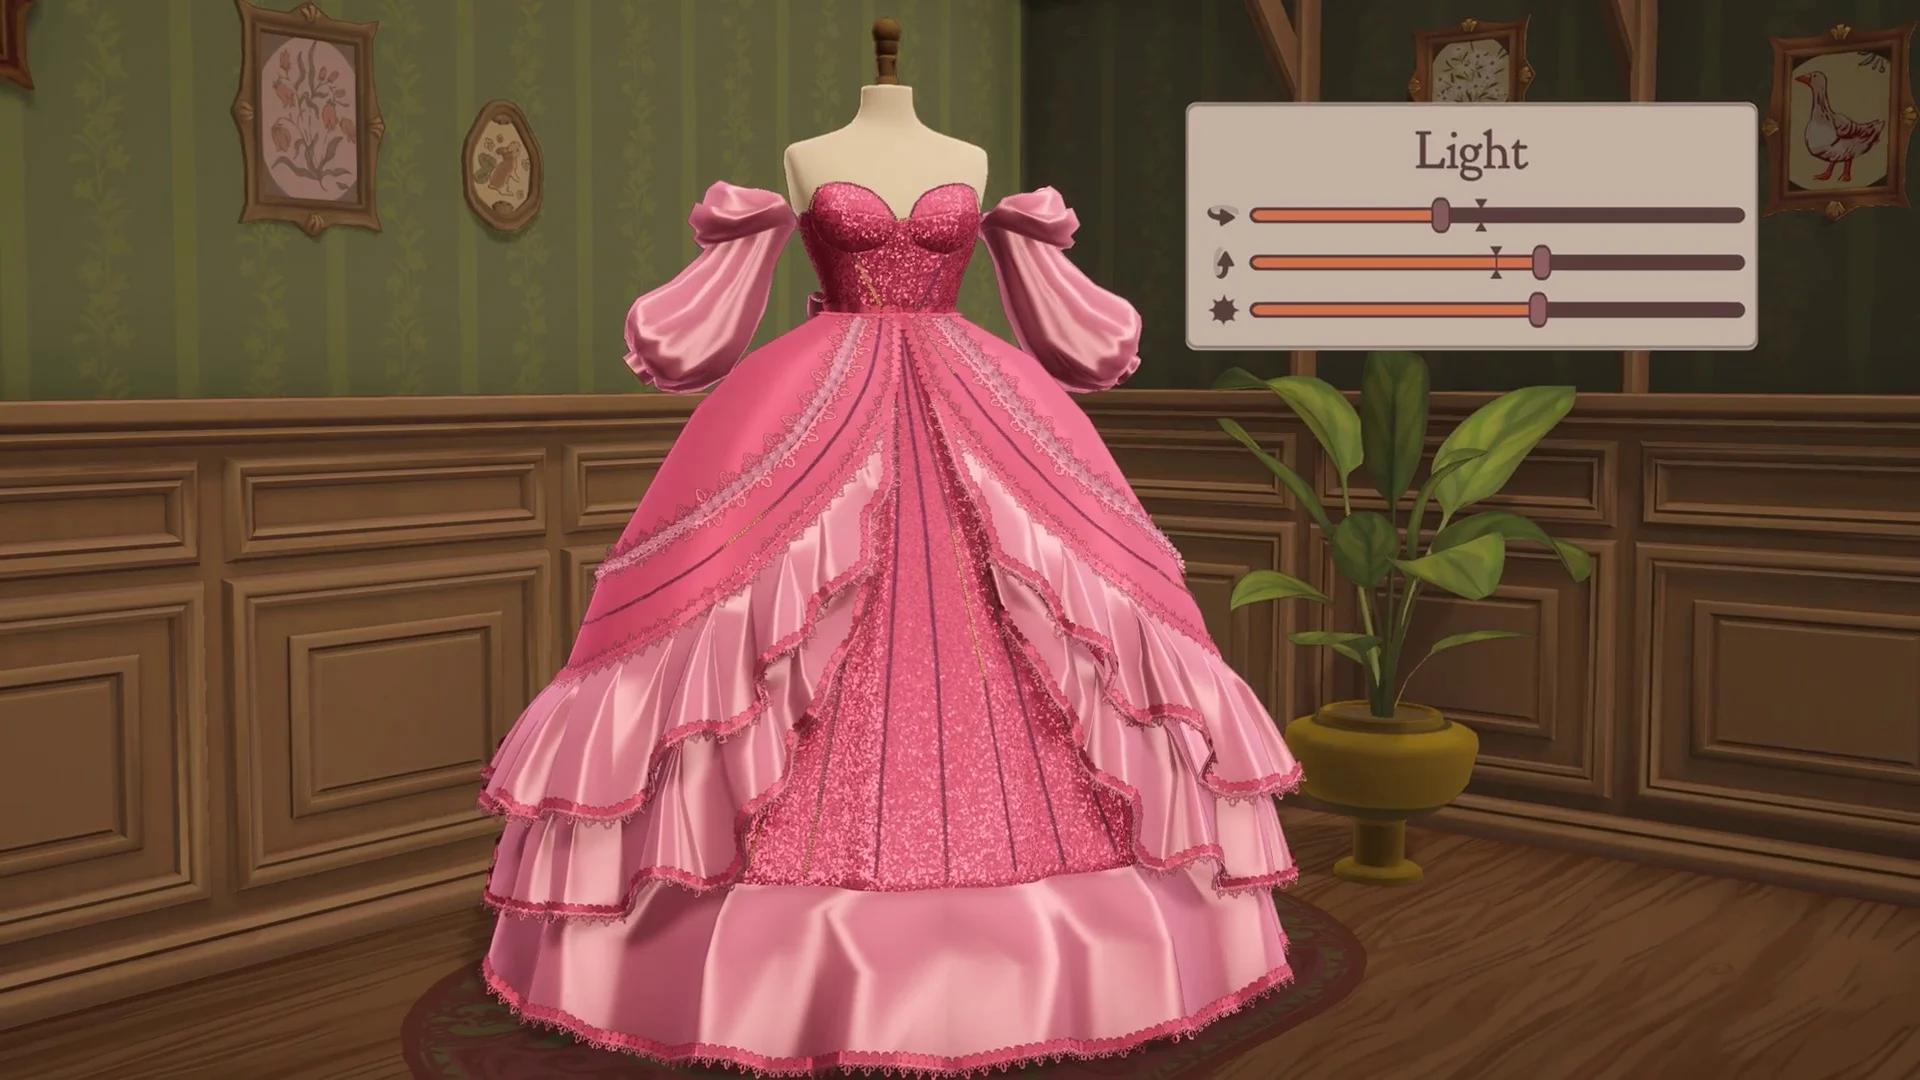
Mastering camera controls and zoom features in Dressmaker lets you inspect delicate seams, adjust tiny accessories, and navigate studio workstations seamlessly — especially when rotating forms during calibration in our mannequin sizing guide.
Zooming In and Out on the Mannequin
To zoom in on the mannequin in Dressmaker, hover over the exact area you wish to inspect and tap Z briefly, or click the middle mouse wheel downward like a button. Be sure to keep this tap swift, because holding the key down for more than 0.25 seconds will not trigger zoom. You can also hold Ctrl while spinning the scroll wheel upward for continuous, smooth magnification. Tapping Z again on the dress or clicking into empty space outside the mannequin pulls the camera back out. Rolling the wheel down pulls back, and rolling downward one more time leaves the zoom view.
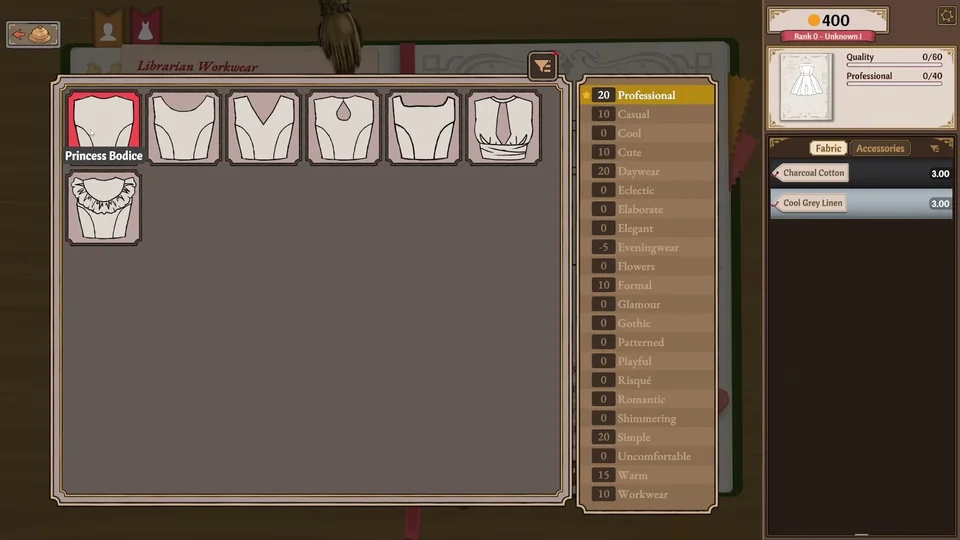
Panning and Looking Around Details
Once zoomed in, holding Z or the middle mouse button while shifting your mouse lets you look around the garment. The perspective can tilt up to 88 degrees vertically and swing up to 60 degrees horizontally. Zoomed-in navigation also utilizes W and S to slide the view up and down, while A and D shift the frame sideways — ideal when inspecting textured stitches on  Burlap or fine trims. Combining left Ctrl with those navigation keys rotates and tilts the viewport, while holding the right mouse button allows intuitive drag-panning.
Rotating Mannequins and Precise Placements
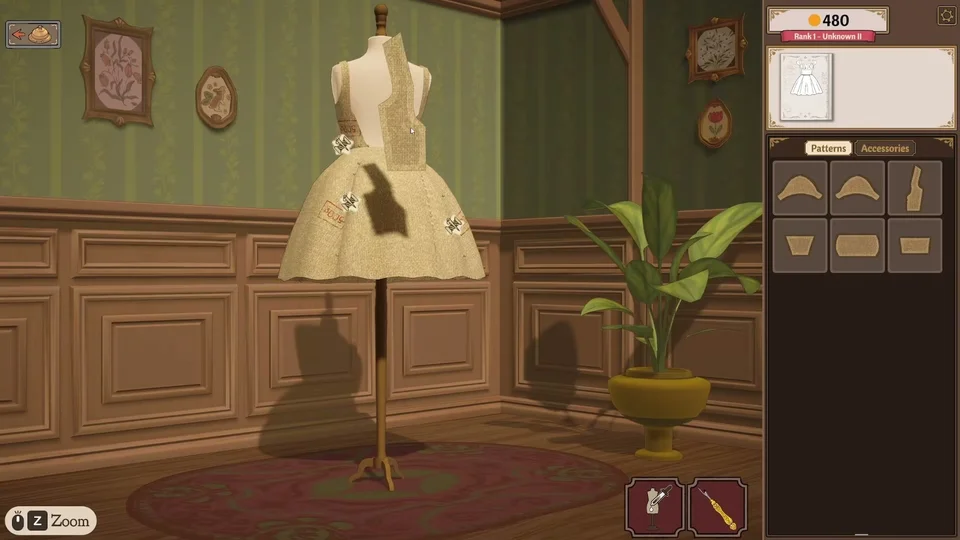
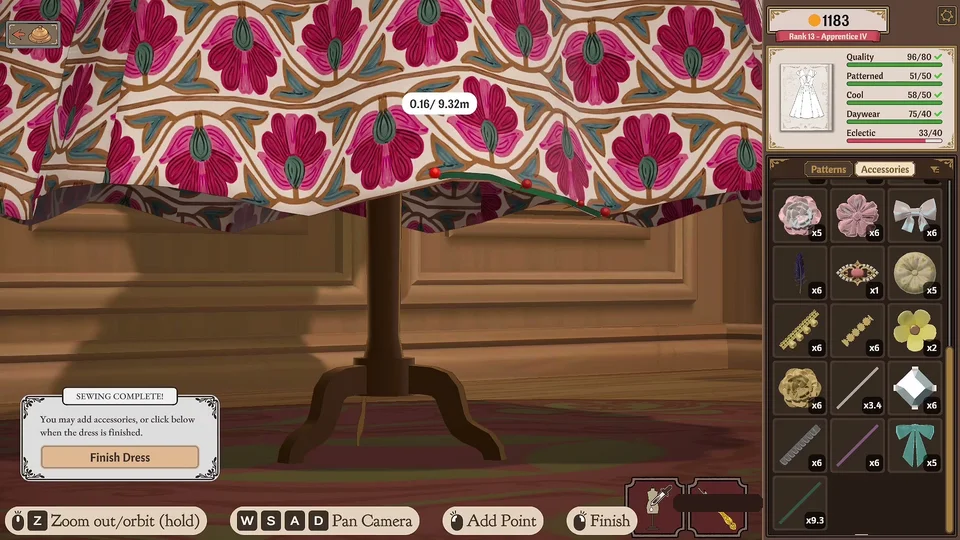
Spinning the mouse wheel without holding Ctrl rotates the mannequin smoothly around its base. A and D also rotate the dummy while pulled back, but switch to panning once zoomed in. Magnifying your view before placing delicate accessories ensures the dress occupies more screen area, making minute cursor adjustments far easier (for instance, when aligning 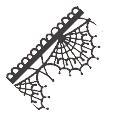 Widow's Lace or decorative brooches). While positioning an item, hold Q or E to rotate it into proper alignment — see our accessories and trim adjustments guide for complete placement techniques.
Accessory Gizmo Controls and Workshop Tables
When placing delicate decorations, players can turn on the Accessory Rotation Gizmo in the pause menu or by pressing left Ctrl and R with the Accessories tab open. Dragging a colored ring spins the accessory around it, and holding Shift turns it in 15-degree steps. The blue line and other colored rings perform distinct rotational axes. In Build 443, holding Control shifts the rotation frame from the mannequin to the accessory itself. In the cutting room, rolling the wheel rotates a selected piece by 9 degrees, and players can drag-pan across fabric or use the mouse wheel while holding shears — learn more in our cutting table controls guide. Build 443 also provides an accessibility option to disable scrolling textures and zoom in the sewing scene and cutting room.