How to Remove and Adjust Dress Accessories in Dressmaker Workshop
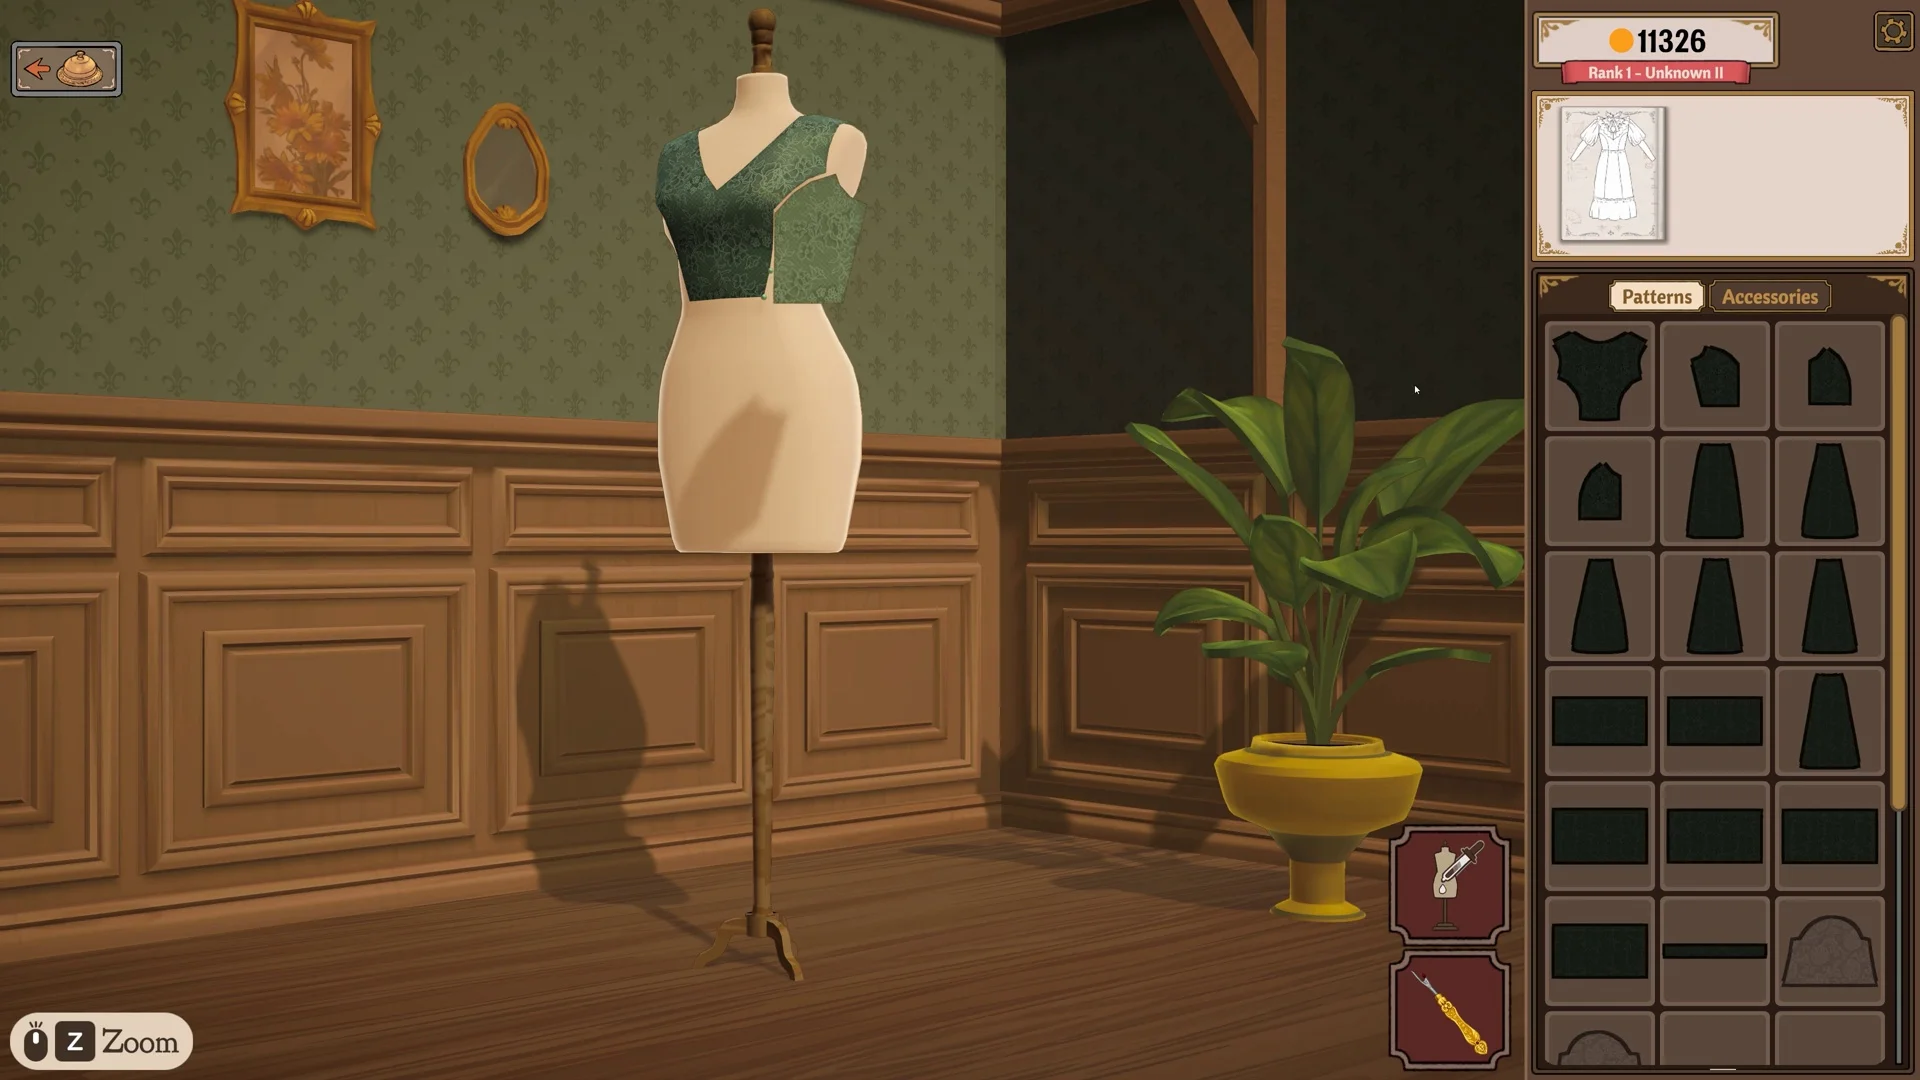
Managing decorative adornments on your mannequin in Dressmaker is clean and flexible once you master selection controls, the rotation gizmo, and trim pins.
Detaching Single Accessories from the Mannequin
While the Accessories tab is active on the mannequin display, attached embellishments like brooches (such as the 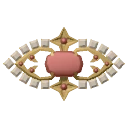 Ruby Brooch), buttons (such as the
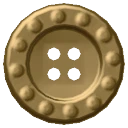 Brass Pippa Button), and bows (such as the
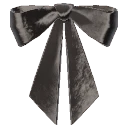 Black Velvet Chunky Bow) can be removed in seconds — zoom in on small pins with our mannequin zoom controls guide. Hover your cursor over the accessory on the garment until it highlights, then right-click. The item releases from the cloth immediately and returns straight to your stock drawer, ready to be repositioned or saved for another commission. When picking up an accessory from your inventory, holding Q or E rotates the piece before placing it down, and holding Shift lets you stamp identical copies across your garment as long as stock remains. A simple right-click with an accessory in hand safely returns it to your drawer unused.
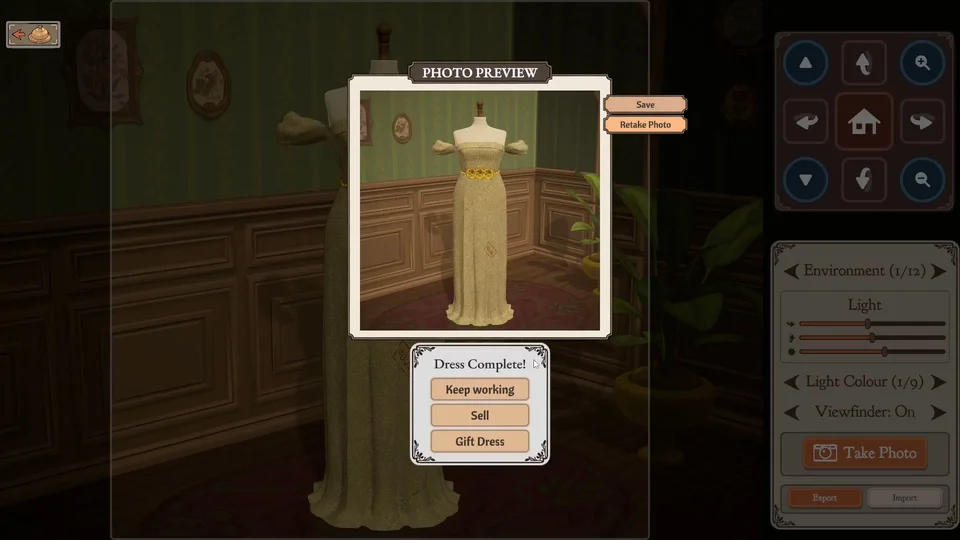
Adjusting Scale, Depth, and Rotation Gizmo
Selecting an accessory on the dress summons an adjustment control panel. Here, creators can resize items from 0.1 to 3 times default proportions, adjust rotation upwards or downwards, or duplicate an established styling. The Raise and Lower buttons lift items away from the fabric surface or bring them back closer to the cloth. If complex adjustments become misaligned, the Reset position button restores the original orientation and elevation while keeping chosen dimensions intact.
For fine angular control, enable the Accessory Rotation Gizmo in settings or by pressing left Ctrl and R. Dragging the gizmo rings spins the accessory smoothly, while holding Shift snaps rotations in precise 15-degree steps. Holding Control shifts the rotation frame from mannequin coordinates to the item itself, making micro adjustments easy. Furthermore, selecting an accessory on the mannequin automatically conceals pin markers for other decorations to prevent visual clutter. While decorations add flair, overall client score depends on grain, fit, and stitching, as explained in our garment quality guide.
Editing Lace and Fast Trim Placement
Unlike rigid accessories, lace (such as 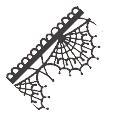 Widow's Lace) and decorative piping are laid down as continuous lines of pins. A valid trim line requires at least 2 pins, with each subsequent pin sitting at most 12.5 cm from the previous anchor. You can add pins along the hemline with mouse clicks or by pressing Space. Players can enable Fast Trim Placement in options to draw ribbons and borders with fewer clicks, or use the dedicated duplicate trim button to copy an existing trim line with matching height, size, and tilt.
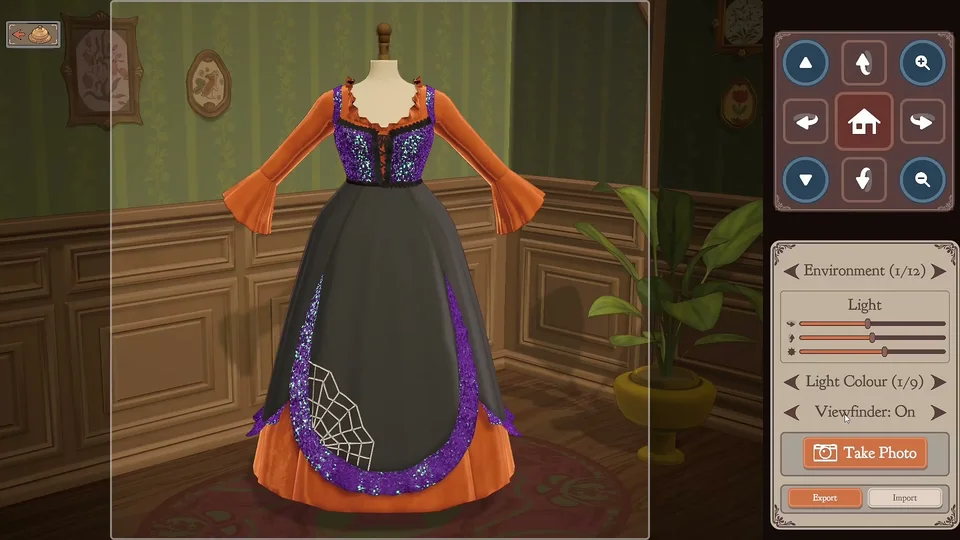
To take away an entire trim line at once, select it and click Remove item (the cross icon) on its control panel. If you only wish to shorten a line, right-clicking the first or last pin removes just that node. Once an entire line is cleared, unspent lace yardage returns immediately to your workshop materials. When the final piece or metre of an embellishment is depleted, the game automatically removes the empty item entry from your inventory list. After completing all trim and seam work, review our guide to finishing dresses to present the finished gown.