Dressmaker Cutting Table Controls and How to Cut Fabric Panels
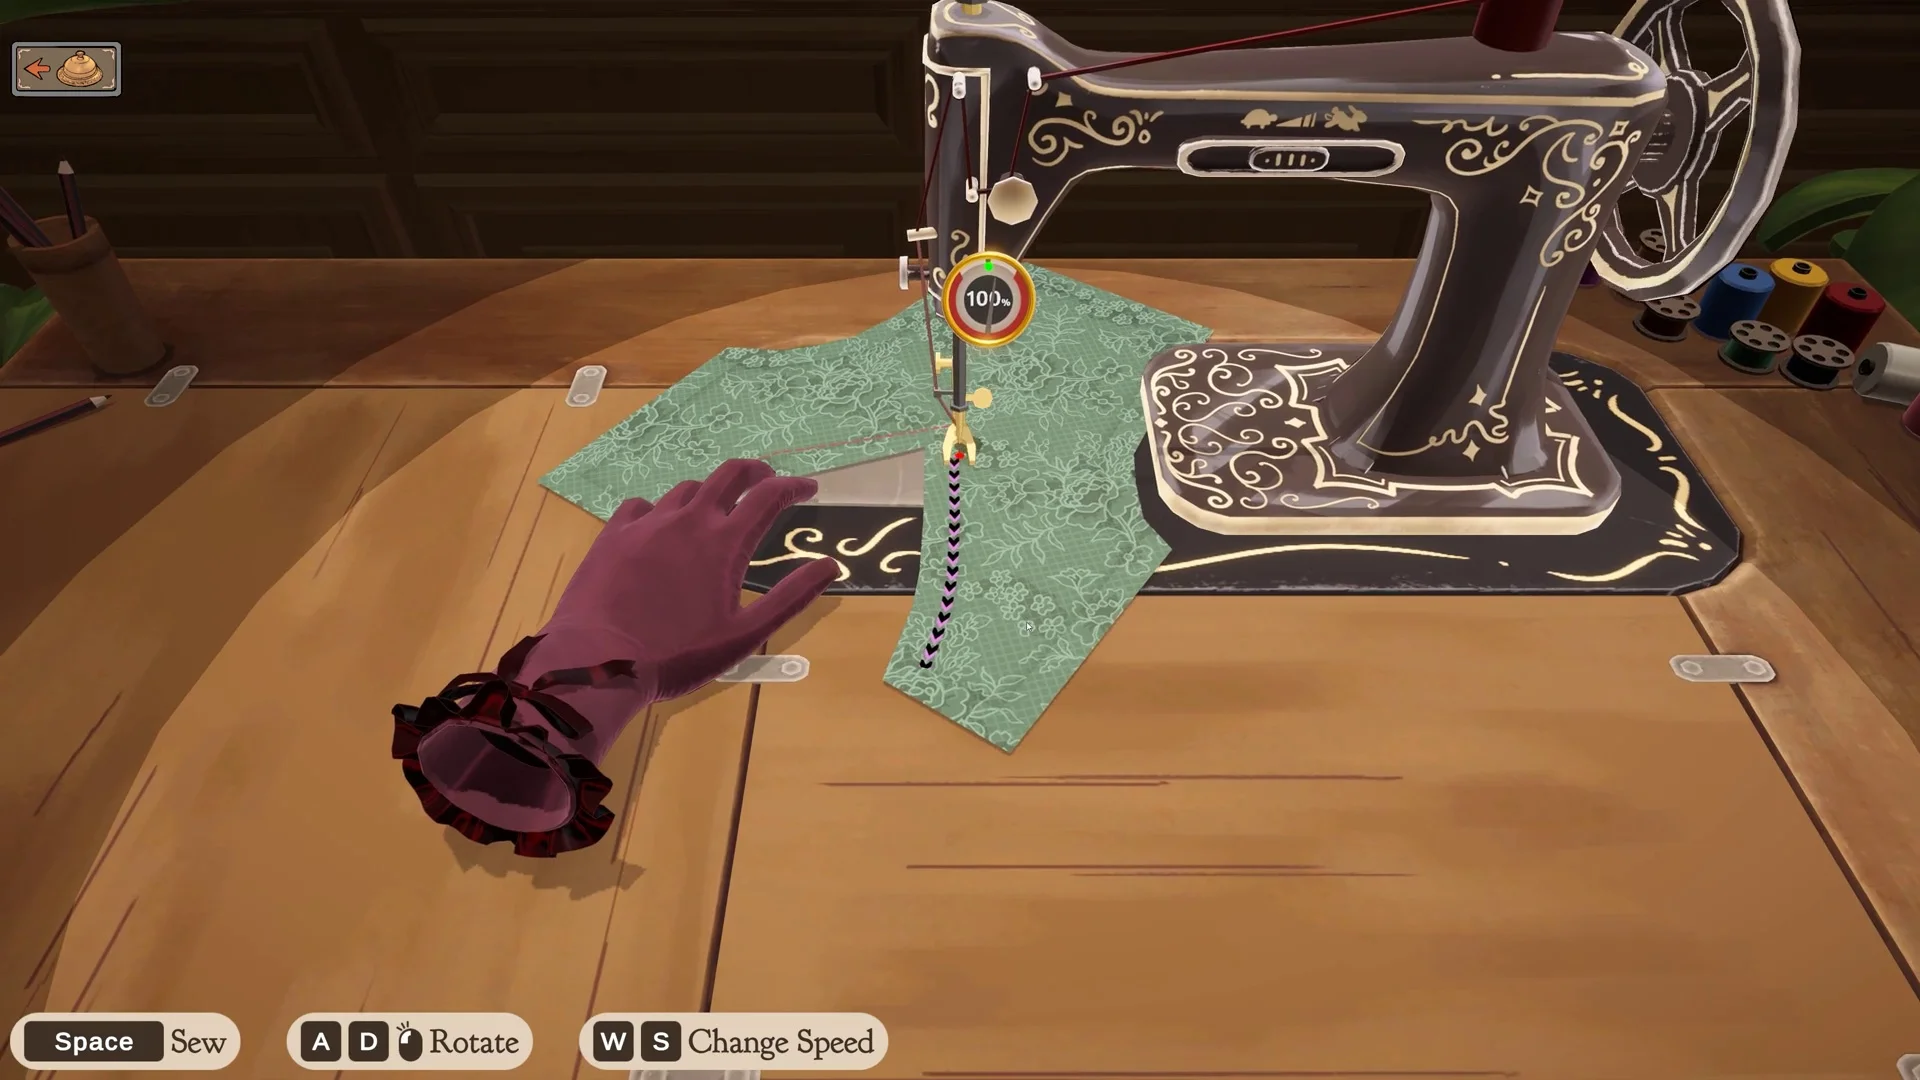
Operating the cutting table efficiently in Dressmaker requires mastering scissor controls, preventing panel collisions, and managing cloth rolls effectively — beginning with patterns drafted in our mannequin sizing guide.
Finding and Equipping Your Scissors
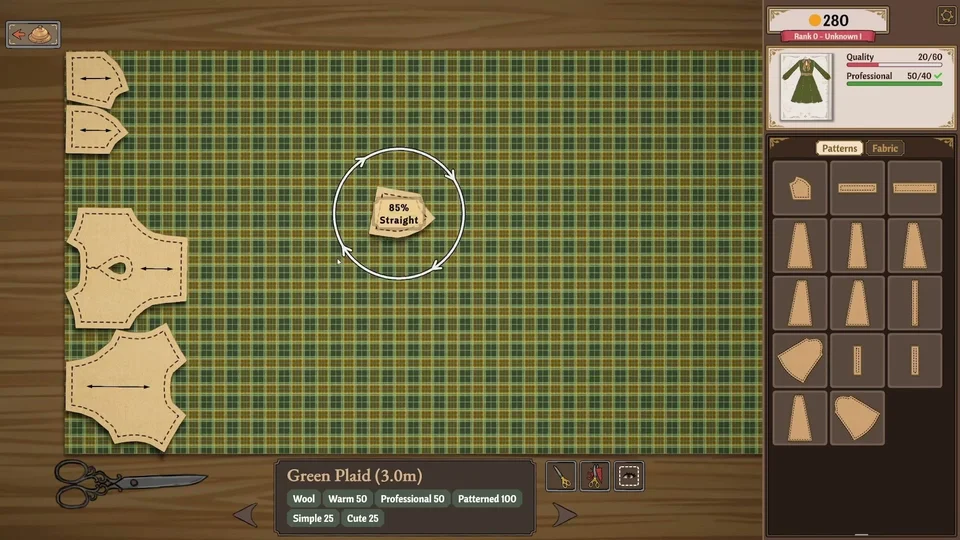
In Dressmaker, locating and equipping your cutting shears is straightforward once you identify the workstation icons. Four wordless tool buttons sit directly underneath the active cloth roll, each displaying its title when you rest your cursor over it. Build 443 added tooltips to cutting room buttons and rearranged button layout for improved visual clarity. The first icon on the left is **Scissors**, which equips your shears immediately. Players can also click the physical shears resting on the table surface, though using the button is more dependable when working across long lengths of cloth. A quick right-click or clicking on an empty spot puts the shears down.
Why Pattern Pieces Fail to Cut and Burlap Trials
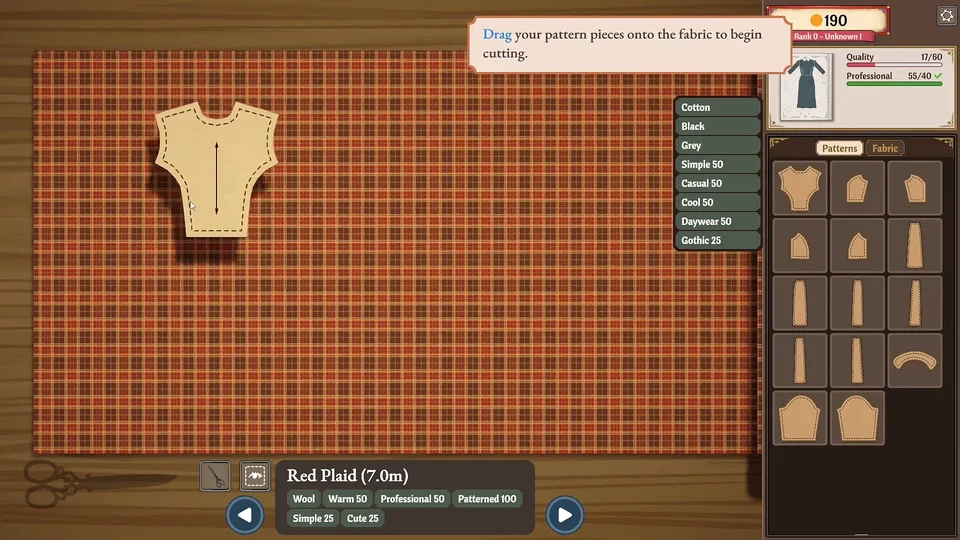
When clicking a pattern panel with shears produces no cut, the piece is experiencing a placement conflict. A pattern piece refuses to cut if any portion of its border touches an adjacent panel, overlaps the edge of the cloth bolt, or intersects cutout holes from prior garments. Slide the pattern onto an unobstructed patch of cloth until a clean outline highlights the perimeter, then click with shears to cut it out. Beginners can first cut out test pieces in zero-cost 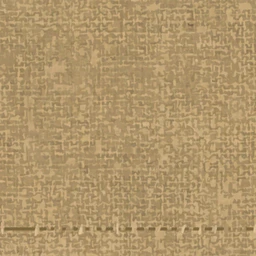 Burlap to inspect how silhouettes fit on the mannequin before cutting expensive yardage. Arranging paper patterns tightly along edges and cramming them in minimizes material waste, while orienting grain arrows properly maximizes scores detailed in our garment quality and grain guide.
Navigating Across Fabric Rolls
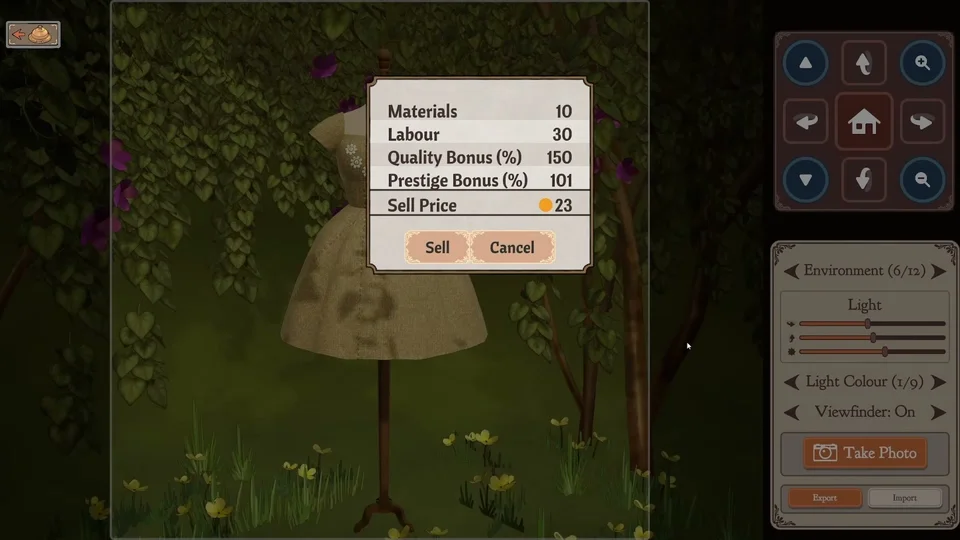
Constructing larger gowns requires navigating along the fabric bolt. Press A and D, click the round directional arrows on the lower panel, or drag across clear empty cloth space with the left mouse button to slide your viewpoint. Build 443 enables drag-panning across the table, or scrolling the mouse wheel while holding scissors to slide along the fabric roll. The cutting table displays up to 10 metres of fabric at a time as it unrolls. To switch materials, select another cloth entry from your sidebar.
Trimming, Recycling, and Batch Collecting Panels
The second button beneath the fabric bolt is **Discard fabric**. Selecting this tool guides your shears along the lower roll edge, displaying a cut boundary line and a metric readout indicating how much material will be trimmed. Under Build 443, shears can only discard fabric when this specific button has been clicked, preventing accidental bolt loss. Clicking severs everything to the left of the guideline, automatically depositing cut panels into your inventory. Holding down right-click and sweeping the cursor across cut pieces also vacuums them directly into inventory. If you change your mind regarding a piece, dragging it into the table bin before severing the bolt cancels the cut and returns your fabric, but trimming a used slice permanently removes that yardage. The table also features **Toggle Seam Allowance** (the eye icon) to show or hide border guidelines, and **Return all panels to inventory** to sweep loose pieces back into your storage drawer — for full techniques on reverting scissor mistakes, consult our fabric recycling guide.