How to Size the Mannequin and Calibrate Proportions in Dressmaker
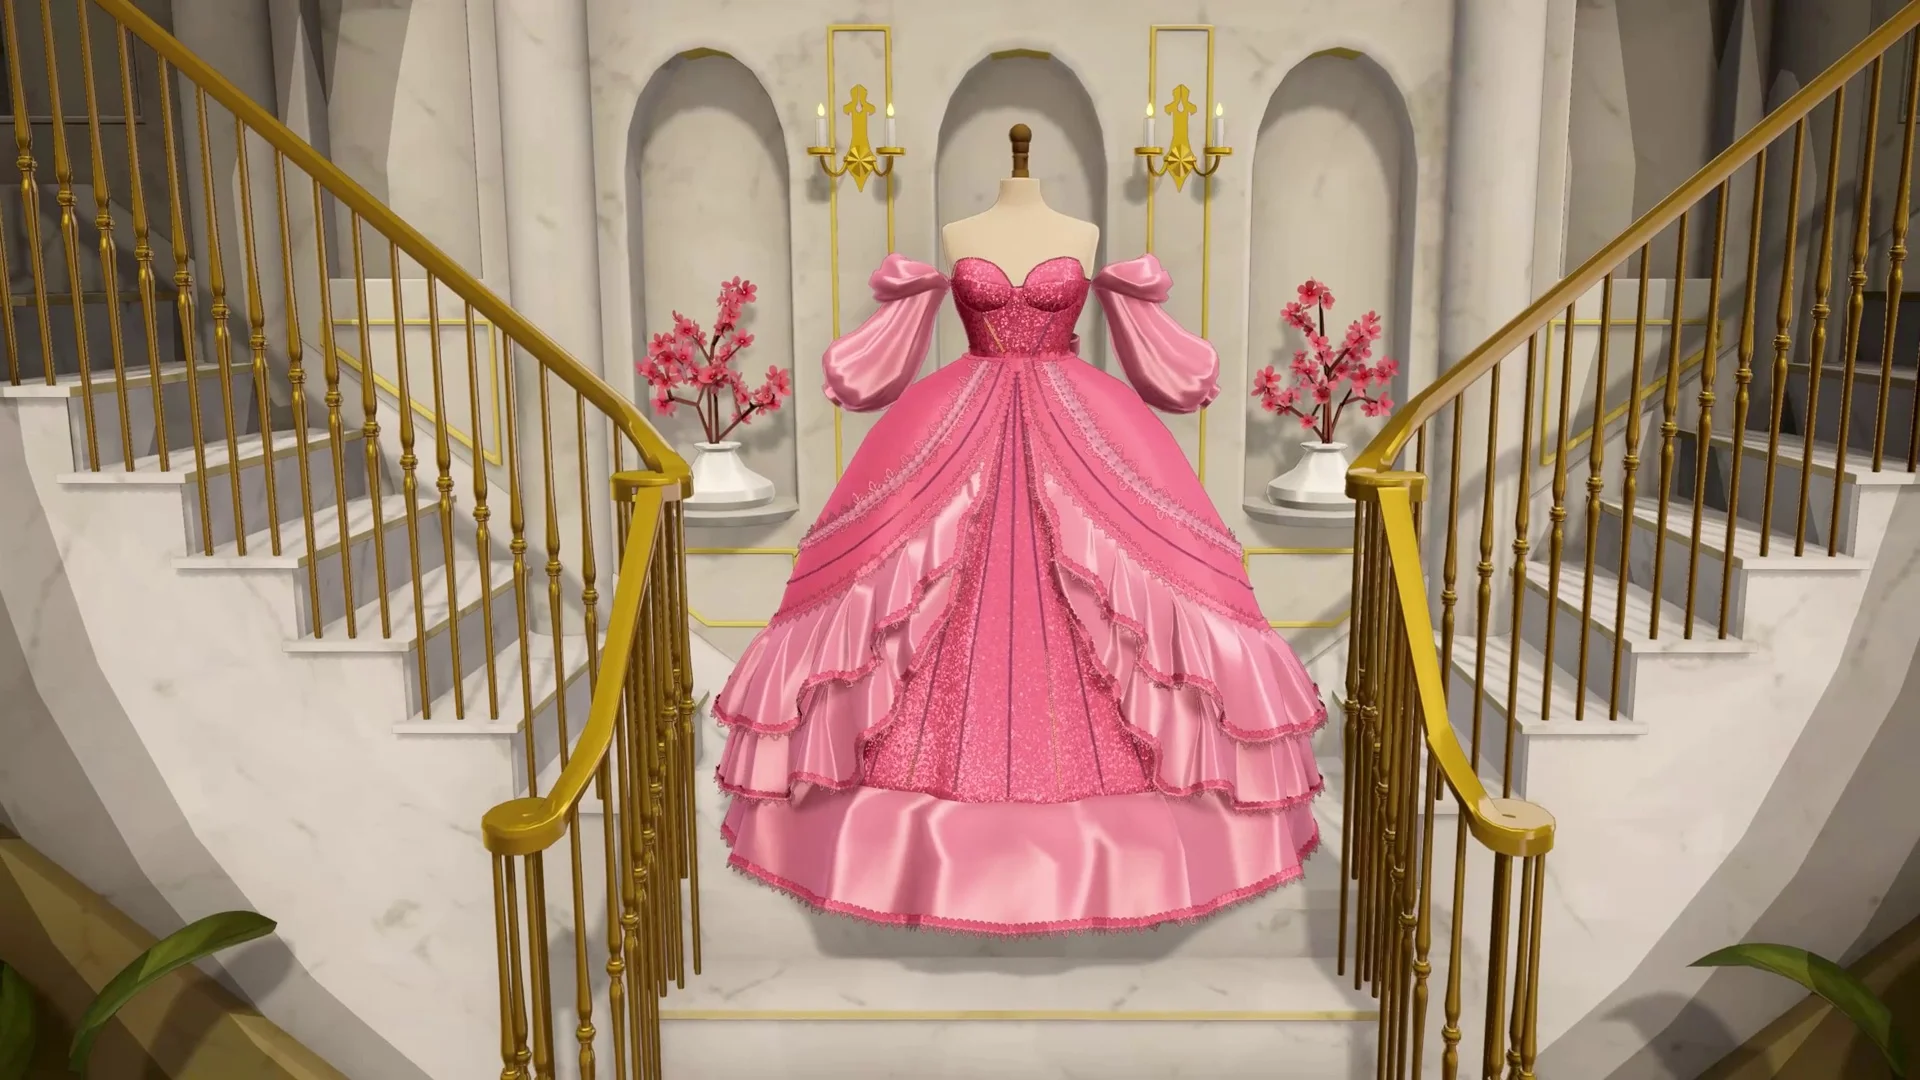
Accurately sizing the mannequin in Dressmaker ensures tailored garments fit clients perfectly, securing high completion scores and quality bonuses.
Measuring Client Body Dimensions First
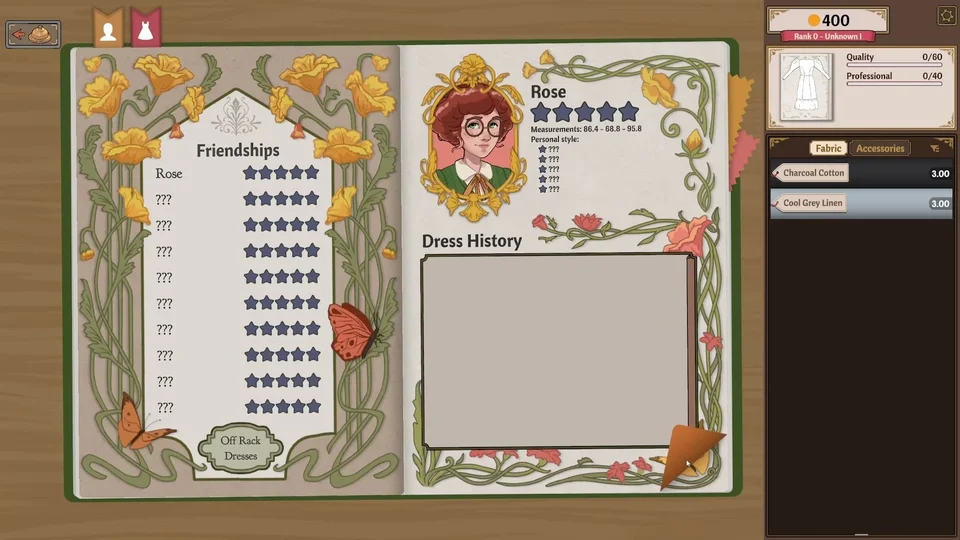
Before entering the sizing room, tailors must record client measurements at the front counter. Drag the measuring tape over the client's body (such as  Alice or
 Dorothy) and align it with the bust, waist, and hip indicators. Holding the tape stationary on a marker line for 0.5 seconds records that value into the Body column on your notes paper. Maintaining exact vertical alignment is crucial, as holding the tape slightly higher or lower reads different circumference values. However, fit evaluations judge against her authentic body dimensions, so a slipped tape during counter measurements is easily corrected by dialing gears to her real figures.
Calibrating Mechanical Gears and Steering Physics
Upon transitioning to the mannequin room, three mechanical adjustment gears govern bust, waist, and hip proportions. Click and drag circular motions around a gear rim, roll your mouse wheel, or press the A and D arrow keys to expand or contract form dimensions — inspect the dummy from every angle using our mannequin camera and zoom guide. Exactly 2 full circles rotate a gear from minimum to maximum size. A gear turns following the angle of your pointer around its center. Near the hub, slight pointer moves swing gears drastically, so gripping near the outer rim and sweeping in wide circles enables delicate micro adjustments. Three ghost lines mark calibration heights; the tape must rest directly on a ghost line while adjusting its corresponding gear for the Mannequin column to update.
Fit Scoring Formulas and Pattern Drafting
The notes paper compares recorded Body values against current Mannequin measurements. An exclamation mark appears if a measurement is unrecorded or deviates by more than 2 cm from client targets. Calibrating all three dimensions within 0.3 cm awards 100% Mannequin accuracy with an achievement star.
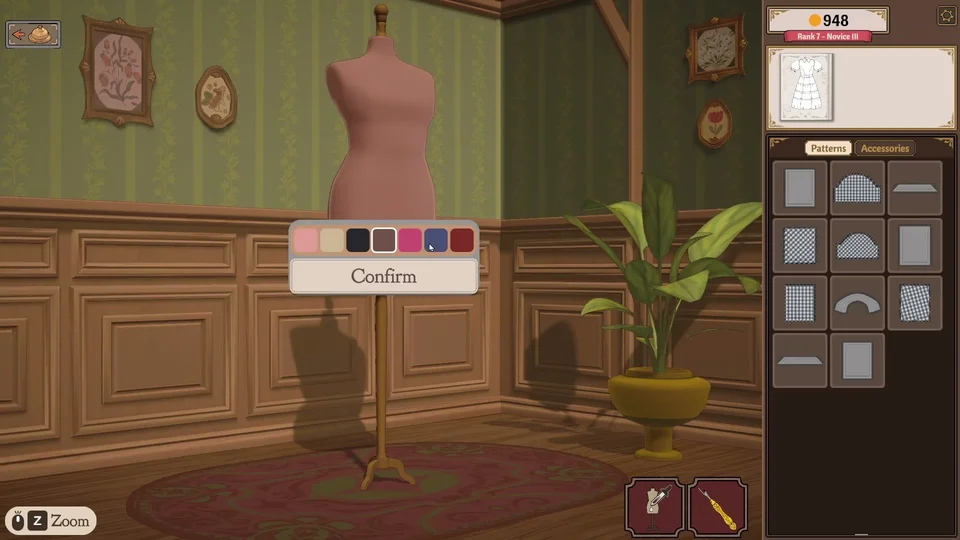
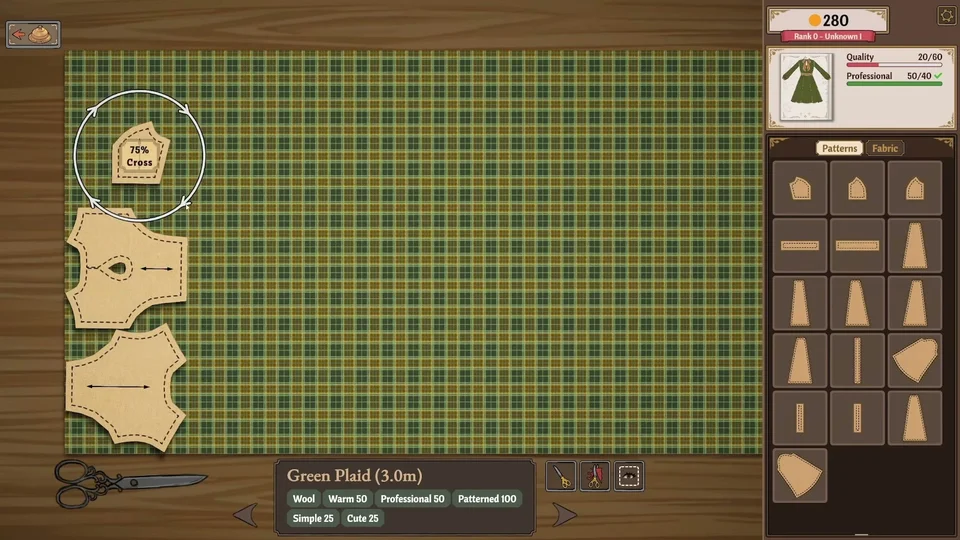
A commission's final quality rating weighs 20% fit alongside 30% grain alignment and 50% stitching execution — see our guide to increasing garment quality for tips on maximizing the remaining 80%. The scoring formula penalizes discrepancies sharply: 100 multiplied by (1 - 200 times the sum of squared differences). If fit drops to 0, overall commission quality cannot exceed 80 regardless of sewing precision. Once all three parts display recorded values, click the Confirm button to draft your scaled pattern components into cutting room inventory. On commissions, this action drafts patterns to active gear positions even if paper readouts remain unrefreshed, after which you can layout your panels with our cutting table controls guide on fabrics like 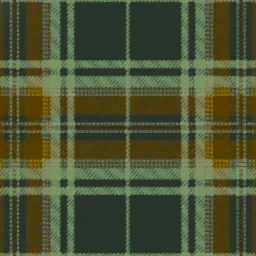 Green Plaid.