TBH Task Bar Hero Beginner Starter Guide: Classes, Party Slots, and Progression
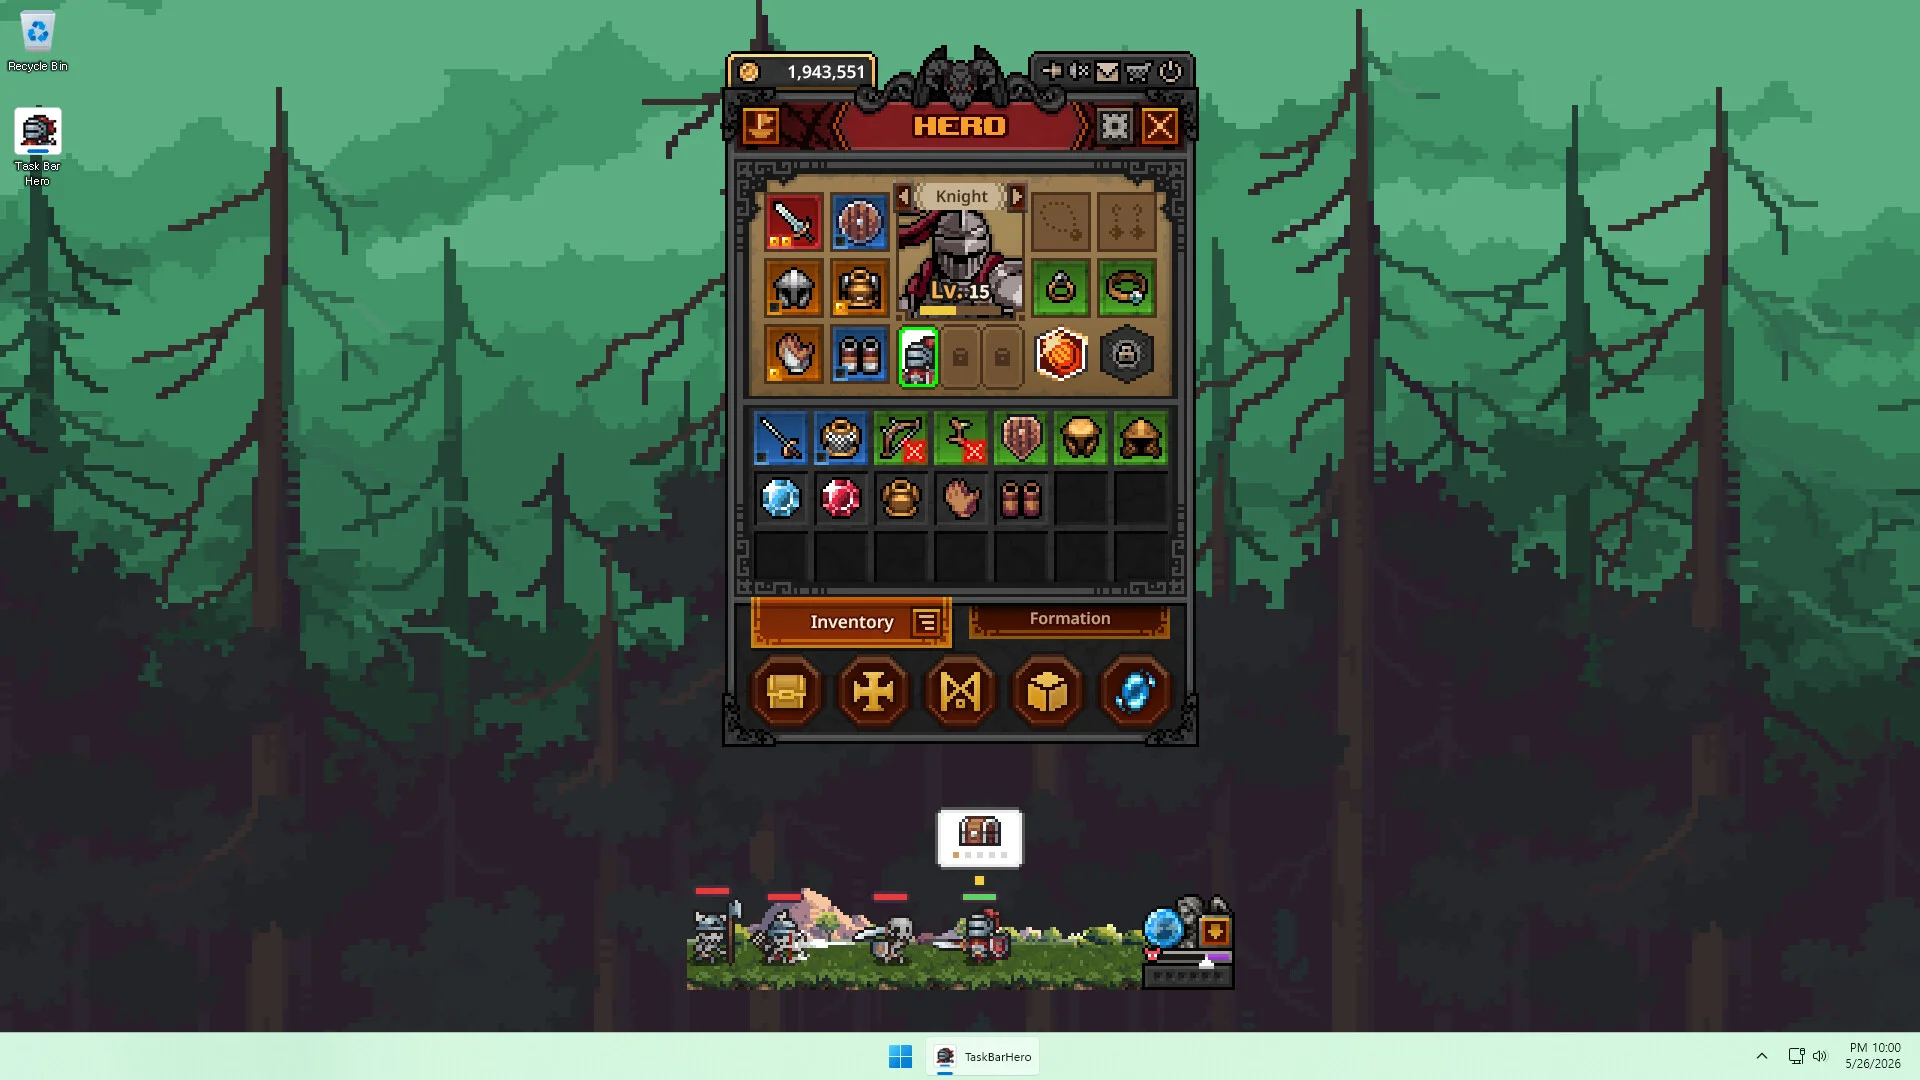
Mastering TBH: Task Bar Hero requires understanding initial class picks, unlocking permanent party slots, and navigating boss chest drop adjustments.
Starting Class Selection and Free Priest DLC
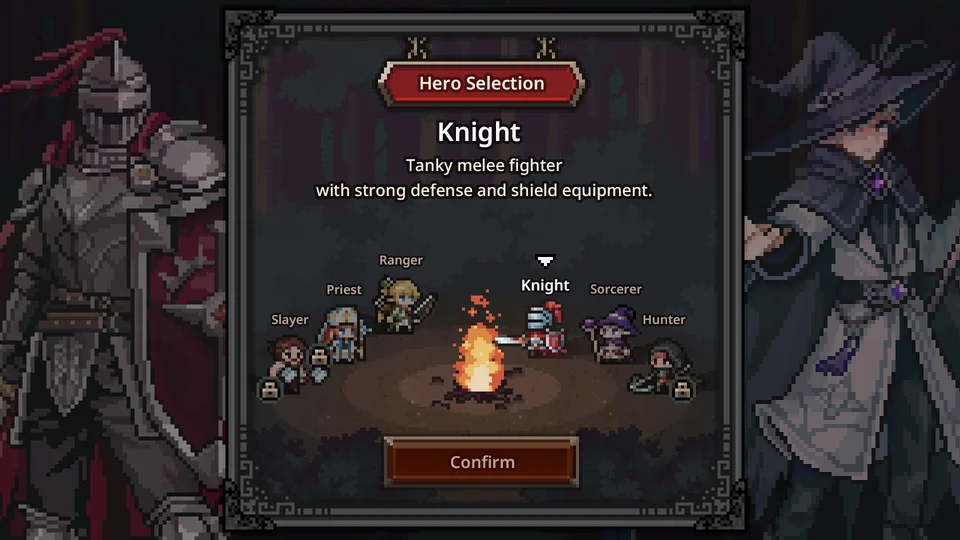
In TBH: Task Bar Hero, new players begin by choosing an initial adventurer from available options. According to community testing by creator The F2P Artisan, the **Ranger** provides rapid attack speed and consistent physical damage output, making it a reliable pick for clearing early stages solo. While the **Knight** serves as a baseline tank, early game players often favor ranged alternatives until party slots expand. Immediately visit the Steam store page to claim the **Priest** class DLC, which is provided completely free of charge. The **Priest** acts as both a frontline tank and a party support unit, absorbing hostile blows while restoring health and buffing party damage. Creator The F2P Artisan recommends placing the **Priest** directly into your active party lineup upon unlocking the second slot, followed by the **Sorcerer** in the third slot for area-of-effect damage — an arrangement explored in our best team comp guide.
The table below lists playable hero classes from the game's files.
| Class | Weapon Affinity | Signature Skill | Description |
|---|---|---|---|
 Knight | Sword & Shield | Piercing Thrust | A tanky melee fighter with strong defense and shields equipment. |
 Ranger | Bow & Arrow | Rapid Fire | An agile archer specializing in precise ranged attacks with bow. |
 Sorcerer | Staff & Orb | Fireball | A powerful mage dealing devastating area magic damage. |
 Priest | Scepter & Tome | Heal | A holy healer who supports allies with restoration magic. |
 Hunter | Crossbow & Bolt | Explosive Bolt | A tactical expert using traps and crossbow. |
 Slayer | Axe & Hatchet | Slam Jump | A wild berserker dealing devastating melee damage through rage. |
Unlocking Party Slots and Priority Runes
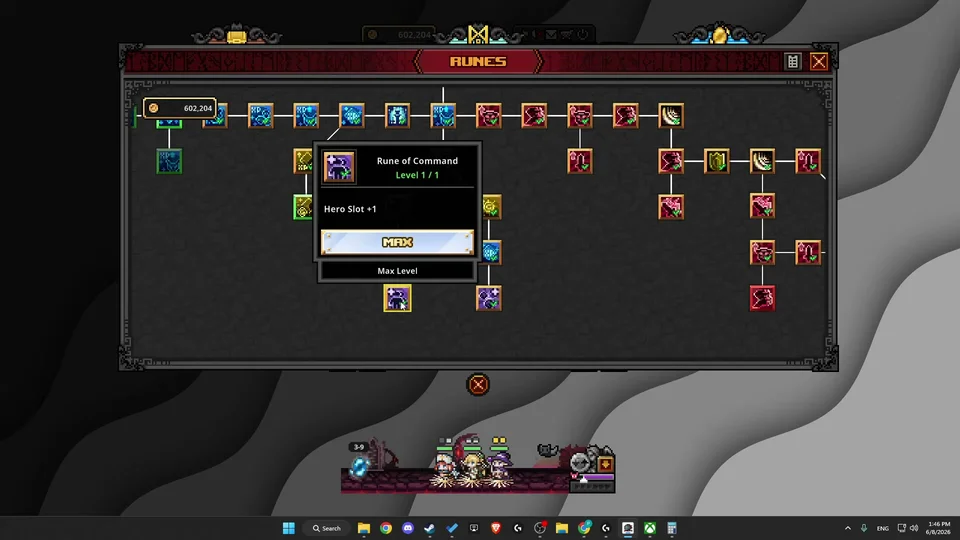
Account advancement relies on permanent stat upgrades purchased with collected gold in the **Rune** tree. Beginners should direct their initial investments downward along the southern path to unlock the second deployed hero slot. Before saving towards the expensive third party slot, invest gold into Rune nodes that boost gold yield and experience point gains to accelerate resource accumulation — see the leveling guide for optimal routing. Securing the **Rune of Awakening** is an essential priority, as it unlocks a second active skill slot. This allows your **Priest** to cast its party-wide damage amplification skill alongside primary healing abilities. Routinely inspect the formation window and assign available skill points whenever red notification markers appear over a character portrait.
Portal Retreats, Auto Retry, and Chest Strategy
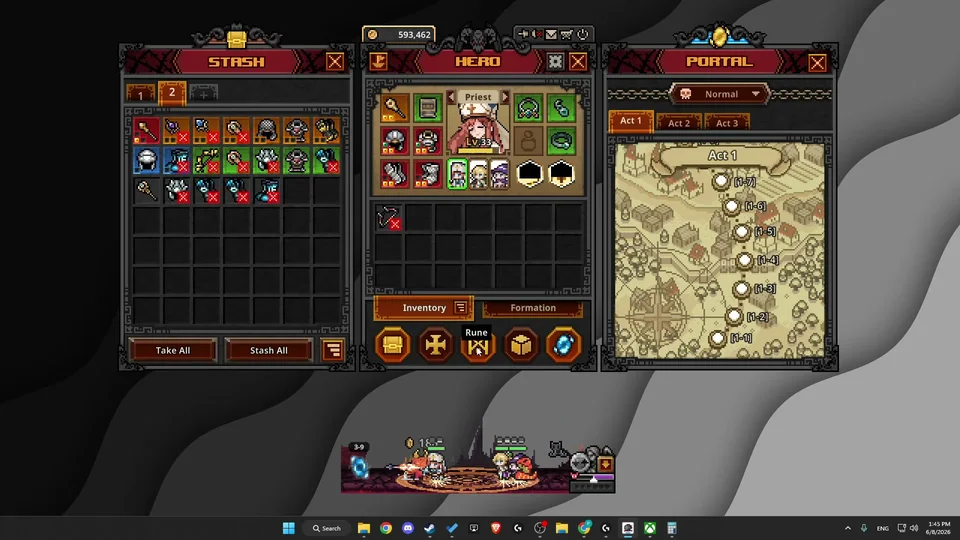
Managing idle grinding requires utilizing core navigation controls along the bottom interface. Click the small circular toggle in the lower right corner to activate auto retry, which turns blue and automatically restarts failed encounters without requiring user input. Whenever party advancement hits a difficult roadblock, click the blue **Portal** icon to retreat to previous stages without penalty. While early patches altered drop pacing, players should prioritize blue chests dropped by stage bosses for guaranteed higher-tier equipment drops. In settings, configure chest opening preferences to focus on high-tier rewards, ensuring your runs farm levels where your squad can consistently defeat the boss.
Upgrading Equipment via Cube Synthesis and Alchemy
The **Cube** menu governs gear transformation and inventory resource management — detailed further in the Cube guide. Inside the **Synthesis** tab, combining nine items of identical rarity produces a single item of the next higher tier, turning nine white common pieces into one green item, and nine green pieces into a blue item. If you require additional currency to fund **Rune** nodes, the **Alchemy** tab converts surplus equipment directly into gold. Hold Alt and left-click valuable gear pieces to lock them before using auto fill functions to prevent accidental conversion. Keep specialized socket materials, soul stones, and high-level drops in your stash for late-game character tuning.