Task Bar Hero Class Builds Guide: Best Party Setups and Endgame Solo Ranger
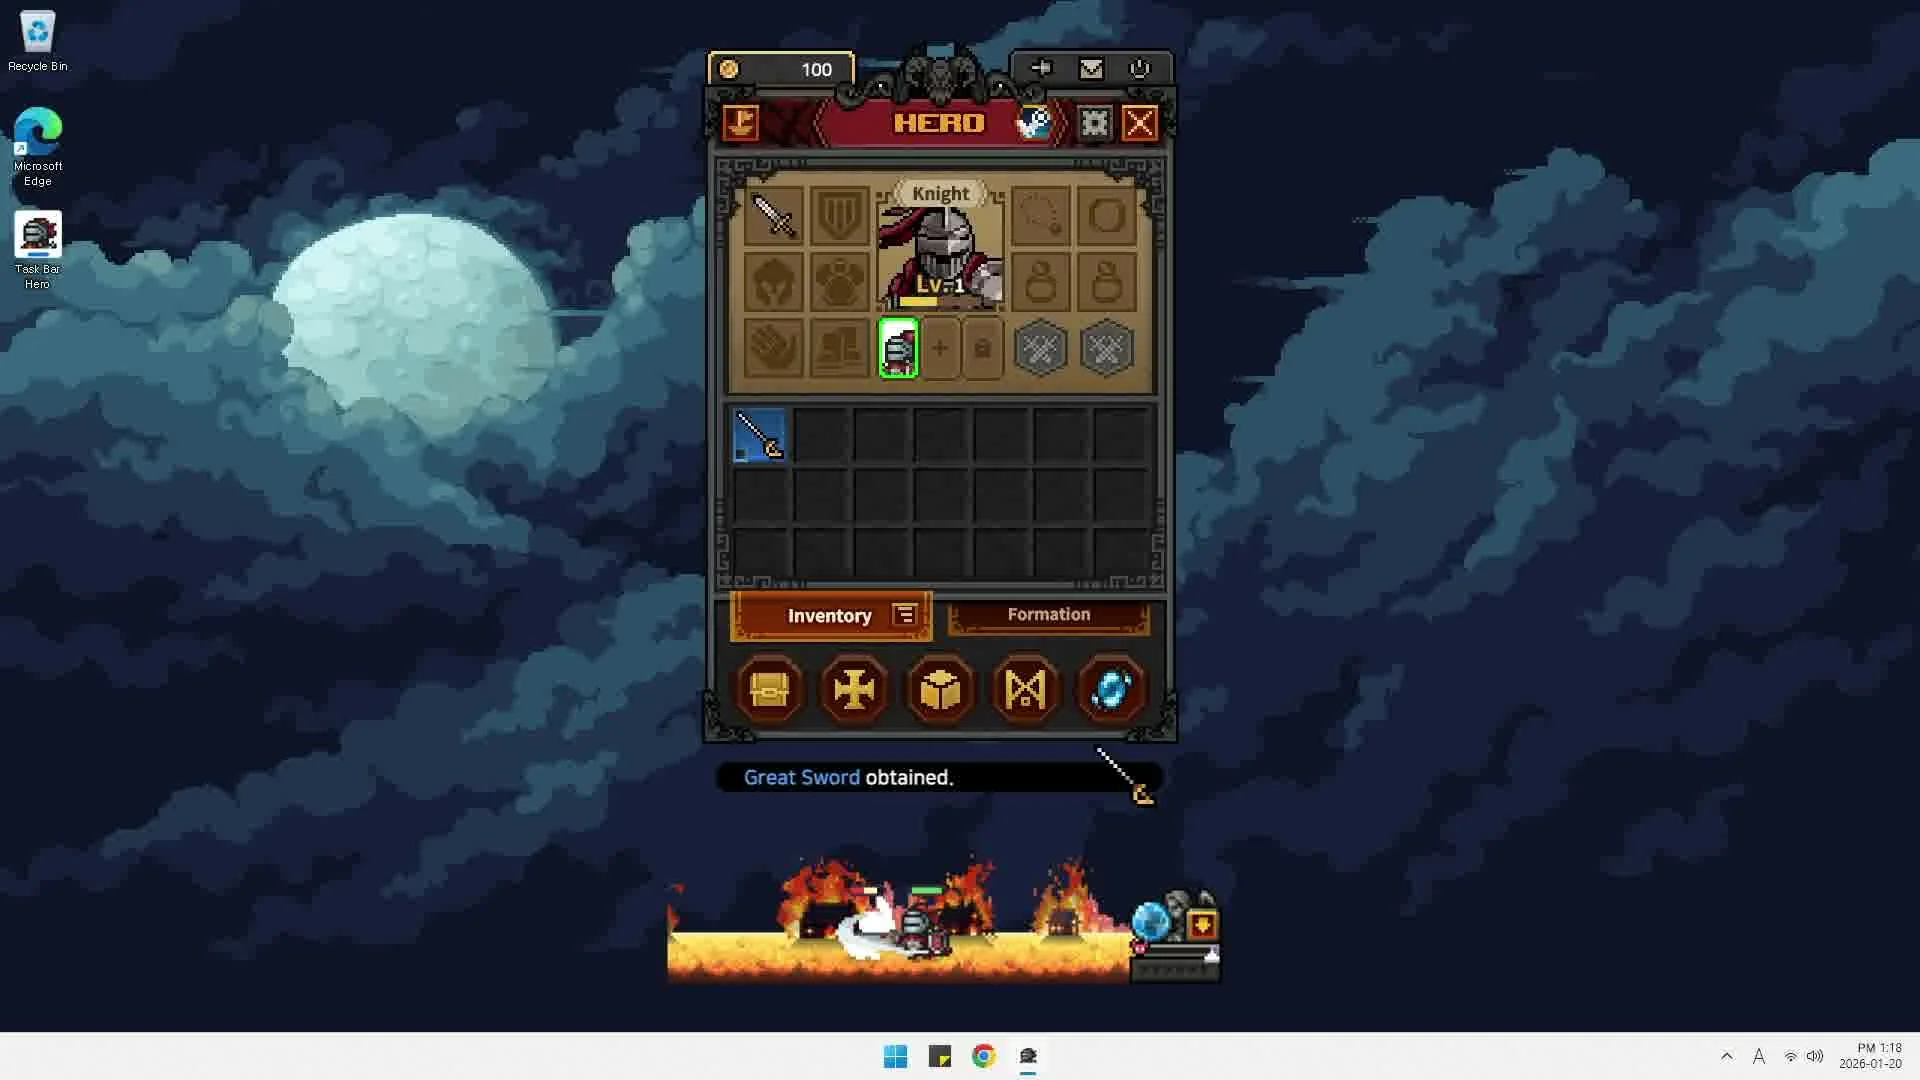
Optimizing character builds in TBH: Task Bar Hero requires focusing on primary offensive attributes, coordinating Priest defensive buffs, and knowing when to pivot into solo Ranger configurations.
Core Class Roles and Roster Synergy
Constructing an effective combat squad in TBH: Task Bar Hero begins with assembling balanced character archetypes. As recommended by creator MyGamerAcademia, the premier trio throughout regular progression consists of **Ranger**, **Priest**, and either **Sorcerer** or **Hunter** — reviewed across our best team comp guide. Although the **Knight** provides basic frontline tanking, claiming the free **Priest** class DLC from the Steam store offers far greater utility by combining defense with massive party buffs, as noted in the class tier list. Position your **Priest** in the frontline to draw monster focus and sustain blows, while placing the **Ranger** in the center to output continuous single-target physical damage. The third slot functions as an area-of-effect specialist, where the free-to-play friendly **Sorcerer** clears mob packs or the **Hunter** freezes dangerous targets.
The table below lists playable hero classes from the game's files.
| Class | Weapon Affinity | Signature Skill | Description |
|---|---|---|---|
 Knight | Sword & Shield | Piercing Thrust | A tanky melee fighter with strong defense and shields equipment. |
 Ranger | Bow & Arrow | Rapid Fire | An agile archer specializing in precise ranged attacks with bow. |
 Sorcerer | Staff & Orb | Fireball | A powerful mage dealing devastating area magic damage. |
 Priest | Scepter & Tome | Heal | A holy healer who supports allies with restoration magic. |
 Hunter | Crossbow & Bolt | Explosive Bolt | A tactical expert using traps and crossbow. |
 Slayer | Axe & Hatchet | Slam Jump | A wild berserker dealing devastating melee damage through rage. |
Ranger Build and Stat Optimization
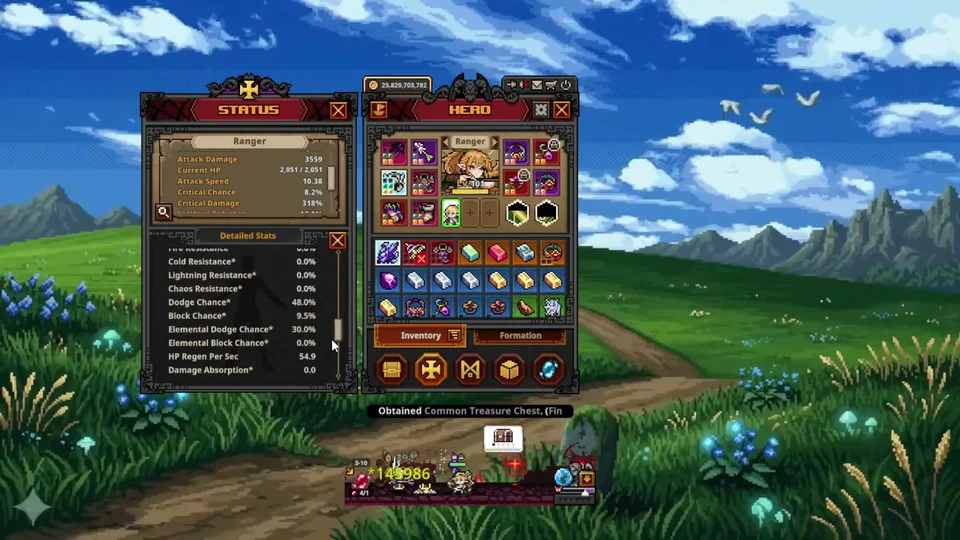
According to creator MyGamerAcademia, the **Ranger** represents the primary damage dealer capable of carrying entire accounts. Optimal stat investment focuses strictly on flat attack damage, attack damage percentage, and attack speed. Players should avoid building critical strike chance, as reaching 100 percent critical reliability is impractical compared to consistent base attack scaling. In early stages, equip **Rapid Fire** and **Swift Surge** to accelerate attack animations. Once raw attack speed climbs, replace **Swift Surge** with **Piercing Arrow** to cleanly pierce through dense enemy formations. For endgame equipment loadouts, MyGamerAcademia recommends wielding the **Beyond Shadow Bow** alongside an **Arcana Dimensional Arrow** slotted with two **Twilight Amethyst** decorations for 100 to 130 percent physical damage boosts, aiming for 3,559 attack damage and over 10.38 attack speed.
Priest Tank and Offensive Buffer Setup
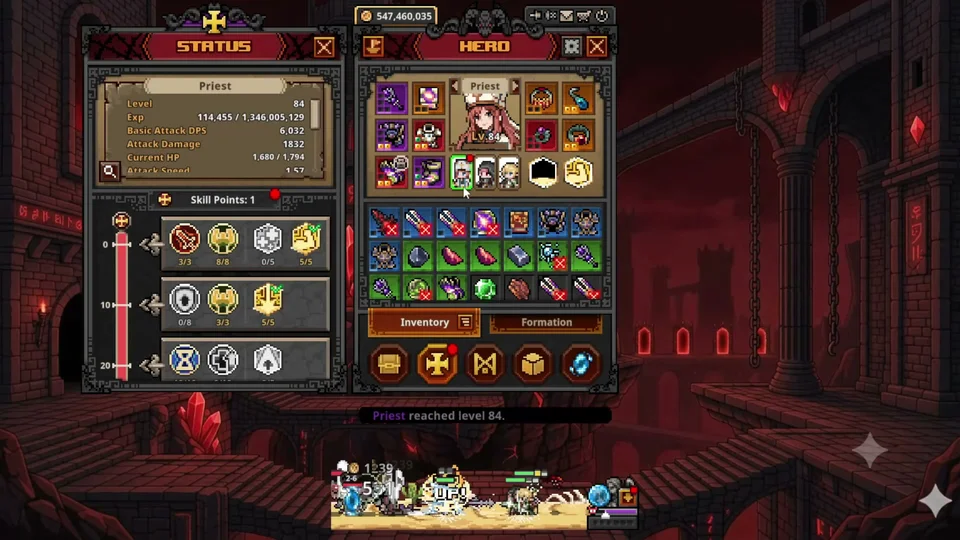
The **Priest** excels far beyond a conventional healer, serving as both an impenetrable shield and an offensive engine. Use standard healing during early levels, then replace it with **Sanctuary** upon reaching level 21 for superior territorial control, accelerating the milestones covered in the leveling guide. Her cornerstone ability is **Blessing of Might**, granting an enormous 90 percent attack damage amplification to the entire team. Equipping an **Arcana Gold Amulet** or **Moonstone Pendant** with plus one all skill level enhances this buff to a 100 percent damage multiplier. At level 51, invest into the passive elemental resistance skill, which provides 4 percent protection per point across non-chaos elements up to the 75 percent resistance ceiling. Stacking flat absorption bonuses on her sub-weapon and chest armor reduces incoming hits to just 1 damage.
Sorcerer Elemental Synergies and Torment Solo Transition
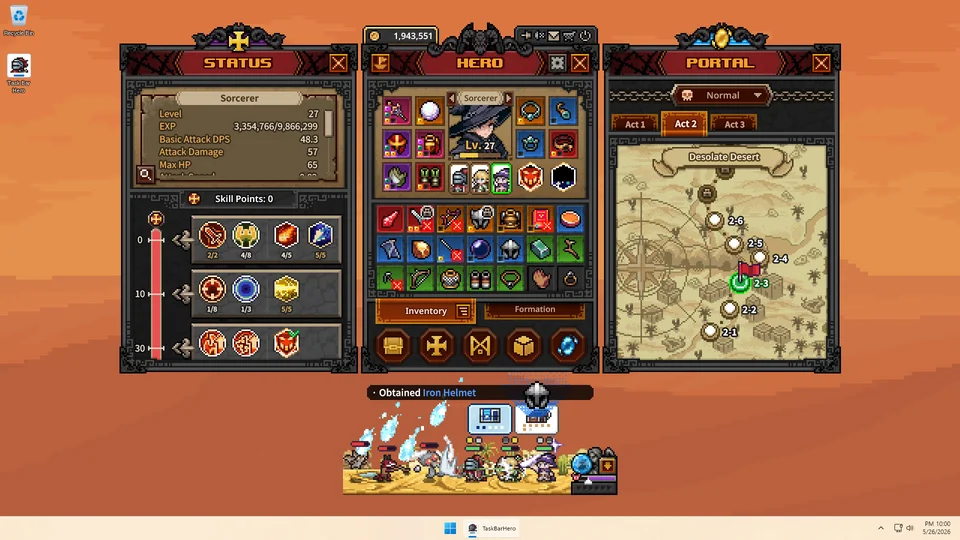
The **Sorcerer** delivers accessible elemental burst damage through **Fireball** and **Flame Hydra**, rewarding focused fire damage enhancements and skill cooldown reductions. When grouping **Ranger** and **Sorcerer**, MyGamerAcademia emphasizes capping Ranger movement speed between 1,900 and 1,960. Exceeding 1,960 speed causes timing glitches where the Sorcerer executes basic attacks instead of casting lightning on new waves. Upon reaching Torment difficulty, extreme enemy damage makes traditional tanking obsolete. As recommended by creator MyGamerAcademia, overcome this hurdle by pivoting to a solo **Ranger** build: unequip gear from other heroes, stack all maximum damage gear onto the Ranger, and eliminate monster waves before enemy ranged units can fire.
Sources
- Task Bar Hero: Best Team Comp & Build Guide — MyGamerAcademia
- The New Upgraded Ranger Build To Carry You In The Next Update — MyGamerAcademia
- TBH: Task Bar Hero Beginners Guide (9 Tips I Wish I Knew When Started) — GPSOLVED
- TBH: Task Bar Hero — Complete Beginner Guide (2026) — The F2P Artisan
- Balance Adjustments & Higher-Grade Item Trading Update [Ver 1.01.00]