MyGamerAcademia's Best Team Comp Guide: Frontline Priest and Ranger Synergy

Automating progression in TBH: Task Bar Hero requires a synergistic party configuration that balances frontline damage absorption, team-wide attack amplification, and reliable ranged wave clearance.
Core Three-Hero Formation and Unlocking Additional Team Slots
In TBH: Task Bar Hero, automated combat progresses continuously along the lower border of your desktop screen. While early stages begin with a solitary character, achieving dependable progression requires deploying a full party of 3 heroes, following early progression steps from our beginner starter guide. According to creator MyGamerAcademia, the recommended meta formation positions  Priest as frontline guardian,
 Ranger in the central carry slot, and a secondary damage dealer such as
 Sorcerer or
 Hunter in the rearguard, reflecting their status in the class tier list. Deploying the frontline Priest shields fragile ranged damage dealers, ensuring your backline delivers sustained damage without taking direct monster attacks.
The table below lists playable hero classes from the game's files.
| Class | Weapon Affinity | Signature Skill | Description |
|---|---|---|---|
 Knight | Sword & Shield | Piercing Thrust | A tanky melee fighter with strong defense and shields equipment. |
| Ranger | Bow & Arrow | Rapid Fire | An agile archer specializing in precise ranged attacks with bow. |
| Sorcerer | Staff & Orb | Fireball | A powerful mage dealing devastating area magic damage. |
| Priest | Scepter & Tome | Heal | A holy healer who supports allies with restoration magic. |
| Hunter | Crossbow & Bolt | Explosive Bolt | A tactical expert using traps and crossbow. |
 Slayer | Axe & Hatchet | Slam Jump | A wild berserker dealing devastating melee damage through rage. |
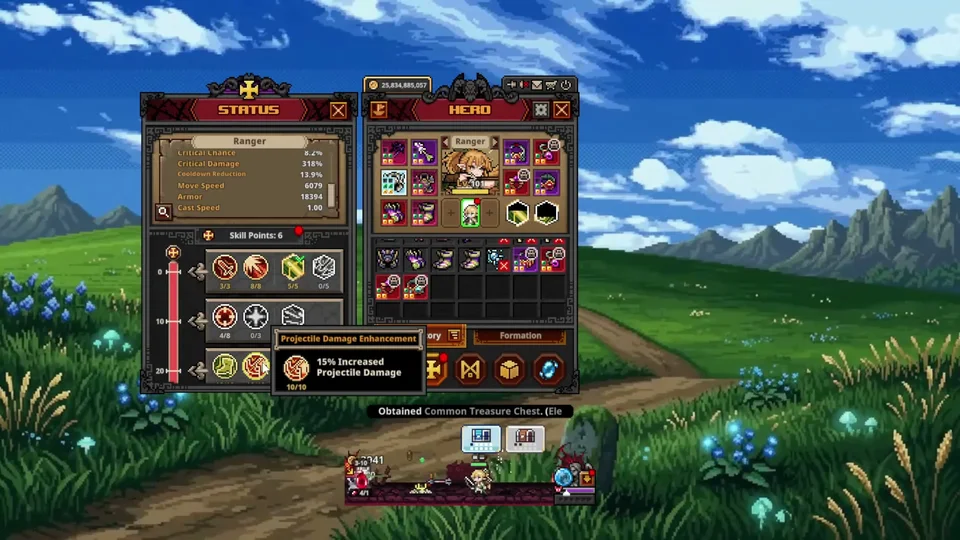
To establish this formation, new players must prioritize party expansion through the rune progression tree. Investing gold into the Rune of Command unlocks your second hero slot, while a subsequent Rune of Command node unlocks your third hero slot. In addition, unlocking the Rune of Awakening opens each hero's second active skill ability, allowing your characters to trigger complementary combat abilities and clear challenging waves efficiently.
Priest Frontline Tanking and Party Attack Buff Optimization
The Priest serves as your primary tank and offensive buffer. The class is available as a complimentary DLC unlock directly on the Steam store page. During early stage grinding, her basic heal skill provides sufficient sustain to keep the party alive. Once the character reaches level 21, immediately replace heal with Sanctuary to establish stronger zone recovery across all deployed units. The centerpiece of her kit is Blessing of Might, which provides a 90% attack damage enhancement to the entire party. Equipping an Arcana Gold Amulet or a Moonstone Pendant with an all skill level +1 modifier elevates Blessing of Might to a 100% damage boost.
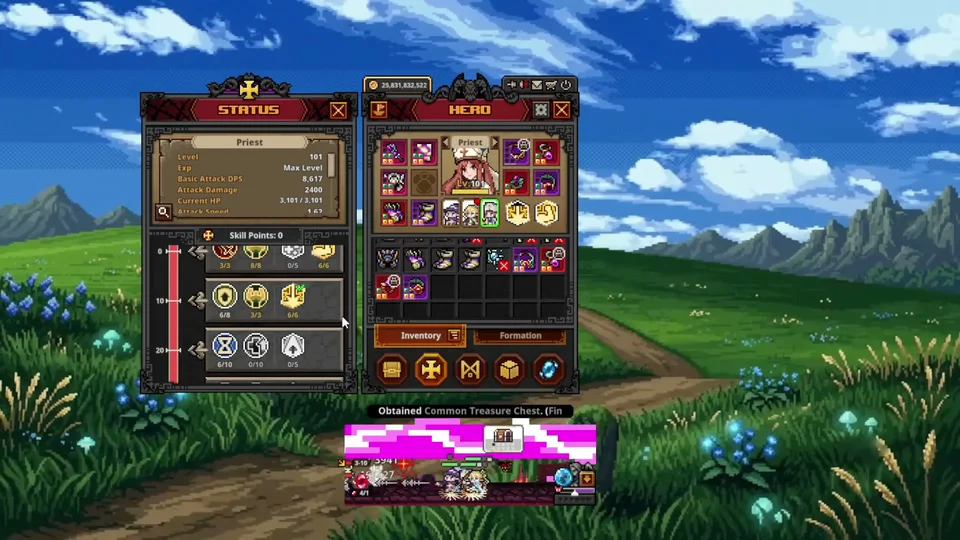
As difficulty ramps up in later acts, standard healing falls off against harder-hitting monsters. High-difficulty builds remove heal and Sanctuary entirely in favor of Wrath of Heaven paired with an accessory decoration called the  Coral Piece. This combination grants HP leech, restoring health instantly on every strike. Prioritize flat damage absorption on sub-weapon and armor pieces, stacking the attribute until incoming enemy attacks deal only 1 damage. At level 51, invest in her passive elemental resist to gain +20% defense against all elements except chaos, staying mindful that elemental resistance caps at 75%.
Ranger Primary Carry Attack Scaling and Line Clear Skills
According to creator MyGamerAcademia, the Ranger represents the primary carry damage dealer in TBH: Task Bar Hero, delivering superior DPS against standard waves and stage bosses alike — see our dedicated class builds guide for comprehensive skill setups. When allocating attributes and selecting gear, focus on flat attack damage, percentage attack damage, and attack speed. Critical strike stats should be avoided, as achieving 100% critical strike chance is notoriously difficult, making consistent base attack scaling far more dependable. Early setups benefit from Rapid Fire combined with Swift Surge to accelerate initial attack cadence. Once raw attack speed is established and mob density increases, replace Swift Surge with Piercing Arrow to provide the projectile line penetration required to wipe advancing waves.
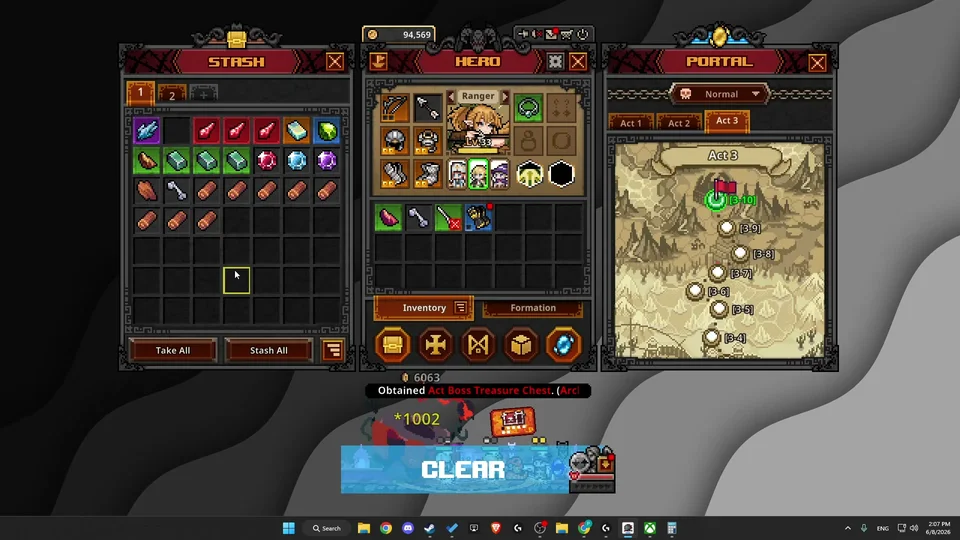
For optimal weapon loadouts, wield the Beyond Shadow Bow for high base attack damage, accompanied by the Arcana Dimensional Arrow in the sub-weapon slot. Slotting two  Twilight Amethyst decorations grants an extra 100% to 130% physical multiplier per socket, while
 Phantom Emerald decorations stack attack speed. Crucially, when running in a party alongside Sorcerer, MyGamerAcademia emphasizes tuning Ranger movement speed to remain strictly between 1,900 and 1,960. Exceeding 1,960 causes timing errors that lead Sorcerer to cast basic attacks rather than triggering lightning on each wave. With party buffs active, MyGamerAcademia's setup achieves over 107,796 DPS at 12.78 attack speed.
Choosing Between Sorcerer Area Clear and Hunter Freeze Control
The third slot in your formation offers strategic flexibility based on whether your account requires broad area clearance or targeted boss disruption. The Sorcerer serves as an accessible free-to-play support option that delivers dependable area wave clear. Running Fireball and Flame Hydra allows players to specialize in single-element fire damage to eliminate packs swiftly. In her passive tree, prioritize fire damage enhancement and skill cooldown reduction to maximize uptime on spell rotations.
Alternatively, the Hunter excels in crowd control by applying hard freeze effects to dangerous enemies, preventing act bosses from wiping the squad. For standard progression, configure Hunter with Explosive Bolt for area clear and Frost Bolt for crowd control. Explosive Bolt delivers 688% area damage, ranking among the strongest damage skills available. When actively speed-farming familiar stages where boss threats are low, swap Frost Bolt for Quick Loader to accelerate clear times.
Torment Difficulty Endgame Strategy and Transition to Solo Carry
Upon entering Torment difficulty, traditional three-hero team dynamics shift dramatically. As observed by creator MyGamerAcademia, enemy damage numbers scale to extreme thresholds where frontline tanking with Priest or any other unit becomes untenable. Furthermore, boss area attacks frequently target support units, causing collateral damage that accidentally eliminates your Ranger.
To overcome Torment walls, MyGamerAcademia recommends transitioning into a dedicated solo Ranger strategy. Strip the highest-tier DPS weapons, armor, and accessories from your secondary characters and consolidate all equipment onto Ranger. Stacking 43,524 DPS, 3,559 attack damage, 10.83 attack speed, and elevated movement speed up to 6,739 allows Ranger to eliminate incoming waves before ranged monsters can initiate an attack. Removing supports clears the screen of stray targets, enabling seamless progression through late Torment tiers.
Sources
- Task Bar Hero: Best Team Comp & Build Guide (Max Loot & Progression) — MyGamerAcademia (20260620)
- The New Upgraded Ranger Build To Carry You In The Next Update | Task Bar Hero Endgame Ranger Build — MyGamerAcademia (20260714)
- Task Bar Hero: Ultimate Guide | I Wish I Knew This Before! | TBH — Whiter | TCG & Mobile (20260626)
- TBH: Task Bar Hero Beginners Guide (9 Tips I Wish I Knew When Started) — GPSOLVED (20260608)
- TBH: Task Bar Hero – Complete Beginner Guide (2026) — The F2P Artisan (20260607)
- Task Bar Hero Steam Patch Notes & Relic Update [Ver 1.3.0]
- TBH: Task Bar Hero Soulstone Farming Guide — Ned HELP