Inlaid Library Stage Guide and Complete 30-Minute Wave Breakdown in Vampire Survivors
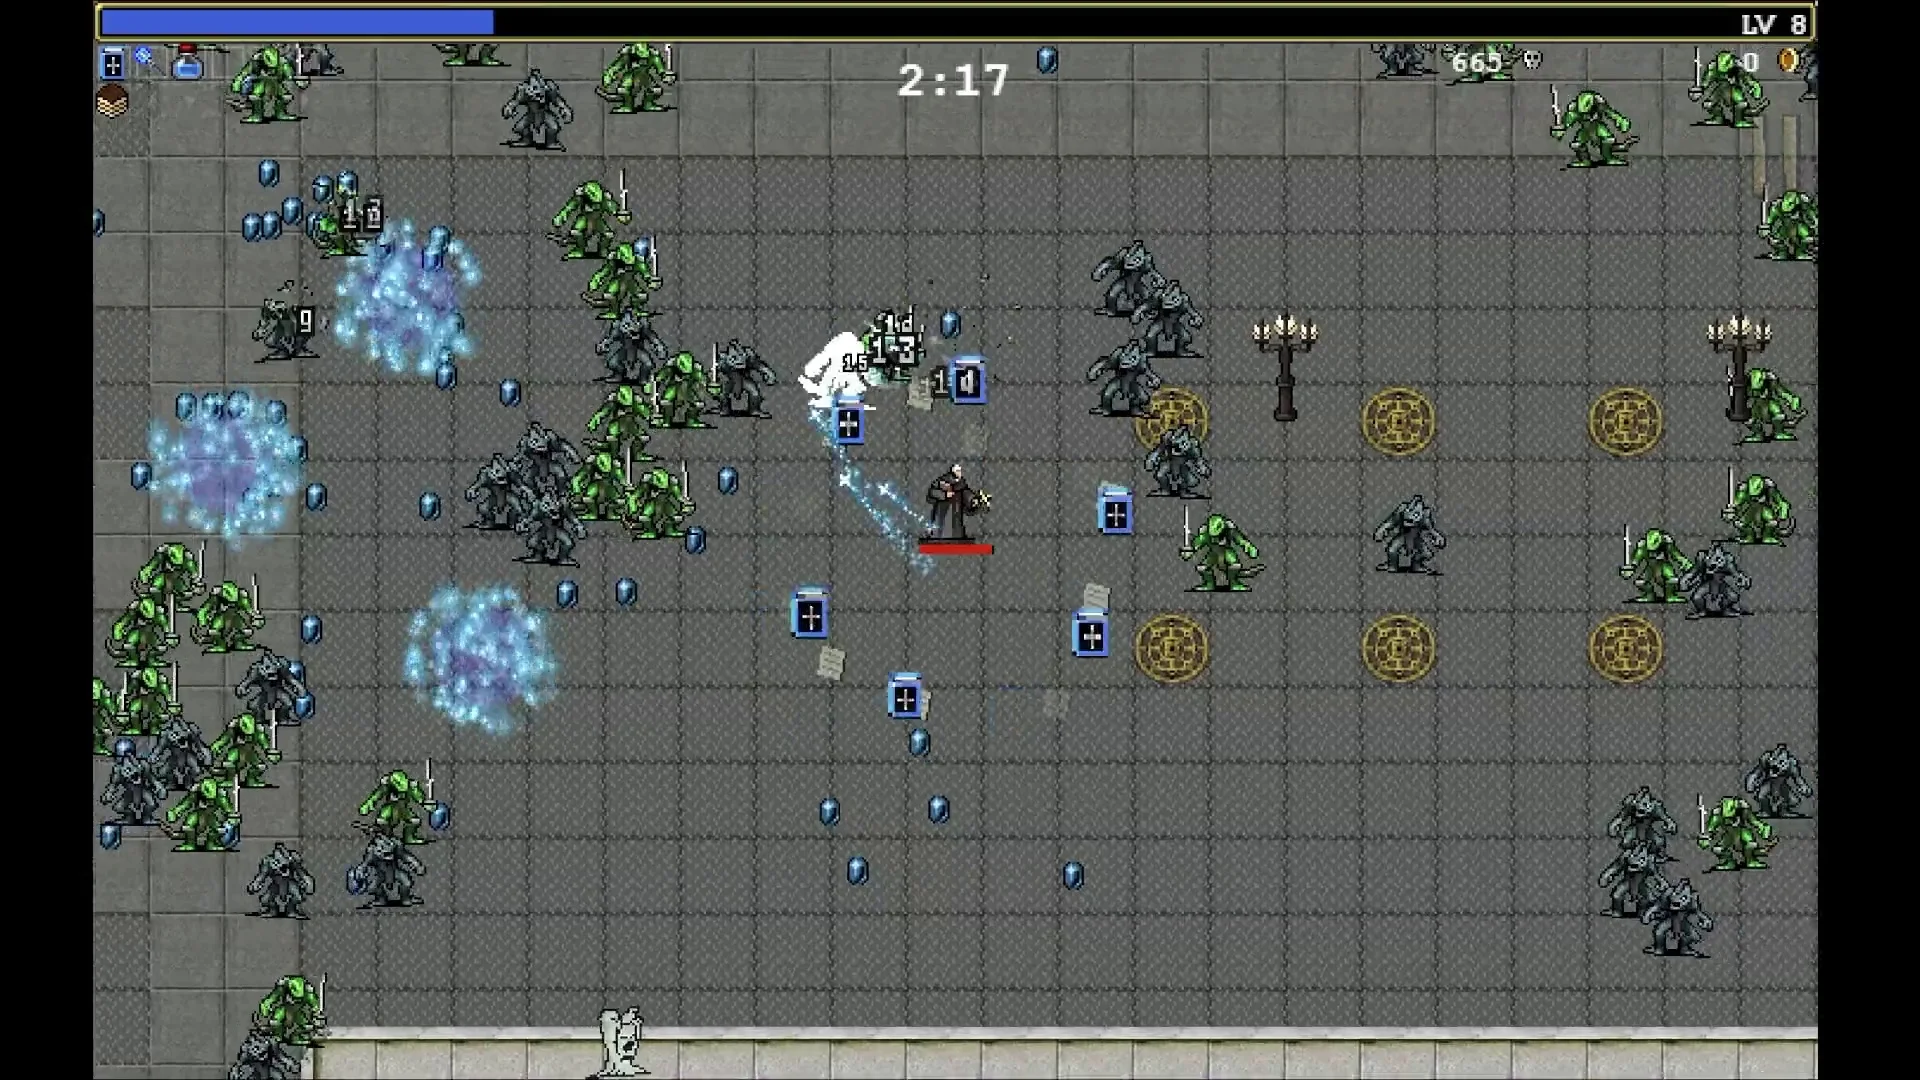
Surviving the narrow corridors of  Inlaid Library demands tight horizontal movement, strategic collection of free
 Empty Tome and
 Stone Mask stage pickups, and rescuing
 Giovanna Grana from her hidden coffin. Unlocked by reaching level 20 in Mad Forest stage guide, this enclosed book hall funnels enemy swarms from the left and right, making penetrating and bouncing weapons exceptionally potent before confronting The Reaper at minute 30.
Horizontal Corridor Layout and Mobility
Unlike open survival maps, Inlaid Library is constrained by impenetrable top and bottom book walls, restricting all movement to an infinite east-west hallway. Enemies such as Dust Elemental, Musc Musc, and  Testa di Mano approach exclusively from the horizontal flanks. This spatial compression rewards weapons with high horizontal projection or ricochet mechanics, such as
 King Bible,
 Magic Wand, and
 Whip. By pacing steadily along the carpeted center path, you can draw enemies into linear kill zones while avoiding pinches against decorative tables and walls.
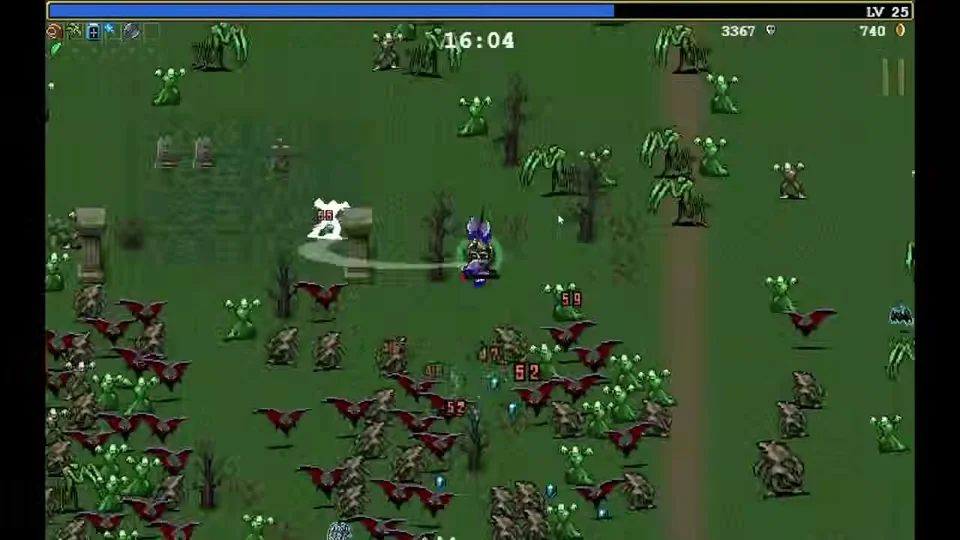
Free Passive Pickups: Empty Tome and Stone Mask
The corridor contains two fixed stage pickups placed along opposite directions from spawn. Walking left towards the west reveals the floating Empty Tome resting on a reading table, which drastically cuts cooldown timers across all active weapons. Locating and collecting a Stone Mask in the library increases character Greed and gold drops throughout the run. Players should fill all six regular passive inventory slots before collecting these items, enabling them to carry seven or eight passive buffs simultaneously. This bonus cooldown capacity synergizes with weapon evolutions detailed in our all weapon evolutions guide, allowing Whip to evolve into  Bloody Tear for reliable health restoration.
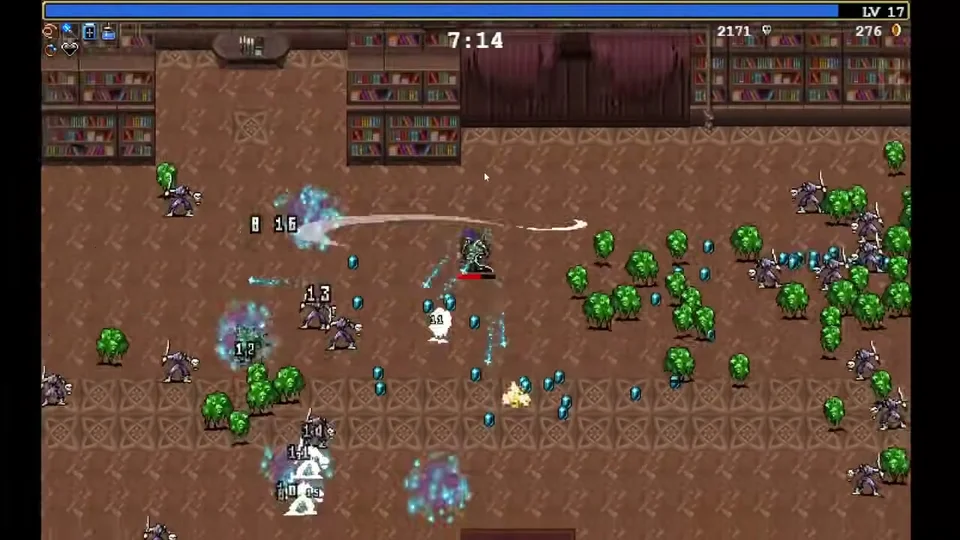
Giovanna Grana Coffin Rescue and Inverted Secret
To rescue Giovanna Grana, locate and open the hidden coffin in the Inlaid Library to unlock her and her signature starting weapon,  Gatti Amari. For advanced runs on Inverse mode, players carrying
 Peachone and
 Ebony Wings can venture further right past the
 Gold Ring to locate a purple Reaper guarding a grand piano. Defeating the entity and playing the keys indicated by the birds unlocks nine secret coffins leading to
 Avatar Infernas. Once you conquer the library, proceed to the industrial factory in our Dairy Plant stage guide.

Complete 30-Minute Wave Breakdown Table
The complete 30-minute wave progression for Inlaid Library outlines enemy counts, intervals, elite boss spawns, and swarm encounters from minute 1 to minute 30:
| Minute | Enemies | Min Count | Interval | Boss | Event |
|---|---|---|---|---|---|
| Minute 1 |  Dust Elemental | 80 | 3000ms | — | — |
| Minute 2 | Dust Elemental, Musc Musc | 100 | 4000ms | — | — |
| Minute 3 |  Mummy | 60 | 4000ms |  Big Mummy | — |
| Minute 4 | Dust Elemental, Mummy | 110 | 4000ms | — | — |
| Minute 5 | Mummy | 100 | 4000ms | Big Mummy | — |
| Minute 6 | Testa di Mano, Musc Musc | 30 | 2000ms | — | — |
| Minute 7 | Testa di Mano, Musc Musc | 80 | 2000ms | — | — |
| Minute 8 | Musc Musc,  Ghost | 80 | 1000ms |  Musc Musc | — |
| Minute 9 | Mummy, Ghost | 200 | 500ms | — | — |
| Minute 10 | Musc Musc | 100 | 500ms |  Lionhead | — |
| Minute 11 | Sneaky Head, Lionhead | 120 | 2000ms |  Sneaky Head | — |
| Minute 12 | Sneaky Head, Testa di Mano | 80 | 1000ms |  Pipeestrello | Merdusa Swarm |
| Minute 13 | Mummy, Testa di Mano | 120 | 500ms | Dust Elemental | — |
| Minute 14 | Mummy, Sneaky Head, Musc Musc | 300 | 100ms | Pipeestrello | — |
| Minute 15 | Sneaky Head | 100 | 100ms |  Merdusa | — |
| Minute 16 |  Undead Witch, Testa di Mano | 100 | 1000ms | Pipeestrello | — |
| Minute 17 | Undead Witch, Musc Musc | 200 | 1000ms | — | — |
| Minute 18 | Undead Witch, Lionhead | 60 | 500ms |  Undead Sassy Witch | — |
| Minute 19 | Undead Witch, Testa di Mano | 120 | 500ms | — | — |
| Minute 20 | Lionhead, Testa di Mano | 100 | 100ms |  Nesufritto | — |
| Minute 21 | Lionhead | 100 | 100ms | — | — |
| Minute 22 | Undead Sassy Witch, Lionhead | 80 | 1000ms | Pipeestrello | — |
| Minute 23 | Testa di Mano, Undead Sassy Witch | 120 | 100ms | Lionhead | — |
| Minute 24 | Undead Sassy Witch | 300 | 100ms | — | — |
| Minute 25 |  Skullone, Undead Sassy Witch,  Giant Bat | 300 | 100ms |  Hag | Bat Swarm |
| Minute 26 | Merdusa | 100 | 100ms | Merdusa | — |
| Minute 27 | Sneaky Head, Merdusa | 300 | 100ms | Merdusa | Merdusa Swarm |
| Minute 28 | Undead Witch, Sneaky Head | 250 | 100ms | Merdusa | — |
| Minute 29 | Dust Elemental, Musc Musc, Lionhead, Sneaky Head | 250 | 100ms | — | — |
| Minute 30 | — | 1 | 10000ms |  The Reaper | — |
Late Game Survival and Boss Tactics
Late-game survival in Inlaid Library culminates during high-density waves between minute 20 and minute 29. At minute 20, Nesufritto leads mixed clusters of Lionhead and Testa di Mano. Minute 24 unleashes 300 Undead Sassy Witch mobs with 100ms spawn intervals, demanding continuous clearing. Minute 25 introduces the massive Hag boss accompanied by Skullone and Giant Bat swarms. Surviving minute 26 through 28 against relentless Merdusa rushes prepares characters for the inevitable minute 30 encounter with The Reaper.