Dairy Plant Stage Guide and Complete 30-Minute Wave Breakdown in Vampire Survivors
Navigating the industrial floor of  Dairy Plant requires dodging environmental traps, securing the game-changing
 Milky Way Map relic, rescuing
 Poppea Pecorina from her hidden coffin, and surviving intense 30-minute wave pressures. Unlocked after reaching level 40 in Inlaid Library stage guide, this factory introduces interactive mine carts, conveyor floors, and heavy golem formations preceding the minute 30 arrival of The Reaper.
Industrial Hazards: Mine Carts and Conveyor Belts
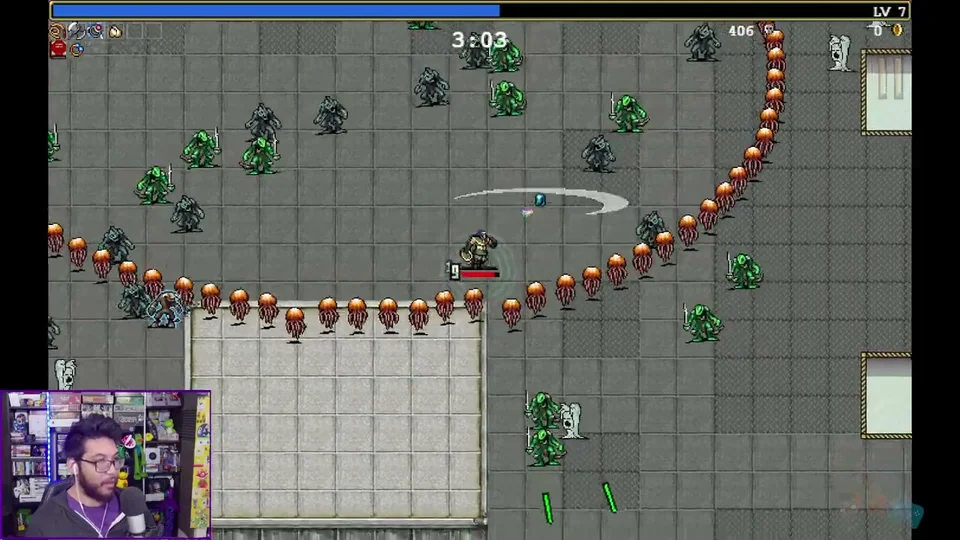
The factory floor of Dairy Plant introduces interactive environmental mechanics not seen in earlier stages. Heavy mine carts sit loaded along track lines; colliding with their bumpers launches them down the rails at high velocity, crushing incoming swarms of Merman and Lizard Rook for instant gold and experience gems. Additionally, motorized conveyor belts dynamically alter character movement speeds, either accelerating your retreat or dragging you towards advancing packs. Red pressure pads scatter across passages, triggering localized trap mechanisms when stepped on that require careful footwork to circumvent.
Securing Essential Relics: Milky Way Map and Ars Gouda
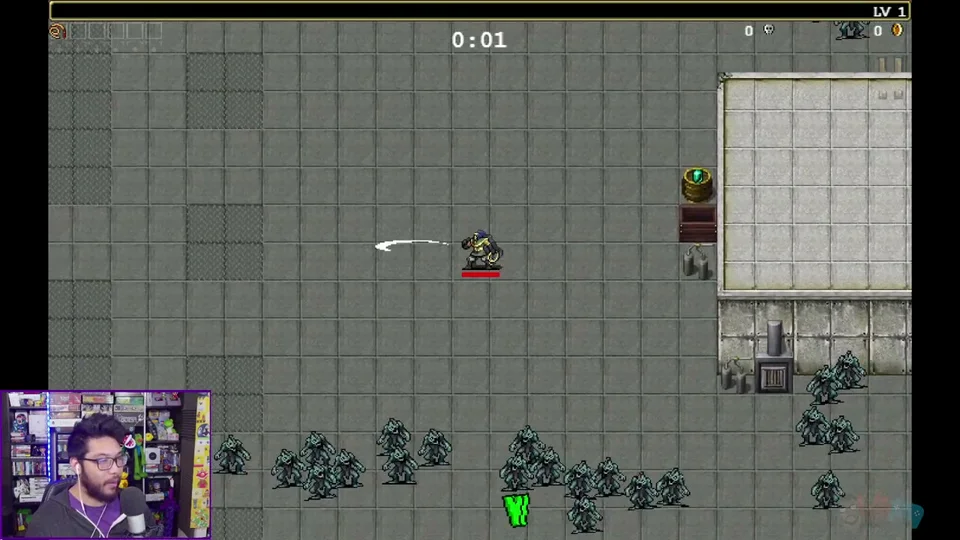
Two fundamental permanent relics await collection inside Dairy Plant, indicated by pulsing green navigation pointers at run start. Following the primary pointer leads to Milky Way Map, a crucial milestone relic that permanently enables the real-time pause menu map across all stages. Following the secondary pointer directs players to  Ars Gouda, which permanently enables the defeated enemies bestiary list in the main game menu. Collecting these relics early transforms stage navigation, as explained further in our guide on how to unlock all relics.
Poppea Pecorina Coffin Rescue
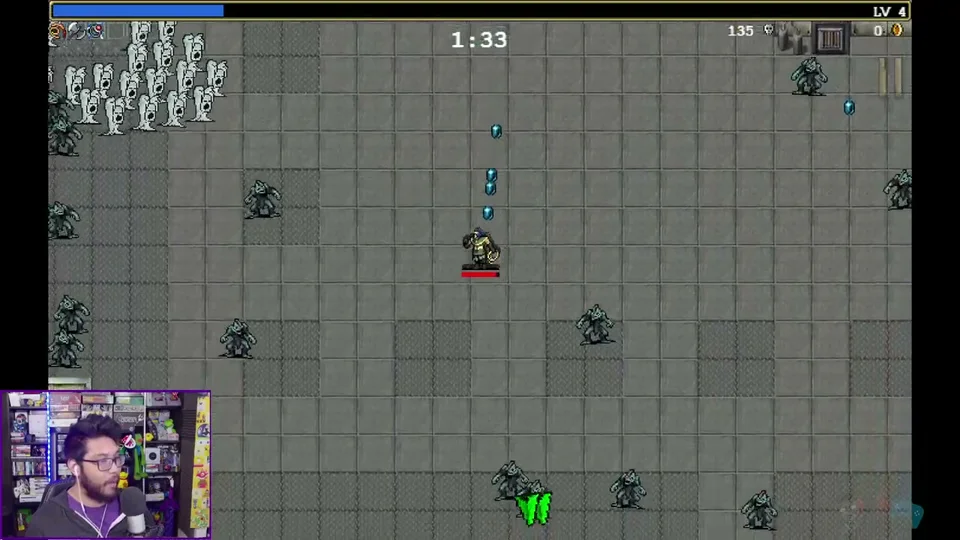
Open the hidden coffin in Dairy Plant to unlock Poppea Pecorina. She starts runs wielding  Song of Mana and gains +1% Duration every level without an upper cap, providing incredible synergy for sustained vertical spells before advancing to the vertical corridors in our Gallo Tower stage guide.
Complete 30-Minute Wave Breakdown Table
The full 30-minute wave progression for Dairy Plant details mob counts, intervals, and boss challenges from the initial minute 1 lizard wave to minute 30:
| Minute | Enemies | Min Count | Interval | Boss | Event |
|---|---|---|---|---|---|
| Minute 1 |  Merman | 30 | 1000ms |  Lizard Rook | Pile Assault |
| Minute 2 | Merman,  Lizard Pawn | 40 | 500ms | — | — |
| Minute 3 | Lizard Pawn,  Milk Elemental, Merman | 40 | 250ms |  Mignotaur | Jelly Wall |
| Minute 4 | Lizard Pawn, Merman, Milk Elemental | 25 | 250ms | — | Pile Assault |
| Minute 5 | Lizard Rook, Milk Elemental | 10 | 1000ms | Mignotaur | Pile Assault |
| Minute 6 | Merman, Lizard Rook | 30 | 500ms | — | — |
| Minute 7 | Merman, Lizard Pawn | 60 | 500ms | Merman | Jelly Wall |
| Minute 8 |  Skeleton Ninja,  Skeleton | 50 | 1500ms | — |  The Stalker |
| Minute 9 |  Minotaur, Milk Elemental | 30 | 500ms | Mignotaur | Mino Rush |
| Minute 10 | Minotaur,  Twin Demons, Milk Elemental | 20 | 500ms | Mignotaur | Mino Rush |
| Minute 11 | Skeleton Ninja, Skeleton | 100 | 500ms | — | — |
| Minute 12 | Skeleton Ninja,  Twin Snakes, Twin Demons | 20 | 1000ms |  Lost Twin | Pile Assault |
| Minute 13 | Merman, Lizard Rook, Lizard Pawn | 200 | 100ms | — | — |
| Minute 14 | Merman, Melone | 150 | 500ms | — | — |
| Minute 15 | Archon Ascia, Melone, Lost Twin | 50 | 500ms | — | — |
| Minute 16 | Melone,  Archon Lancia | 80 | 500ms |  Tritont | — |
| Minute 17 | Archon Lancia, Mignotaur | 40 | 100ms | — | — |
| Minute 18 | Archon Ascia, Mignotaur | 90 | 500ms |  Archon Ascia | Jelly Wall |
| Minute 19 | Archon Lancia, Tritont | 80 | 500ms | — | Jelly Swarm |
| Minute 20 | Big Golem, Tritont,  Jellyfish | 100 | 100ms |  Big Golem | Pile Assault |
| Minute 21 | Skeleton Ninja,  Skelewing, Lost Twin | 200 | 100ms | — | — |
| Minute 22 |  Melone | 200 | 100ms | Big Golem | — |
| Minute 23 | Minotaur, Mignotaur | 200 | 100ms | Mignotaur | Mino Rush |
| Minute 24 | Archon Ascia, Archon Lancia, Melone | 200 | 100ms |  Sword Guardian | — |
| Minute 25 | Sword Guardian | 100 | 100ms | Sword Guardian | — |
| Minute 26 | Gallotrice, Mignotaur | 150 | 100ms | — | — |
| Minute 27 | Gallotrice, Sword Guardian | 150 | 100ms |  Gallotrice | — |
| Minute 28 | Merman, Mignotaur | 10 | 100ms | — | — |
| Minute 29 | Big Golem | 10 | 100ms | — | — |
| Minute 30 | — | 1 | 10000ms |  The Reaper | — |
Navigating Golem Swarms and Late Waves
Survival during the second half of Dairy Plant demands substantial burst damage and defensive regeneration. At minute 8, The Stalker emerges as a lethal tracking hazard. Minute 18 and minute 19 introduce dense Jelly Wall events and swarming Archon Ascia packs. At minute 20, Big Golem emerges as an elite tank with massive health scaling. Wave 24 and wave 25 unleash aggressive Sword Guardian formations that punish low mobility. Surviving these crushing formations leads to the minute 29 golem rush before The Reaper arrives at minute 30.