Hull Rupture Tips and Tricks: Optimizing Ship Weight, Turrets, and Economy
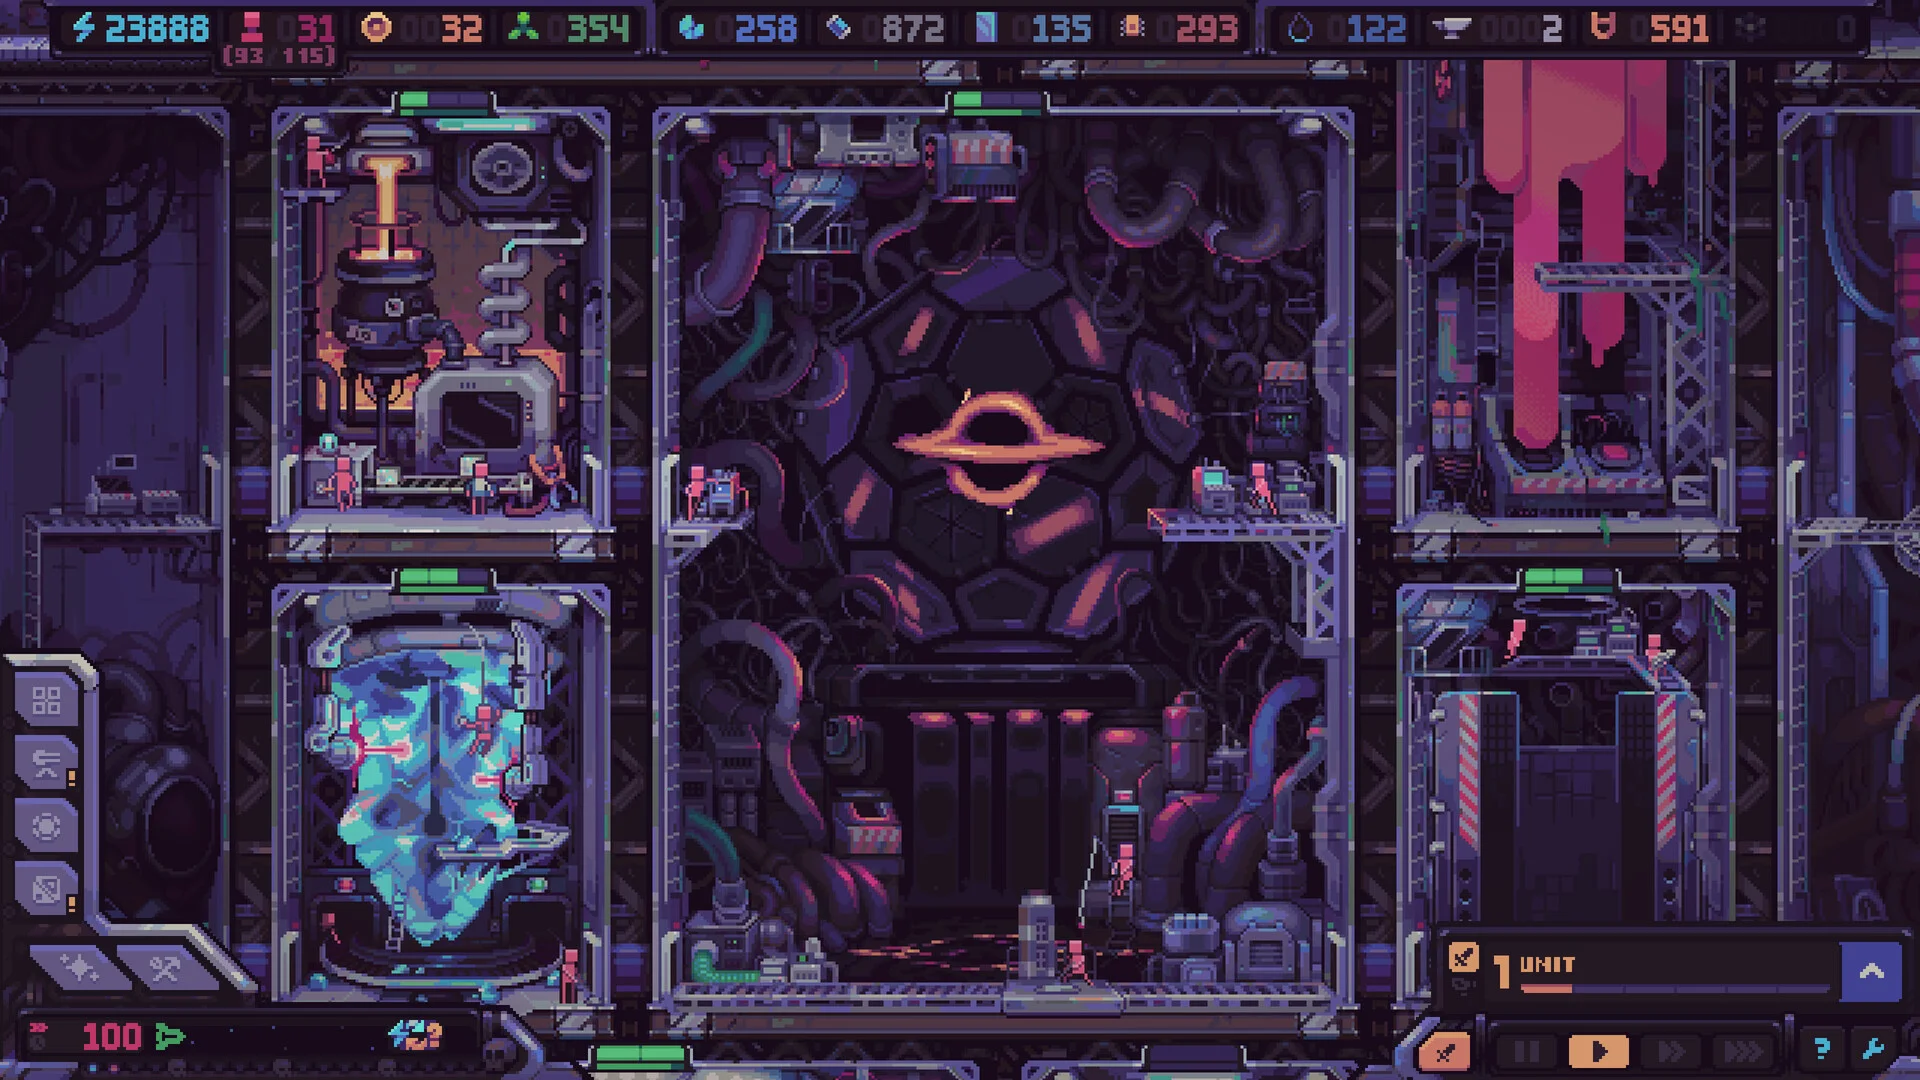
Optimize your interstellar strategy in Hull Rupture with expert advice on managing module weight, establishing deadly hallway killzones, and overcoming the wave 10 boss.
Balancing Ship Weight and Fuel Reserves
In Hull Rupture, every additional production facility or defensive installation increases overall ship mass. A heavier vessel demands significantly higher engine output and consumes fuel at an accelerated rate, leaving fewer opportunities to explore distant star clusters across the galactic map. Overbuilding early in a run can easily deplete fuel reserves, leaving you with multiple production modules but not enough energy to power them efficiently.
Commanders must continually balance energy output, fuel production, crew availability, and structural weight against defensive requirements. The most effective approach funnels just enough resources into defenses to survive the next incoming breach, directing remaining capital into economic development. For baseline mechanics and starting principles, consult our beginner guide before undertaking ambitious ship renovations.
Maximizing Module Adjacency and Production Kits
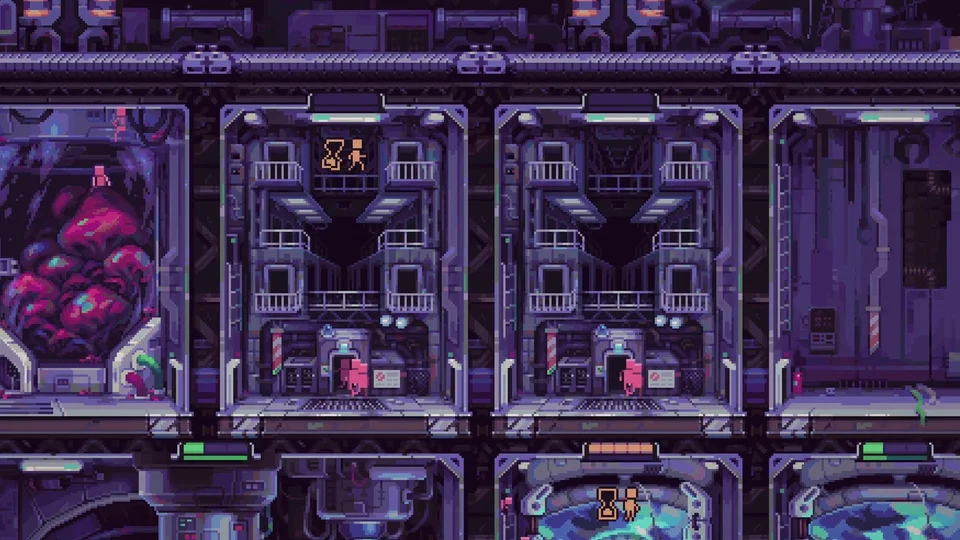
The central control chamber occupied by Despot provides passive output enhancements to adjacent production machinery, improving the efficiency of neighboring modules. Similarly, specialized artifacts like the marching drum cause incubators and breeding chambers to accelerate neighboring module cycles, multiplying overall industrial throughput.
When acquiring equipment packages from shops or post-combat rewards, kits arrive in bundled packs containing modules, turrets, or hybrid combinations.
Turret Positioning and Status Effect Traps
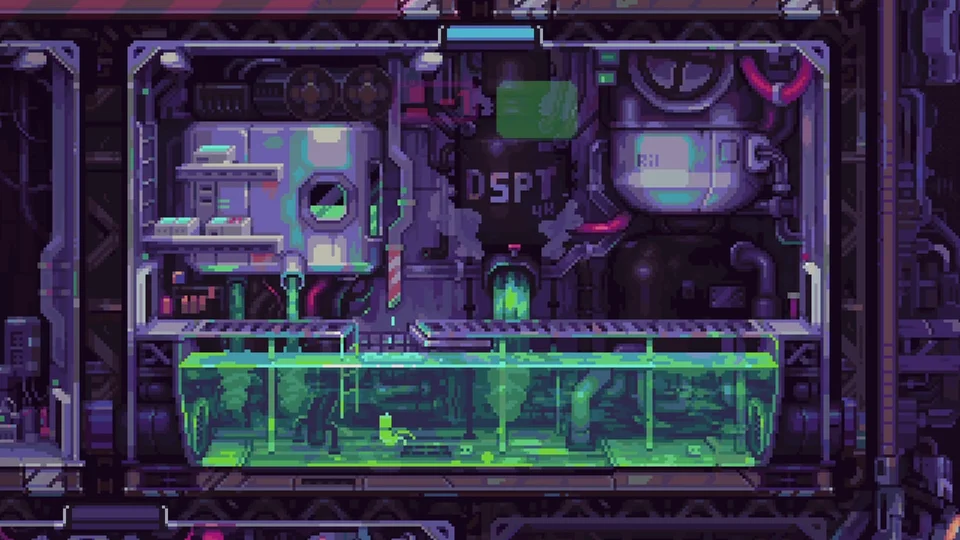
Hostile drop pods breach predictable hull docking ports and funnel toward the central airlock. Designing winding corridors and narrow chokepoints forces invading creatures to traverse maximum defensive exposure. Deploying standard gun turrets costs 100 energy, providing dependable projectile support at critical crossroads. Combining slowing and poison status effects disrupts and weakens incoming hostiles.
The dried finger artifact doubles turret damage whenever total human crew remains below 100 individuals, turning lean crew counts into substantial combat buffs. Equipping shotgun modifier artifacts increases damage dealt by all shotgun-tagged turrets. Learn how to manage workforce numbers to maintain these artifact thresholds in our crew and human management guide.
Wave Preparation and Boss Countermeasures
In particular, the wave 10 boss represents an infamous hurdle capable of ending unprepared voyages before day 13. While recent balance adjustments reduced this behemoth's maximum health pool and self-healing capacity, preceding waves 8 and 9 present tightened combat checks that can erode defensive lines ahead of the primary confrontation.
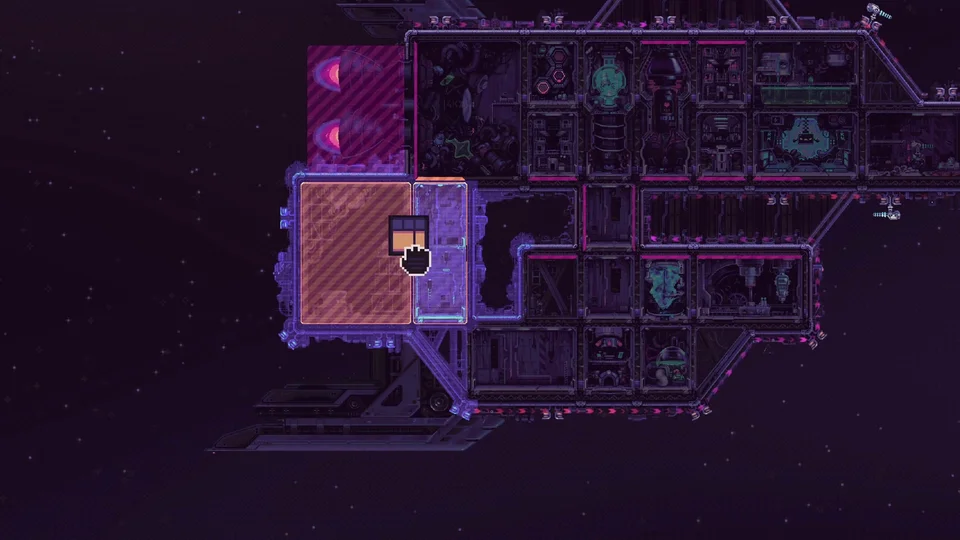
Preparing for boss incursions requires reinforcing the immediate perimeter surrounding the airlock. If exterior turrets collapse under hostile boarding swarms, internal fallback positions and combat crew units provide a crucial final line of resistance. Stashing emergency energy reserves ensures damaged turrets can be repaired or replaced during ongoing combat without depleting energy needed for future module installations.
Sources
- Hull Rupture v1.0.15 Update Notes
- Devlog #1 — Base Building and Ship Management
- Devlog #2 — Not Your Typical Tower Defense
- Hull Rupture Gameplay Overview (pebcDn8oZvU)
- Hull Rupture Gameplay Playthrough (bfVhH1z8TYI)
- Hull Rupture Base Management & Waves (mWTBw-Vn7SM)
- Hull Rupture Tower Defense Strategy (M7VMZG3Hq1M)