Hull Rupture Construction Guide: Ship Expansion Layouts and Alien Wave Routing
Entering Hull Construction and Managing Block Pools
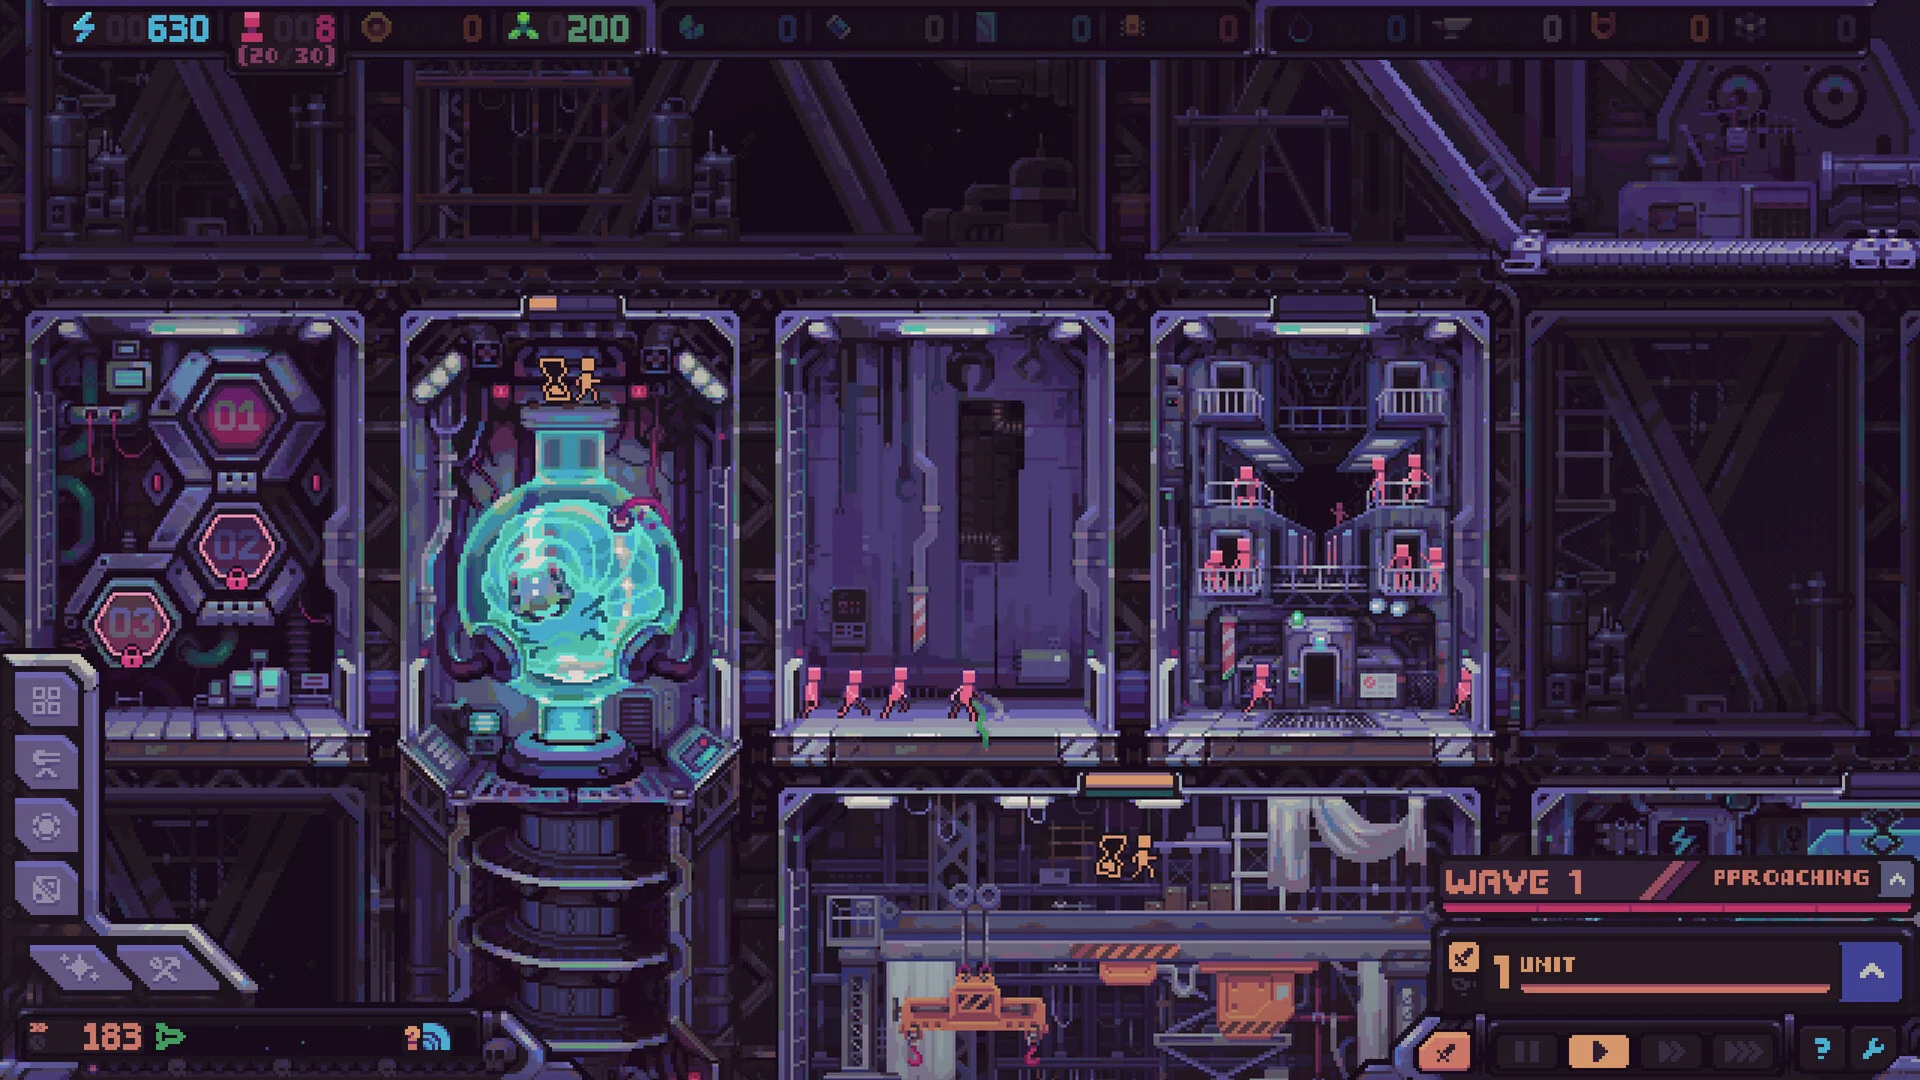
In Hull Rupture, expanding your vessel is handled through Hull Construction. Players can enter this construction mode at any point during a flight run, which pauses real-time travel while you position structural additions. The builder draws from a fixed set of 15 different construction blocks, each featuring designated empty slots for operational modules. These 15 blocks cycle through in a randomised sequence without repeating until the complete selection has appeared, preventing identical ship layouts across separate runs. Players can also pay a currency premium to skip an inconvenient shape in favor of the next piece in the queue.
Placement Restrictions and Module Slot Planning
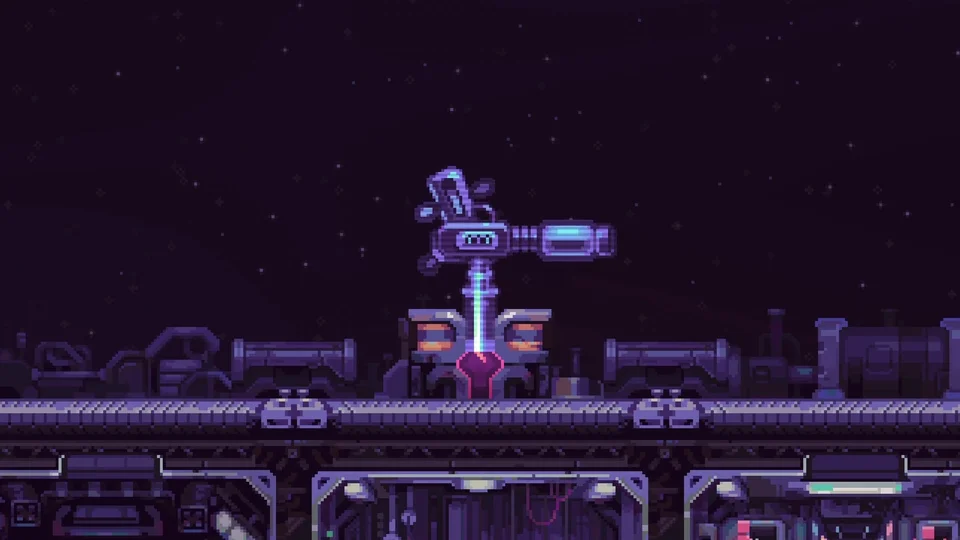
When attaching new construction blocks, placed pieces cannot obstruct the central Airlock or the rear engine compartments, and every secured block remains permanently locked into the ship hull without any demolition option. Careful slot planning is necessary before confirming placement; players aiming to install large 2 by 1 buildings or specialized turret kits must ensure the current block geometry provides adequate contiguous room. Placing long-range turrets on open corners maximizes defensive coverage, while short-range weapons perform best when clustered near tight choke gaps. For general early progression tips, consult our beginner survival walkthrough.
Enemy Path Routing and Alien Chokepoints
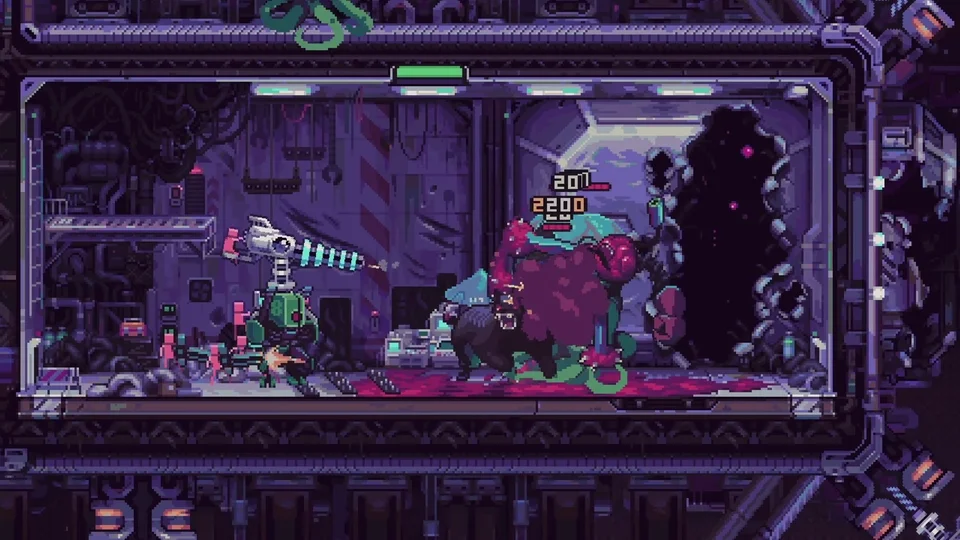
Ship architecture directly determines how invading extraterrestrials traverse the hull. Hostile drop pods scatter across the outermost perimeter surfaces of your vessel, meaning an extended hull layout separates enemy drop points and staggers incoming wave assaults. Bosses consistently breach the uppermost far-left corner of the ship, which sits furthest from the Airlock. Lengthening the exterior route forces massive creatures to travel across prolonged firing corridors, preventing multiple hostile threats from converging simultaneously onto your internal defenses. Coordinated turret placements along these perimeter approaches are detailed in our advanced defense tactics.
Adjacency Synergies and Despot Maze Tactics
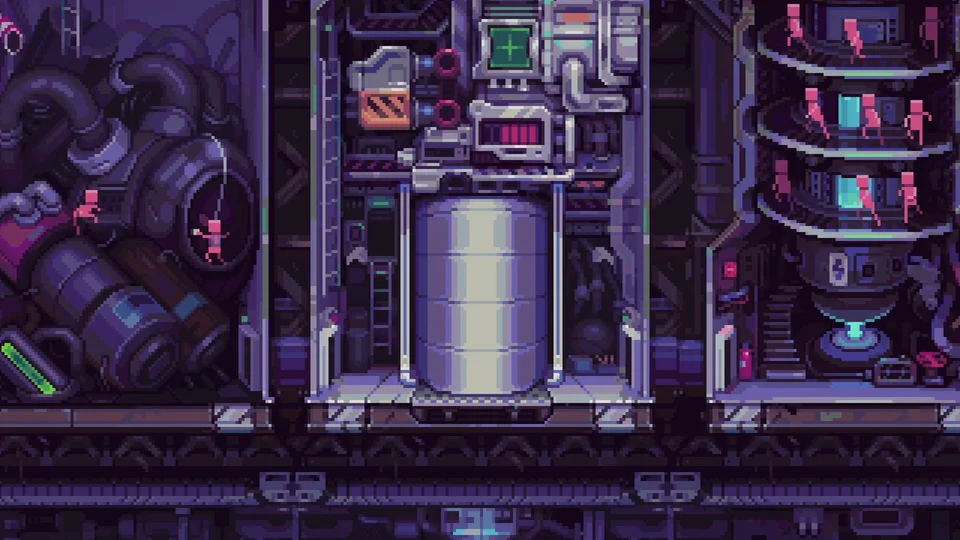
Designing compact internal corridors keeps modules adjacent, enhancing artifact bonus effects and minimizing walking distances for assigned crew workers. Conversely, winding perimeter corridors create extended gauntlets that delay intruders before they reach vulnerable installations. Clever commanders frequently assemble a spiral corridor network encircling the Airlock entrance, constructing a defensive labyrinth that slows descending and ascending attackers. Managing these architectural layouts while balancing flight consumption across stellar destinations connects directly to our galaxy exploration route planning.
Sources
- Devlog #4 – Hull Construction Deep Dive
- Hull Rupture | Worth Your Time and Money (Overview) — The Scarlet Seeker (20261104)
- I Built the Galaxy's Strongest Spaceship in Hull Rupture! — Aliensrock (20261105)
- The Ultimate SPACESHIP Strategy Game! - Hull Rupture — Aliensrock (20260423)
- Hull Rupture on Steam