Hull Rupture Beginner Guide: Spaceship Management, Turrets, and Alien Defense
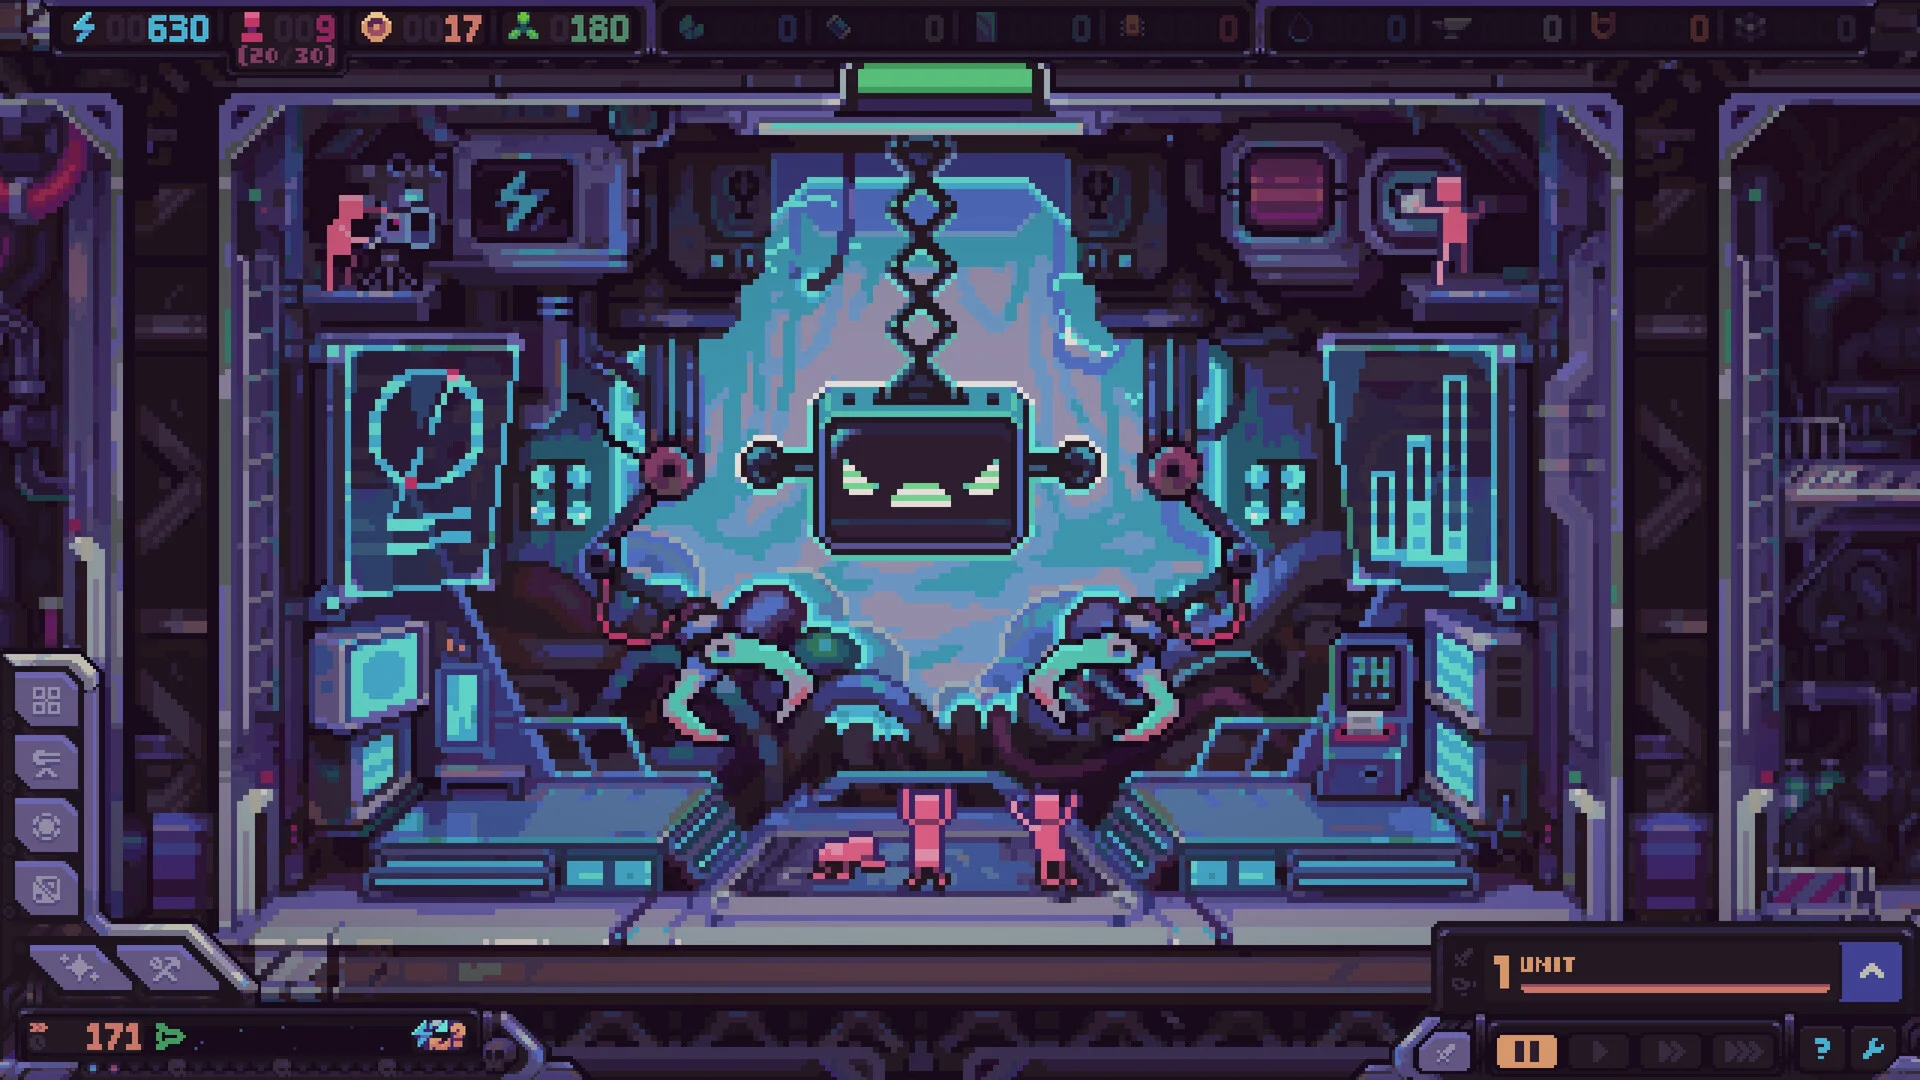
Master the fundamentals of Hull Rupture with essential strategies for Despot oversight, module socket layout, turret placement, and star navigation across 20 alien waves.
Despot Overlord and the Twenty Wave Run
In Hull Rupture, players command a makeshift spaceship under the tyrannical direction of Despot, an artificial intelligence fleeing the destruction of Earth. The core objective in Classic Mode is to survive 20 increasingly difficult alien waves while piloting the vessel toward the alien homeworld for revenge. During each run, enemy drop pods breach outer hull ports and navigate internal corridors toward the airlock. If hostiles breach the Despot's Chamber and reduce Despot to 0 HP, the voyage ends immediately. Completing Normal difficulty in Classic Mode unlocks Hard across all game variants, opening additional strategic challenges.
While early encounters test basic turret placement, later waves escalate in difficulty, culminating in a final boss encounter at wave 20. For deeper tactical combat choices, consult our tips and tricks guide to optimize defensive layouts and manage late-stage combat pressure.
Base Building and Module Slot Management
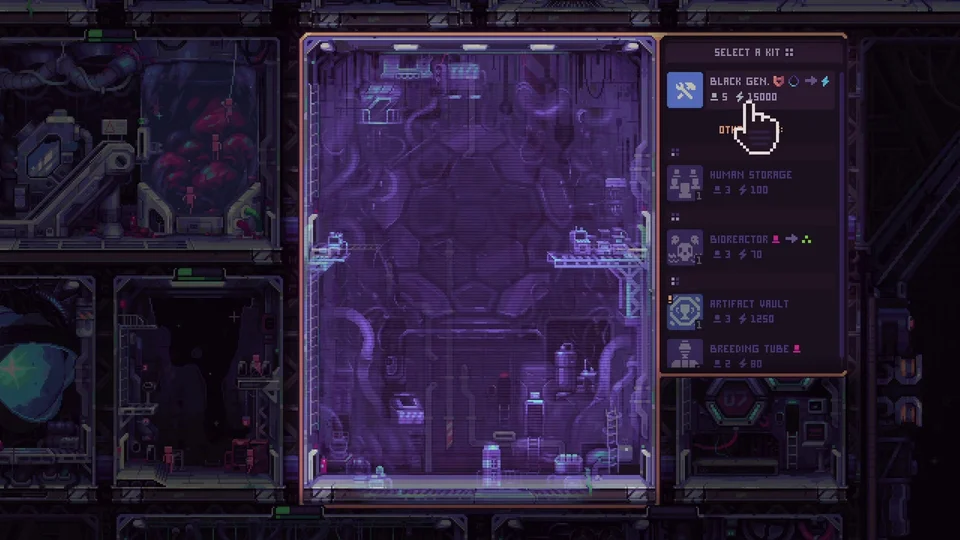
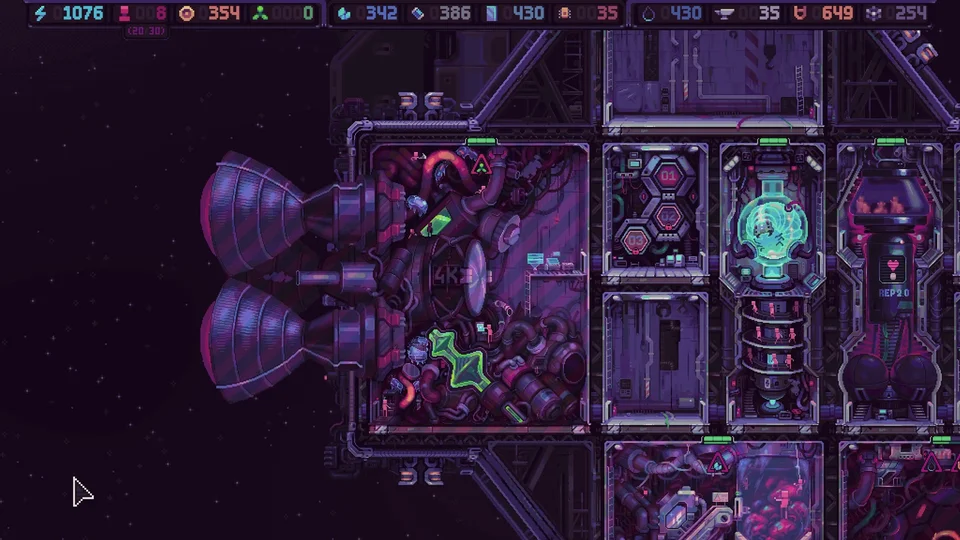
Unlike earlier testing builds where placement required adjacent finished structures, players can now construct facilities within any vacant socket across the ship grid. Players build generators to produce electricity and refine fuel, turning raw materials into advanced equipment. However, every installed module increases the ship's weight, requiring greater engine power and fuel reserves to maintain cruising velocity. Slower transit times delay arrival at star systems, reducing access to events, shipyards, markets, and resource opportunities on the galaxy map.
Placing machinery adjacent to Despot's Chamber improves the efficiency of neighboring modules. Maintaining a steady flow of labor is equally vital, as unstaffed generators halt production cycles. Review our crew and human management guide to master workforce allocation and fuel conversion.
Turret Deployment and Defensive Chokepoints
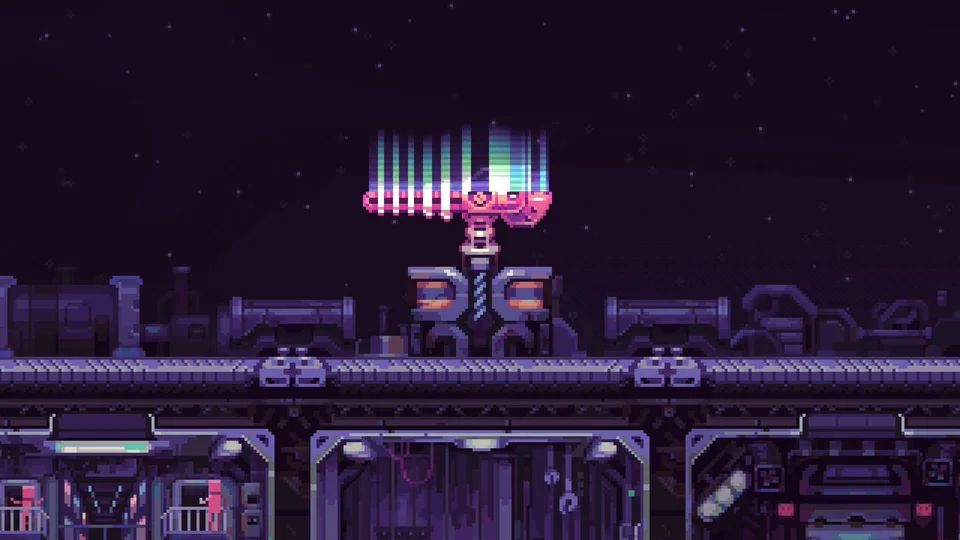
Alien invaders breach the exterior hull at designated landing ports, creating predictable movement corridors leading toward the airlock. Players construct automated weaponry along dedicated weapon mounts to thin enemy swarms before they reach vital compartments. A basic gun turret costs 100 energy, providing rapid projectile fire against incoming hostiles. Because energy functions as an expendable currency rather than a self-regenerating pool, every weapon investment must balance immediate safety against economic expansion.
Advanced defenses incorporate specialized damage types, including poison and slowing status effects. Corridors can be fortified with turrets and traps to eliminate swarms before they reach the airlock.
Star Map Navigation and Sector Decisions
Between defensive waves, navigation focuses on charting routes across the procedurally generated galaxy map. Stellar nodes offer varied opportunities, ranging from resource nodes and equipment shops to narrative events and combat challenges. Navigating toward high-risk sectors yields rare module kits and artifact enhancements, but can also trigger hazardous combat challenges.
Selecting warp coordinates demands continuous monitoring of propulsion speed and fuel supplies. Ships overburdened by excessive production modules consume extra propellant during long jumps, slowing transit and reducing the number of galaxy opportunities you can explore.
Sources
- Everything You Need to Know Before Hull Rupture Launches
- Hull Rupture on Steam
- Devlog #1 — Base Building and Ship Management
- Devlog #4 – Hull Construction Deep Dive
- Hull Rupture Gameplay Overview (pebcDn8oZvU)
- Hull Rupture Gameplay Playthrough (bfVhH1z8TYI)
- Hull Rupture Base Management & Waves (mWTBw-Vn7SM)