Transport Fever 3 Railway Signaling Guide: Block Signals, Pathing, Double Tracking, and High-Speed Junctions
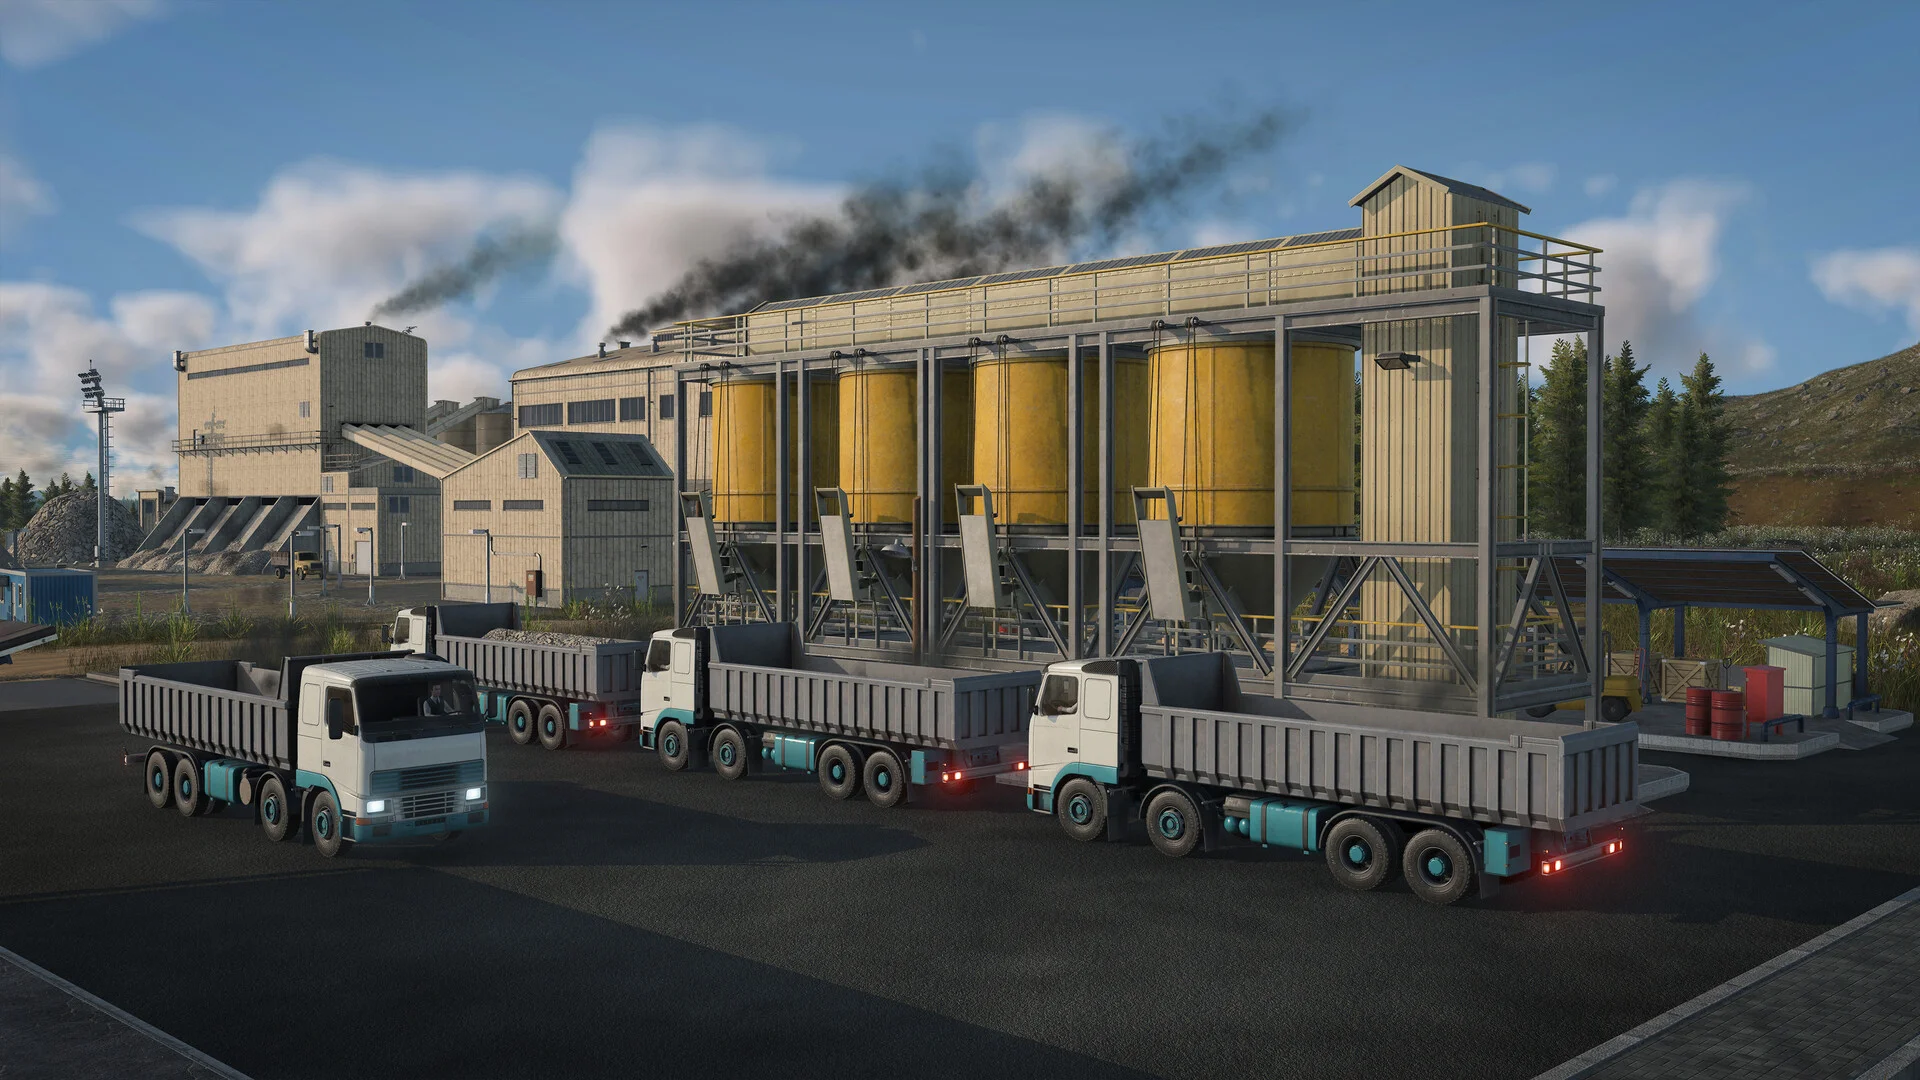
Upgrade your rail networks in Transport Fever 3 with directional block signals, double-track trunks, and high-speed flying junctions to eliminate traffic bottlenecks.
Principles of Railway Block Signalling
Signals divide continuous rail track into isolated blocks, allowing multiple trains to share a single corridor safely. A train will only enter a designated block when the preceding train has completely cleared the exit signal. Space one-way block signals along your line at intervals slightly longer than your longest train consist. Placing signals too close together creates phantom stops where following trains brake unnecessarily, while placing them too far apart lowers overall route capacity and delays train turnaround times.
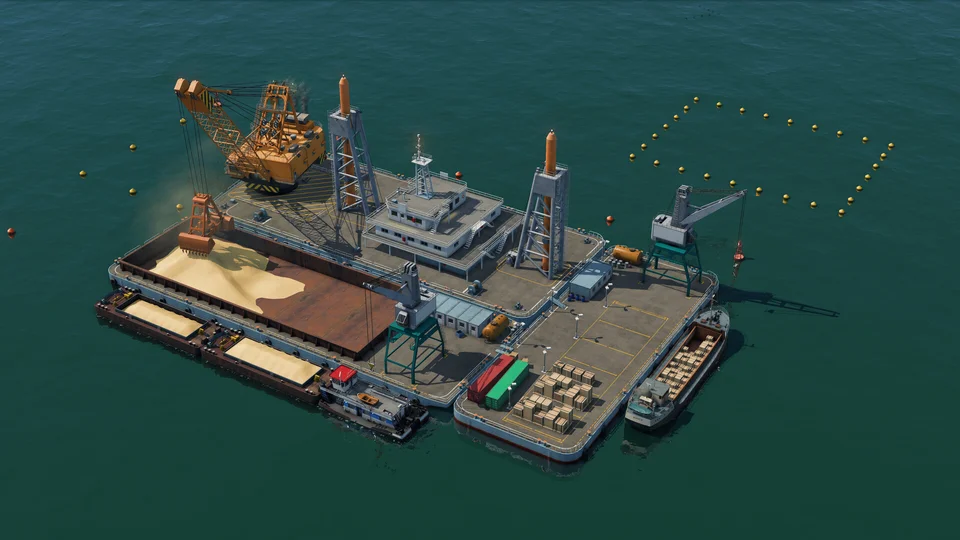
Implementing Directional Double-Track Corridors
Single-track railways with occasional passing sidings quickly reach their limit once passenger or freight volume expands. Upgrading to parallel double-track corridors separates opposing directions, eliminating head-on conflicts entirely. Dedicate one rail for inbound journeys and the parallel rail for outbound traffic using unidirectional signals. When laying tracks across rugged mountain terrain or waterways, utilize modern infrastructure like a  Concrete Bridge,
 Suspension Bridge, or
 Concrete Tunnel to maintain flat gradients and broad curve radii.
Junction Layouts and Terminal Approach Crossovers
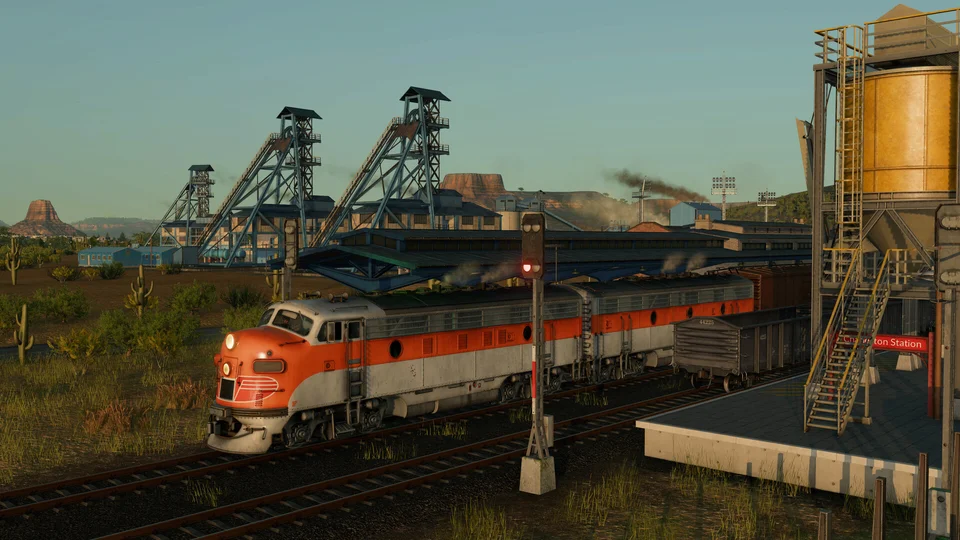
Busy passenger terminals require flexible track switching so arriving trains can access any vacant platform. Install scissor crossovers or diamond switch ladders immediately outside the terminal throat. Crucially, leave sufficient clearance between the junction throat and the nearest signal block so waiting trains never straddle switches. When designing suburban terminals with multiple platforms, ensure each track branch carries dedicated signals pointing outward to prevent deadlocks when several trains arrive simultaneously.
Grade-Separated Flyovers and High-Speed Mainline Optimization
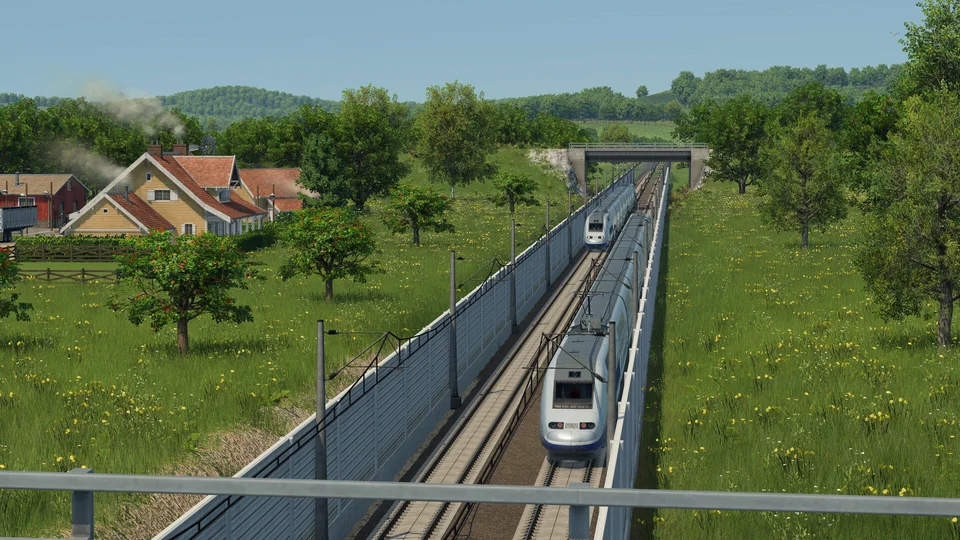
Flat railway junctions create severe delays on dense corridors because diverging trains must cross opposing tracks. Build grade-separated flyovers and dive-unders using an elevated  Steel Bridge so branching trains cross over mainlines without stopping traffic. When operating express passenger rolling stock such as the
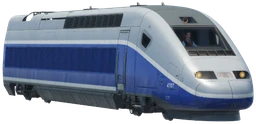 TGV Duplex on
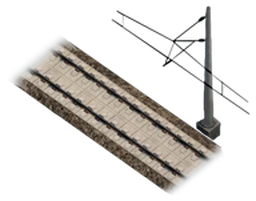 High-Speed Tracks With Catenary, lay bypass tracks around local passenger stops. For fundamental transit loop basics, review our beginner guide. To coordinate heavy industrial freight movements alongside high-speed lines, explore our cargo logistics guide.