Heroes of Might and Magic: Olden Era: Combat Tactics, Turn Order, and Stack Splitting
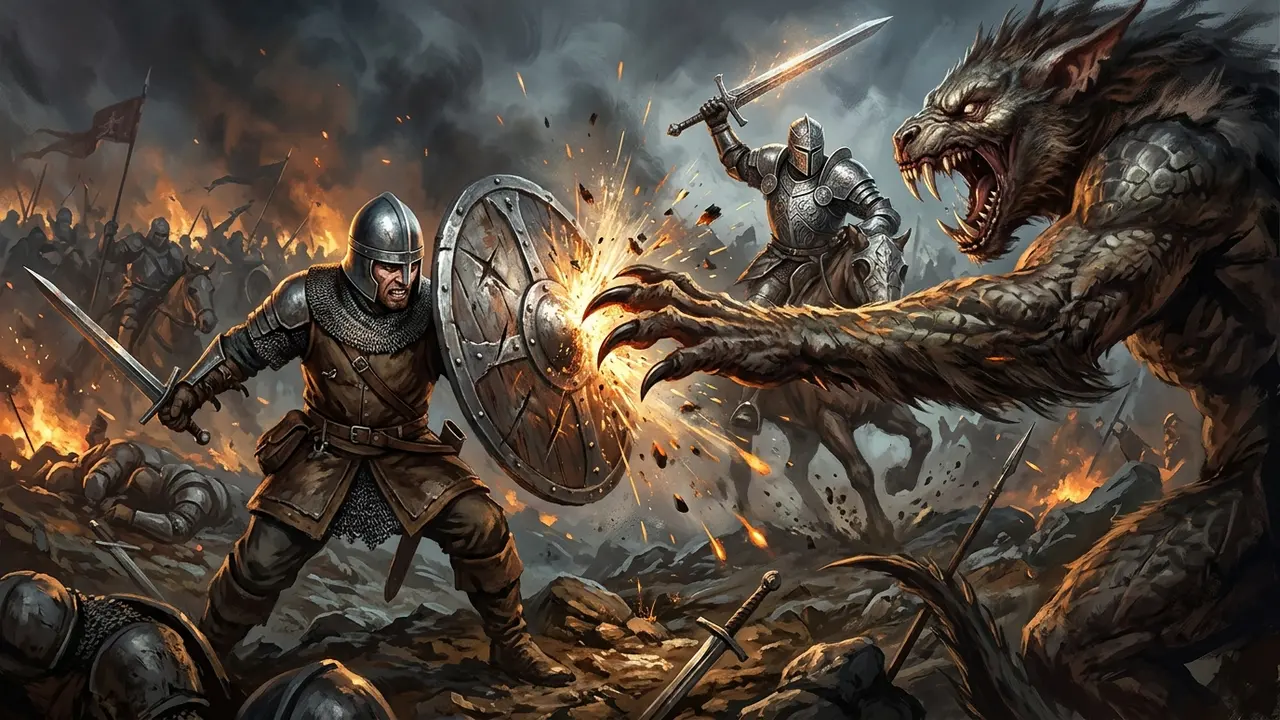
Master combat damage formulas, retaliation indicators, single-unit bait stacks, and hex positioning in Heroes of Might and Magic: Olden Era.
Damage Calculation Formula and Attack Differentials
Tactical damage in Olden Era is governed by unit count and attribute differentials. The core calculation multiplies minimum or maximum base damage by unit count, modified by attack versus defense ratings. Each point of advantage between your attacking unit's Attack and the defender's Defense grants a 5% damage bonus. Maximizing this differential through hero stats and spells dramatically accelerates battlefield victories — the how to play guide covers general adventure map exploration and combat UI fundamentals.
Retaliation Indicators and Counterattack Baiting
Units counterattack once per combat round unless equipped with specialized retaliatory skills. Battlefield interface markers provide a retaliation indicator, clearly showing whether an enemy stack is primed to counterattack. Deploying an expendable frontliner like a  Troglodyte to absorb the counter-strike allows primary shock troops like the
 Minotaur to attack without suffering retaliation damage — our best units tier list reviews top mid-tier and apex creatures for every army.

Stack Splitting Mechanics and Tactical Screen Lines
Left-clicking an army stack breaks off a single unit, while shift-clicking divides the stack evenly in half. Surrounding valuable shooters like the  Austringer with 1-unit melee screens forces hostile flyers and cavalry to waste turns clearing bait units instead of shutting down archer firing lines.
Focus Charges and Hero Spell Synergy
Engagements generate Focus charges that accumulate as rounds progress, empowering heroes to execute direct combat strikes and cast powerful spells. Coordinating hero spell casts with unit initiative order ensures high-value buffs land before troops charge forward, preventing unnecessary casualties in tough encounters — our spell schools guide breaks down spell affinities across Daylight, Arcane, Nightshade, and Primal magic.

Tactical Hex Positioning and Obstacle Management
Battlefield obstacles such as rocks, chasms, and logs restrict troop movement corridors. Positioning high-defense blocker units at narrow chokepoints prevents hostile melee swarms from surrounding your troops, allowing ranged archers to fire unhindered across multiple rounds.
Step-by-Step Walkthrough
- Inspect the combat damage preview to check expected damage ranges and retaliations.
- Left-click during deployment to split off 1-unit stacks from low-tier creature reserves.
- Position single-unit bait stacks adjacent to hostile units to absorb dangerous counterattacks.
- Advance primary damage dealers like Minotaurs to strike once enemy retaliation is cleared.
- Spend accumulated Focus charges on hero actions before hostile units take turns.

Sources
- A Beginners Guide To Combat In Heroes of Might and Magic Olden Era (Vilestride)
- Heroes of Might & Magic: Olden Era Combat System Explained in 5 Minutes! (Frags of War)
- How Olden Era Reinvents Heroes Combat: Part 1 (Heroes Take Turns)
- How Olden Era Expands on Classic Heroes Combat: Part 2 (Heroes Take Turns)
- 5 Mistakes to Avoid in Heroes of Might & Magic: Olden Era (Tenkiei)
- Heroes of Might and Magic: Olden Era Units Database
- Heroes of Might and Magic: Olden Era Beginners Guide! Tips You Need to Know (Norovo)