Heroes of Might and Magic: Olden Era: Best Units Tier List and Combat Stats

Rank and compare unit tiers, damage scaling, active skills, and frontline durability across all factions in Heroes of Might and Magic: Olden Era.
Tier 1 and Tier 2 Foundation Creatures
Low-tier units form the foundation of early clearing forces and serve as protective shields for ranged shooters. The Temple 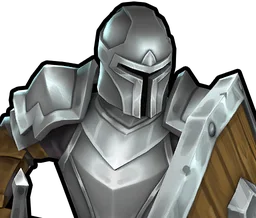 Swordsman (Attack 4, Defense 4) absorbs incoming melee strikes, while the
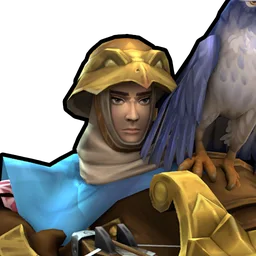 Austringer (15 HP, 5 Attack, 3 Defense) provides lethal ranged support — see our best factions guide for faction bonuses like Temple Righteousness and Dungeon dual-attacks. In Dungeon, the
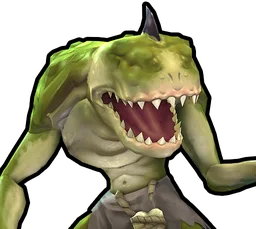 Troglodyte (Attack 2, Defense 3) serves as an expendable frontliner.
Mid-Tier Core Stacks: Minotaurs and Graverobbers
Tier 4 creatures represent major power spikes that define mid-game expansion. The Dungeon 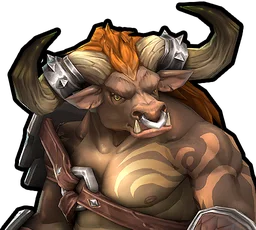 Minotaur (Attack 12, Defense 12) carries tactical battles through brutal physical damage. In Necropolis armies, the
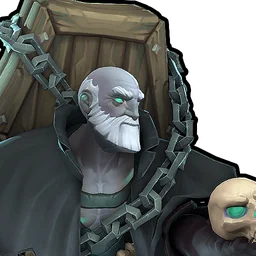 Graverobber (30 HP, 13 Attack, 9 Defense) uses Long Reach to strike over frontliners and Dig Up Bones to sustain combat tempo.
High-Tier Bombardment: Cavalry and Liches
The Temple  Cavalry delivers devastating lance charges across the battlefield. In Necropolis forces, the
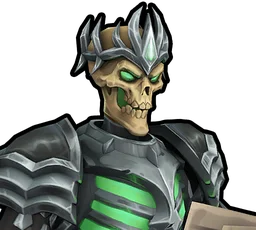 Lich fires area-of-effect death clouds, weakening multiple clustered enemy stacks simultaneously.
Tier 7 Apex Units: Celestials and Black Dragons
Apex Tier 7 units decide castle sieges and pivotal confrontations. The Temple  Archangel (Attack 35, Defense 30, 250 HP) flies across the hex grid, delivering powerful sharpshooter ranged volleys with Forging Perfection. In contrast, the Dungeon
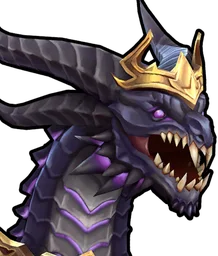 Black Dragon (Attack 30, Defense 33) delivers devastating breath attacks and remains impervious to direct magic spells.
Stack Preservation and Synergistic Unit Ratios
Maintaining optimal creature ratios is crucial for minimizing troop attrition. Rather than fielding a single massive stack vulnerable to enemy magic, balancing high-health frontliners like Minotaurs with ranged Austringers ensures consistent damage output across every round — consult the economy and resource management guide to balance recruitment costs against town upgrades. Protecting ranged stacks behind sacrificial blockers prevents costly casualities during difficult clearing operations — our combat tactics and one-stacks guide demonstrates how single-unit screen lines bait counterattacks.
Step-by-Step Walkthrough
- Deploy Tier 1 Footmen and Troglodytes to absorb enemy advances during early creeping.
- Rush Tier 4 dwellings to recruit Minotaurs or Graverobbers as your primary army carries.
- Shield ranged Austringers and Marksmen by positioning melee blockers on adjacent hexes.
- Position Swordsman screens to absorb enemy counterattacks before advancing Minotaurs.
- Assemble Tier 7 Archangels and Black Dragons to spearhead decisive siege assaults.

Sources
- Heroes of Might and Magic: Olden Era Units Database
- Heroes of Might and Magic: Olden Era Beginners Guide! Tips You Need to Know (Norovo)
- Heroes of Might & Magic: Olden Era - Temple Faction Beginners Guide (Turin)
- Heroes of Might & Magic: Olden Era - Dungeon Faction Beginners Guide (Turin)
- Heroes of Might & Magic: Olden Era - Necropolis Faction Beginners Guide (Turin)
- Every HoMM: Olden Era Faction Explained! Which Fits Your Playstyle? (Just Press Play)