We March as One Troop Types Guide: Shape Units, Counters, and Combat Formations

Commanding an army in We March as One requires mastering the rock-paper-scissors counter triangle between shapes, fortifying lines with shields, and positioning tactical formations.
Diamond Cavalry and Mounted Charge Tactics
In We March as One,  Diamond shapes function as rapid cavalry units purpose-built for disrupting enemy ranged formations. Upgrading Diamond riders with a lance extends weapon reach on opening collisions, allowing the unit to deliver substantial initial strike impact. Diamond squads demonstrate supreme efficiency against
 Triangle archers, galloping across exterior lanes to wipe out projectile ranks before defensive volleys can shred your advancing frontline. However, directing Diamond riders into fortified
 Square blocks leads to rapid annihilation against braced polearms.

Square Defenses, Spearmen Walls, and Pavise Plates
Defensive cohesion on the battlefield centers entirely on Square formations. When deployed in packed ranks, each Square benefits from adjacent allies, suffering 4% less damage for each companion soldier positioned beside it. Equipping your Square regiments with Pavise Plates grants each soldier a heavy shield that blocks the first arrow or lance impact before detaching. Furthermore, Square spearmen reach 25% further into hostile formations, anchoring the middle of your line to intercept and impale incoming Diamond cavalry charges before riders can puncture your defensive core.
Triangle Archers and Hexagon Defensive Formations
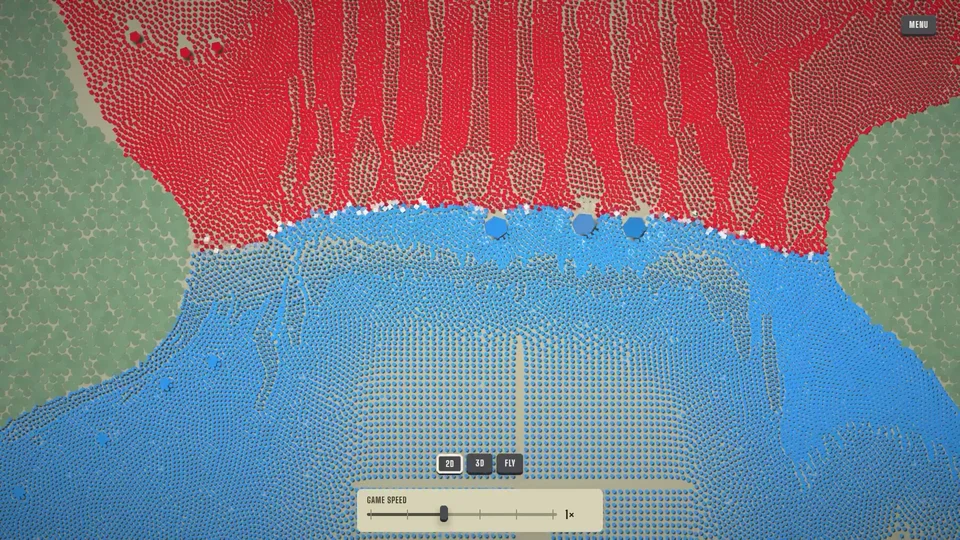
Providing ranged suppression from distance requires incorporating Triangle archers into your army composition. Upgrades enable Triangle ranks to shoot 10% faster, hurling relentless arrow barrages over the heads of friendly Square spearmen into oncoming hordes. To fortify crucial strongholds, deploy troops within an elevated  Hexagon zone. Friendly forces stationed within a Hexagon perimeter absorb 25% less damage from all incoming strikes, transforming fragile bottlenecks into impenetrable bastions where cheap
 Circle infantry and elite defenders hold firm against overwhelming numbers. Review our beginner deployment guide for initial army setups, or visit our campaign and upgrades guide to scale your battalions.