We March as One Beginner Guide: Controls, Painting Formations, and Battlefield Deployment
Mastering army deployment in We March as One begins with learning intuitive painting controls, positioning durable frontline chaff, and coordinating decisive flank maneuvers.
Painting Controls, Brush Sizing, and Setup Grid
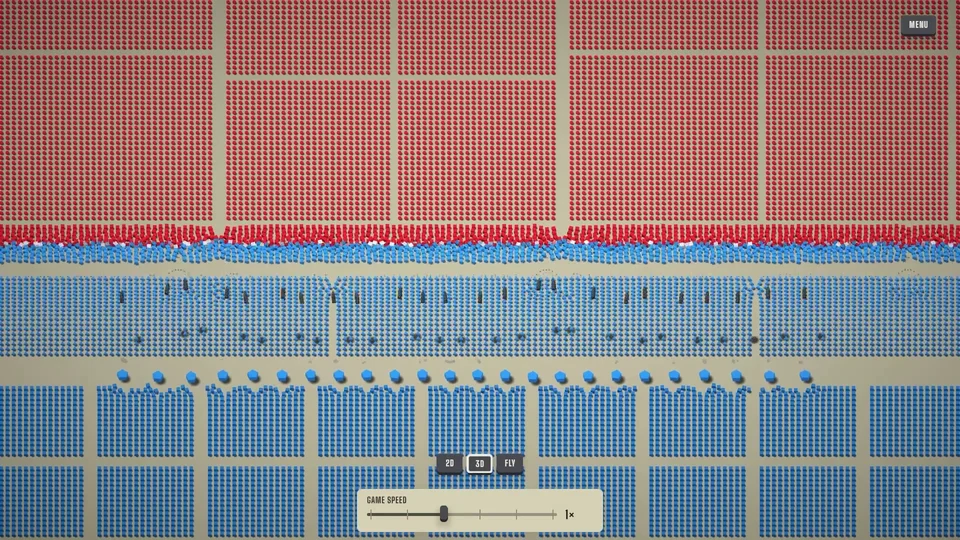
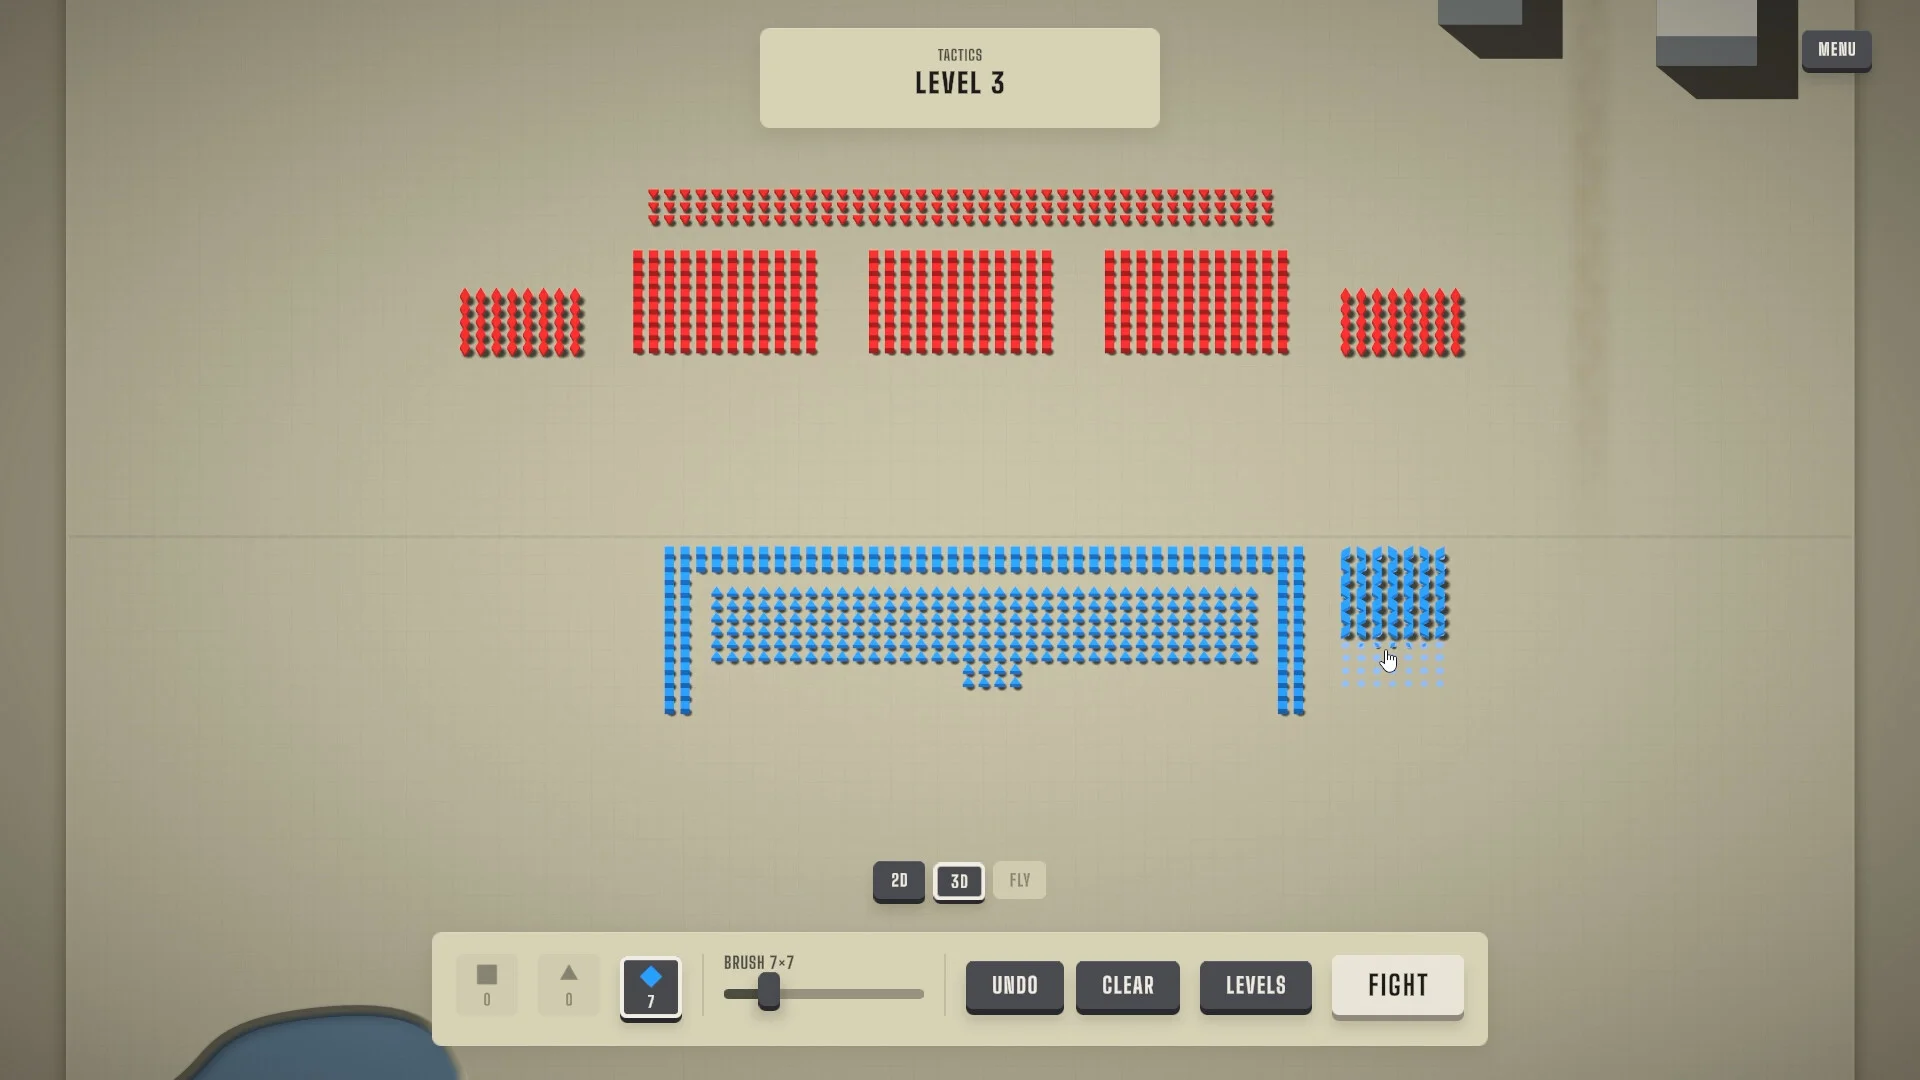
In We March as One, commanding a medieval geometric army does not require micromanaging individual troop movements during the heat of combat. Instead, commanders paint forces directly onto their friendly sector of the battlefield grid before hostilities commence. Selecting an available unit shape from your lower command tray allows you to click individual tiles or hold and drag across the terrain to construct broad lines. By resizing your Brush tool, you can rapidly sketch dense blocks of  Circle infantry or lay down precise defensive boundaries. Once satisfied with army positioning, clicking the engage button launches autonomous combat where each soldier is individually simulated according to shape physics and unit mass. During live combat, commanders can adjust simulation pacing from normal speed up to max speed to observe troop collisions and formation momentum in real time.
Deploying Frontline Chaff and Royal Leadership
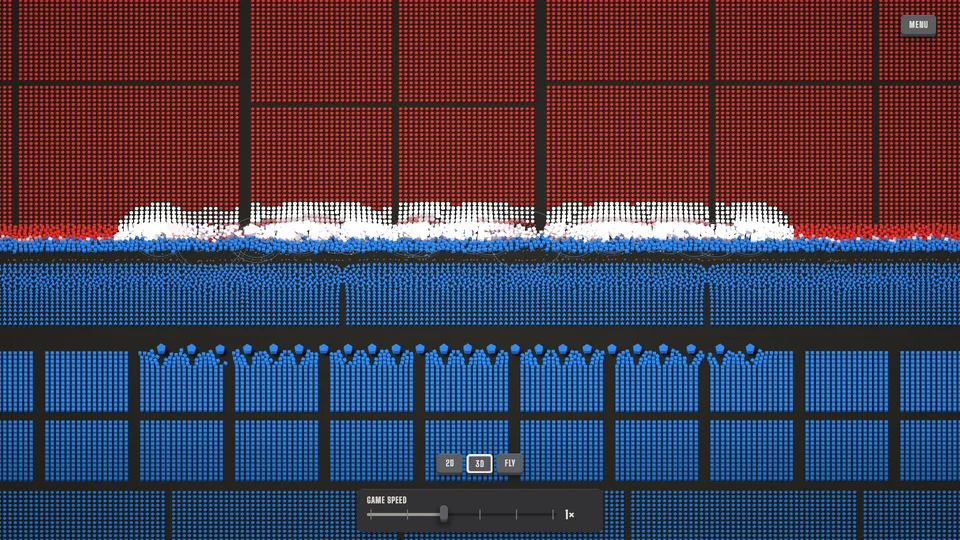
Building a resilient army structure requires sacrificing disposable units to protect specialized combatants. Deploying waves of cheap Circle units as frontline chaff absorbs opening collisions from charging hostile lines. Behind this expendable screen, position your sturdy  Square formations to halt aggressive breakthroughs, as Square spearmen reach 25% further to impale enemy charges. Furthermore, commanders can establish royal leadership during pre-battle setup by executing a double click on a designated Circle to crown that soldier as your
 King. Your King gains superior durability and radiates an inspirational command aura that empowers adjacent troops to move and attack with increased haste. Stationing your King directly behind the central spear wall maximizes commander aura reach across friendly ranks while preventing sudden decapitation strikes from enemy projectiles.
Coordinating Flank Maneuvers and Battle Speed
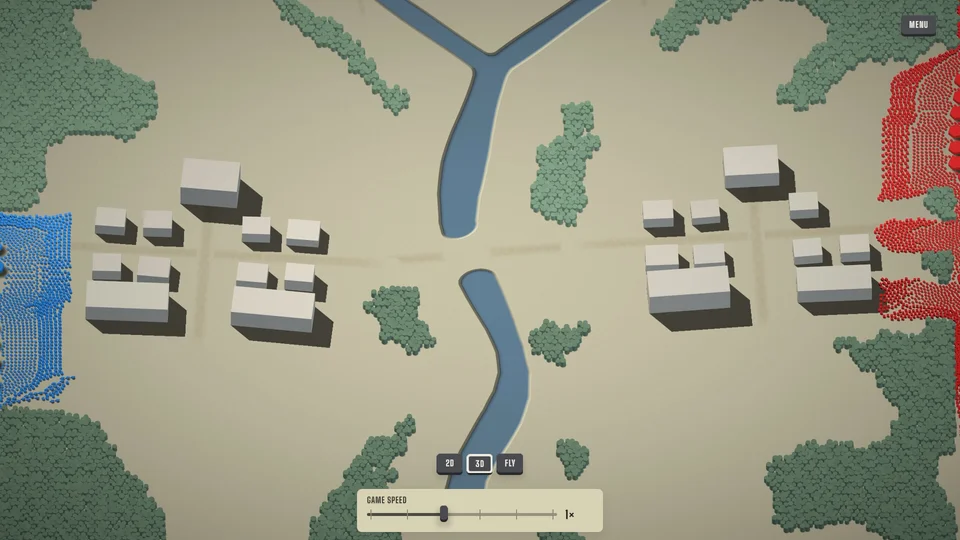
Triumphs against dense enemy formations depend on properly timed cavalry flank maneuvers. Swift  Diamond units serve as mounted cavalry, capable of surging around contested central choke points to collapse hostile rear guards. Holding your Diamond cavalry in reserve on the northern or southern flanks allows central Square infantry to absorb aggression, clearing unobstructed routes for Diamond riders to obliterate vulnerable enemy
 Triangle archers. Timing these flanking sweeps ensures opposing archers cannot rain uninterrupted arrows down upon your central Circle lines. For comprehensive shape counters and weapon mechanics, explore our troop types and counters guide, or consult our campaign and upgrades guide to expand army capacity.