HANDS OVER Demo Walkthrough Step by Step Guide to Surviving Rounds
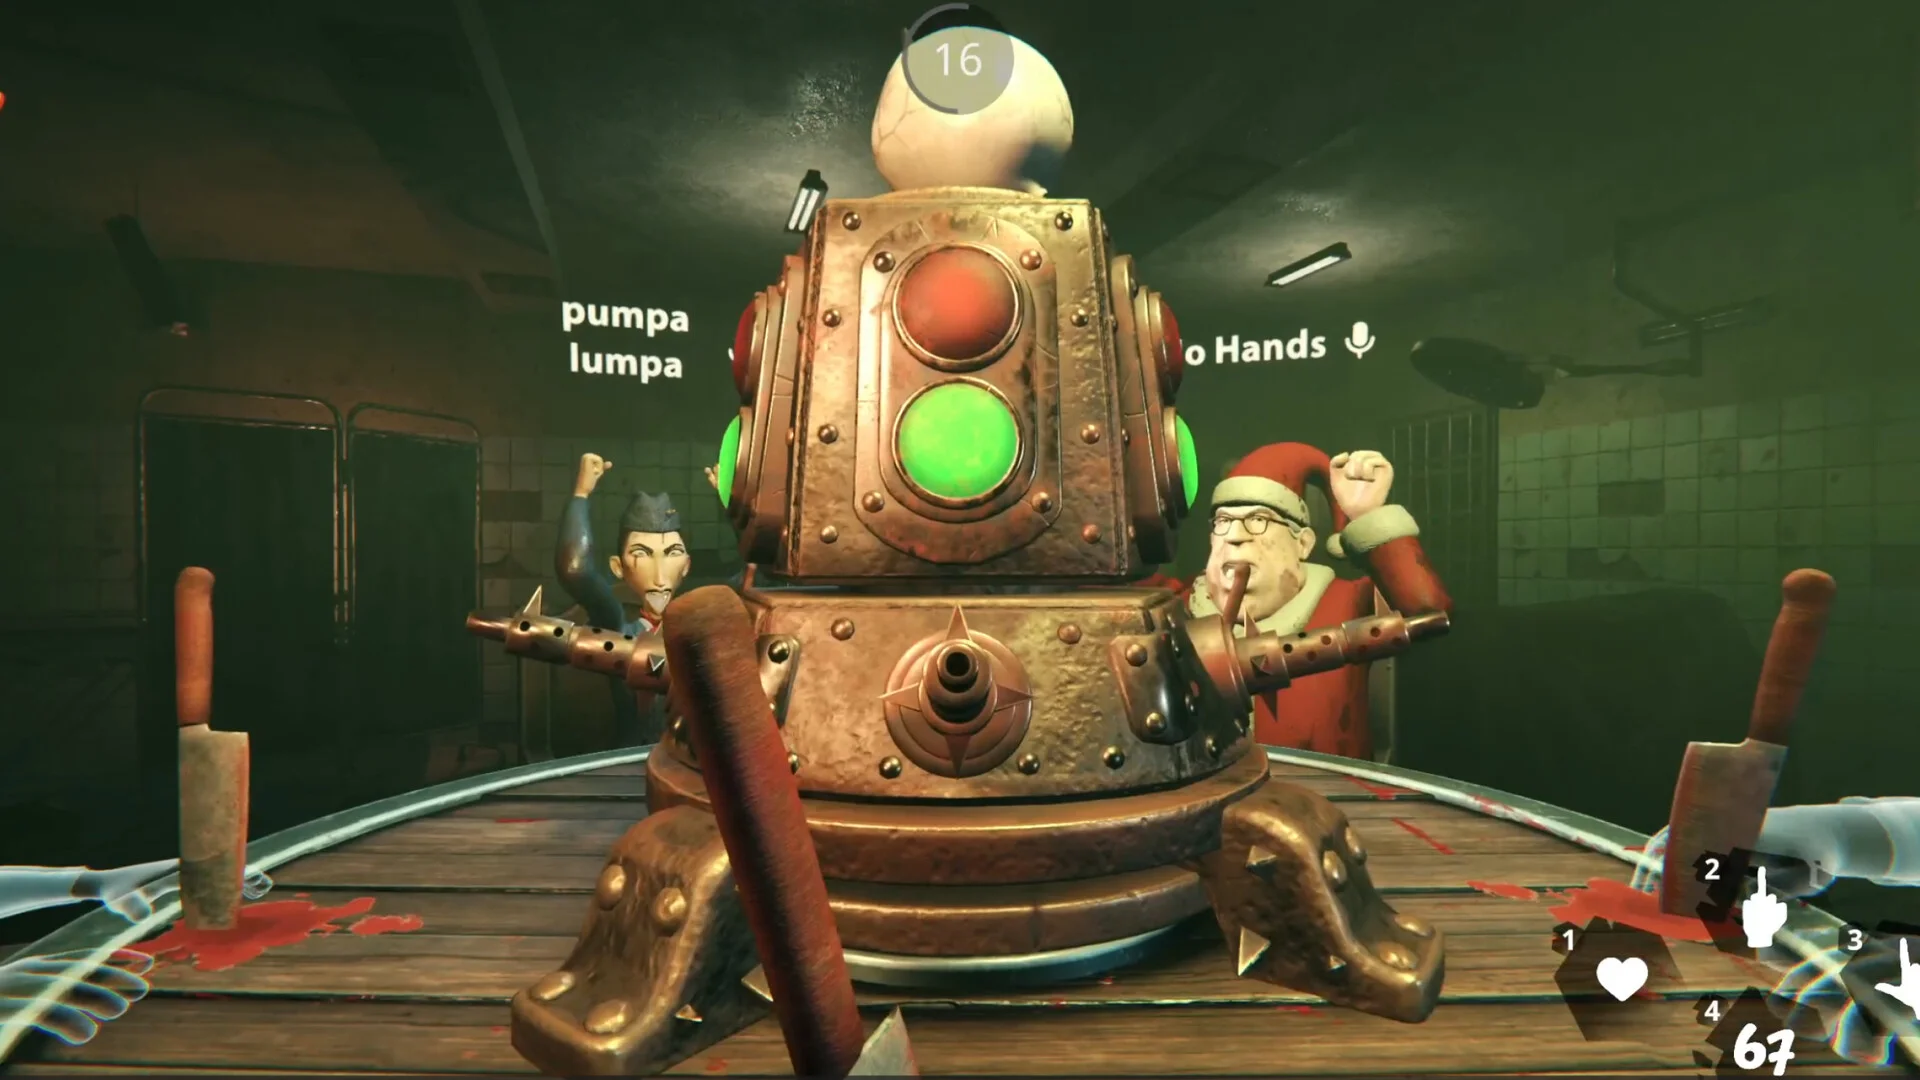
Navigating a match in the HANDS OVER demo requires understanding how danger scales across sequential rounds — guiding contestants through early low risk turns into lethal endgame standoffs alongside foundational strategies in our beginner survival guide.
Round 1: Initial Setup and Low Hazard Baseline
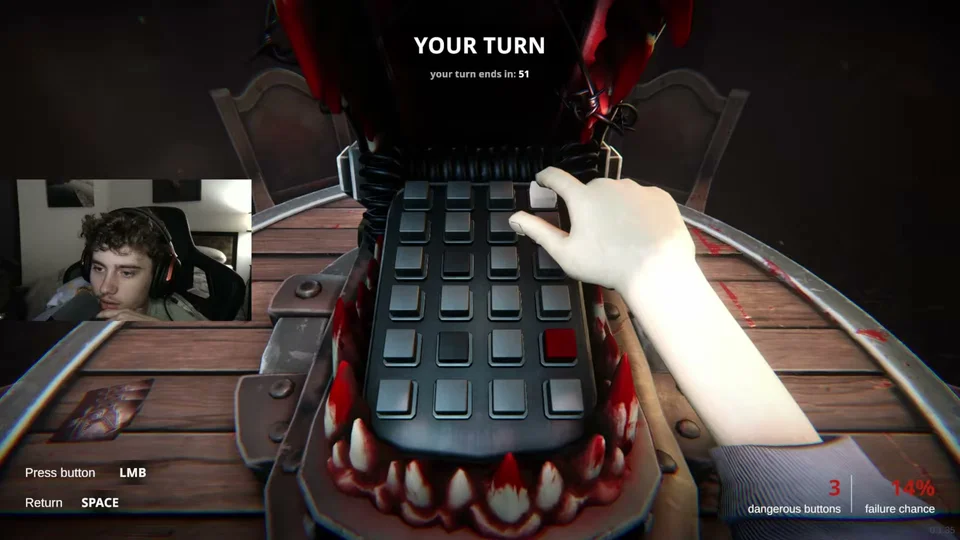
Matches begin with four players seated at the table before an open mechanical jaw. In the opening exchange, the device displays 1 dangerous button, presenting a low 5% failure probability. During this stage, players should conserve their cards, reaching in with one finger to press unpressed buttons without defensive investment. As turns cycle, safe button options diminish, causing the baseline danger to tick upward.

Round Progression and Mathematical Escalation
As contestants introduce offensive cards, the board state transitions into high threat territory. Track the statistical milestones recorded across demo matches:
| Phase Stage | Dangerous Buttons | Failure Rate | Optimal Player Tactical Action |
|---|---|---|---|
| Opening Stage | 1 to 2 | 5% to 10% | Take raw button press; stockpile hand cards |
| Early Escalation | 3 | 12% to 13% | Observe table card plays and redrawing |
| Mid Game Threat | 4 to 5 | 17% to 21% | Deploy 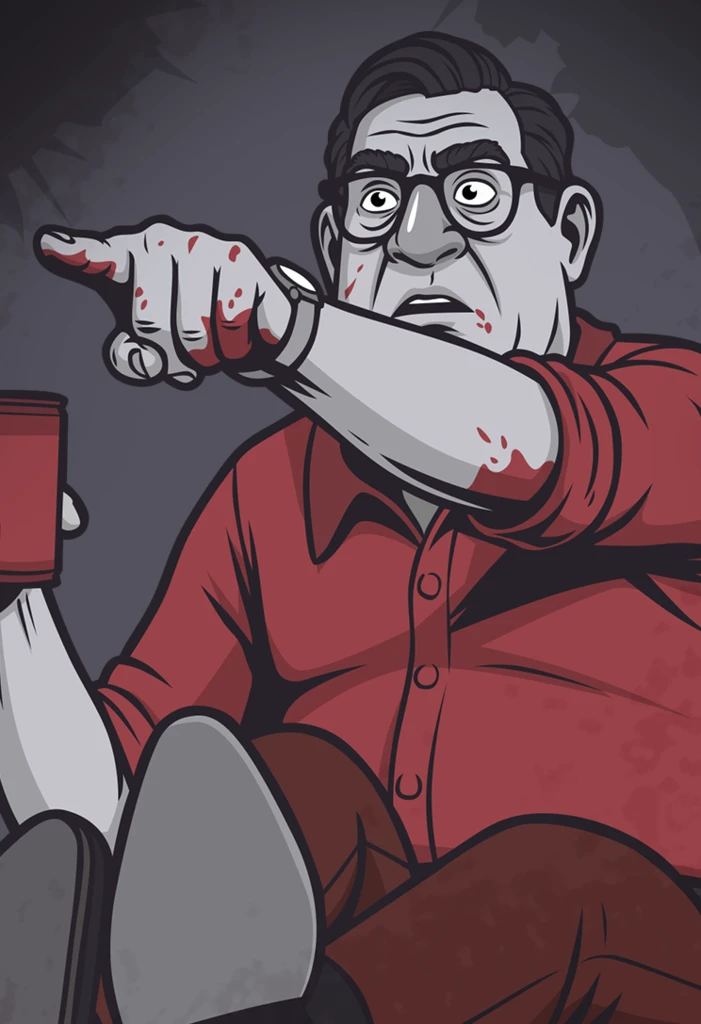 Hint or cast  Save before pressing |
| High Hazard Climax | 6 to 7 | 25% to 32% | Play 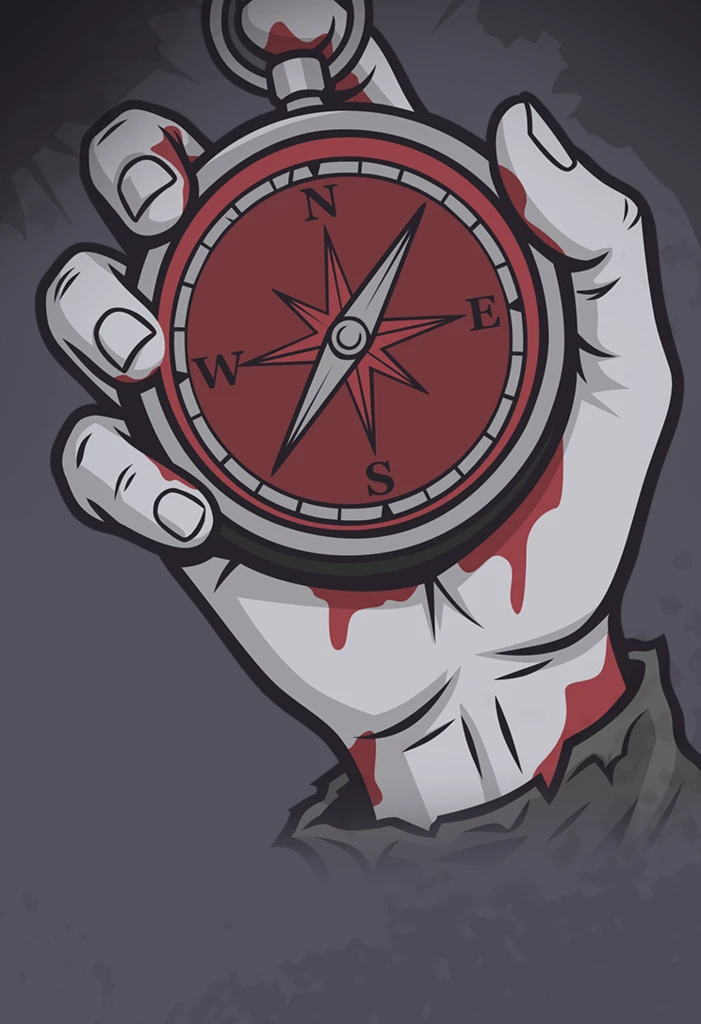 Reverse or 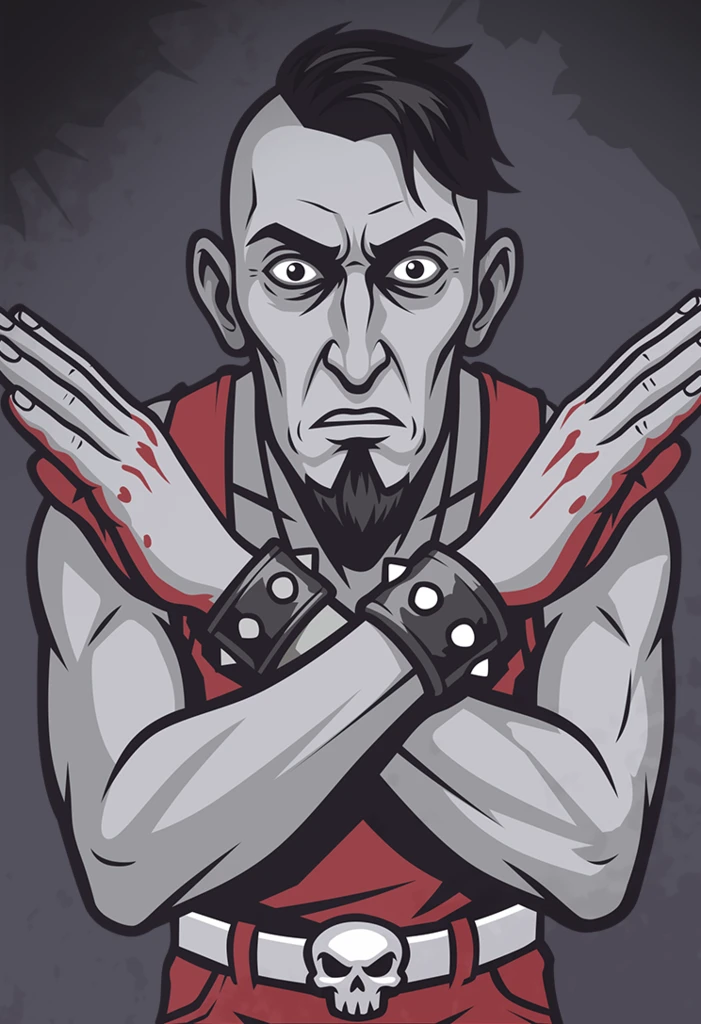 Pass to redirect threat |
| Lethal Endgame | 8 to 11 | Critical Risk | Chain defensive combos; force opponent errors |
Mid Game Hazard Management and Defensive Counters
By the time danger reaches 5 dangerous buttons with a 21% failure rate, mistakes prove fatal. Striking an unprotected rigged button causes the jaw to clamp down, severing an arm. Contestants must counter with tactical cards: Save jams the mechanism on rigged presses, while Reverse changes play rotation to push escalating hazards onto opponents. To master all card interactions, refer to our action cards and gadgets guide.

Endgame Showdown Under Captor Scrutiny
When two players suffer dual amputations, they are eliminated by the Captor, leaving two survivors in a direct duel. At this stage, 8 to 11 dangerous buttons saturate the ring. Victory requires starving your opponent of options by playing 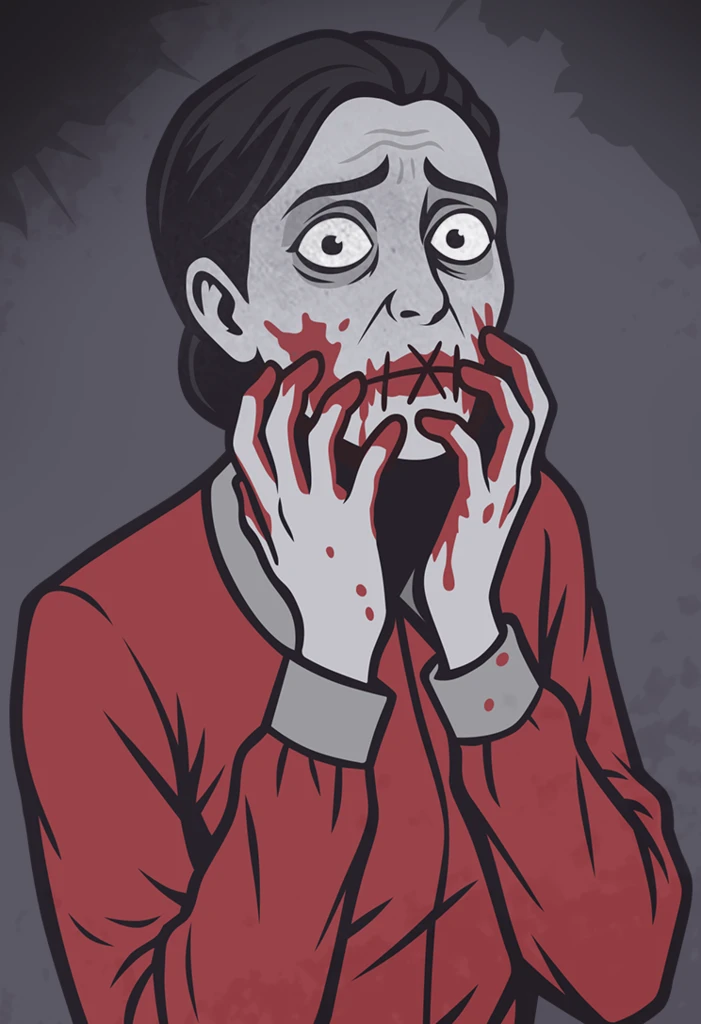 Silence, locking their turn with Leash, or passing dangerous button clusters with Pass until their hands are exhausted.

Sources
- Hands Over Release Delayed to November 13! - Steam News
- HANDS OVER on Steam
- HANDS OVER out on 13th! | Hands Over Demo — Tyler Caiden
- They Turned Crocodile Dentist Into A HORROR GAME | HANDS OVER — FlashForce
- Crocodile Dentist But Deadly! | HANDS OVER — Muff1n
- Crocodile Dentist... But You Lose A HAND — Kdawg618