Guildrun: Essential Beginner Tips and Shard Economy Strategy

Shards serve as your primary medium of exchange throughout every dungeon expedition, funding both roster recruitment and equipment acquisition. Following each completed combat encounter, players access a merchant shop presenting three randomized heroes spanning initial rank C options up toward higher tiers like rank B, rank A, and rank S. Because recruiting an established hero demands a standard investment of 15 shards, uncalculated spending quickly cripples your tactical flexibility.
Shard Discipline and Economic Rerolls
In every shop chamber, the initial inventory refresh costs exactly one shard, whereas the subsequent reroll doubles in price to two points. Acquiring a three-shard sale item carries zero long-term financial risk: whenever you elect to liquidate it later — as detailed in our guide on how to dismiss heroes — the item resells for the identical three-shard value, granting a complete refund of your original outlay.
Concentrating Squad Power and Gear Affinities
Across the 94 cataloged options within the Guildrun Items Database, dedicated class items grant substantial multipliers when assigned to matching archetypes. For example, assigning  Tank's Buckler to a frontline Tank doubles the item's defensive statistics, while equipping
 Warrior's Sword on a Warrior yields identical double-stat benefits. Similarly, positioning a solo frontline guardian carrying
 Sentinel's Plate triples the armor's attributes — a cornerstone survivability tactic examined in our best tank guide — establishing an impenetrable barrier that keeps the rest of your squad firing safely from the backline.
Camp Rest Upgrades and Quest Triggers
Before entering decisive Act boss confrontations, your route presents an essential campsite node. Resting at camp provides a guaranteed progression milestone: squad members at rank B or below can be selected for an upgrade, elevating them directly to rank A status.
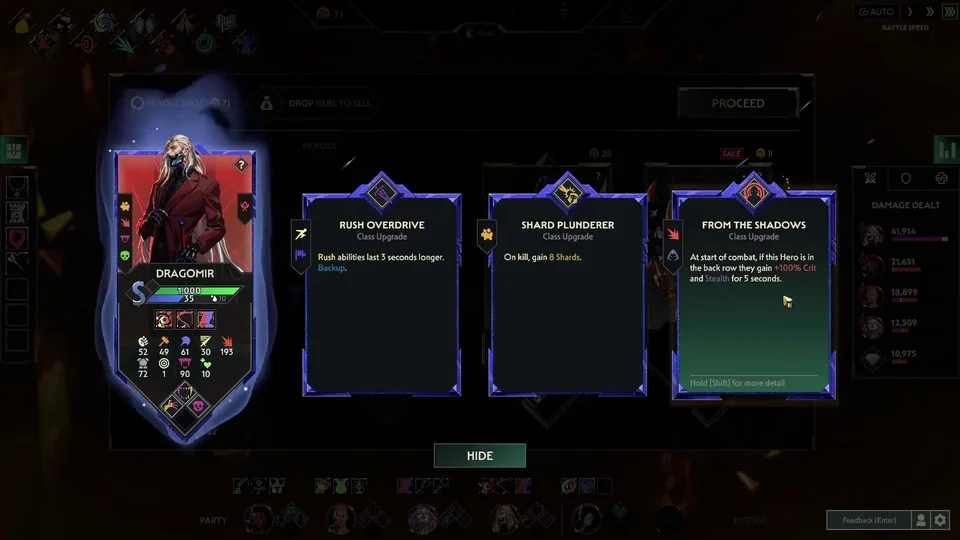
Fulfilling the objective criteria tied to quest equipment awards valuable supplementary bonuses upon completion. These payouts range from immediate infusions of spending shards for future shops, to flat increases in team-wide damage, expanded maximum health pools, and permanent defense buffs across your entire squad. Combining quest rewards with surviving hero bonuses—which award extra shards for each teammate still standing when combat concludes—creates a self-sustaining economy.
Battlefield Grid Geometry and Survival Margins
The combat board consists of four tactical rows (outlined in our fundamentals guide on how to play): the two forward rows act as the frontline where defensive units trigger special abilities and anchor monster pathing, while the two rear rows provide safe deployment zones for damage dealers and utility casters.
Having individual heroes fall during a chaotic battle does not constitute a defeat; so long as your squad avoids a complete team wipe, the encounter counts as a victory and your fallen champions recover for the next challenge.