Character House Custom Upload Guide: Importing Custom Avatars and Skin Templates
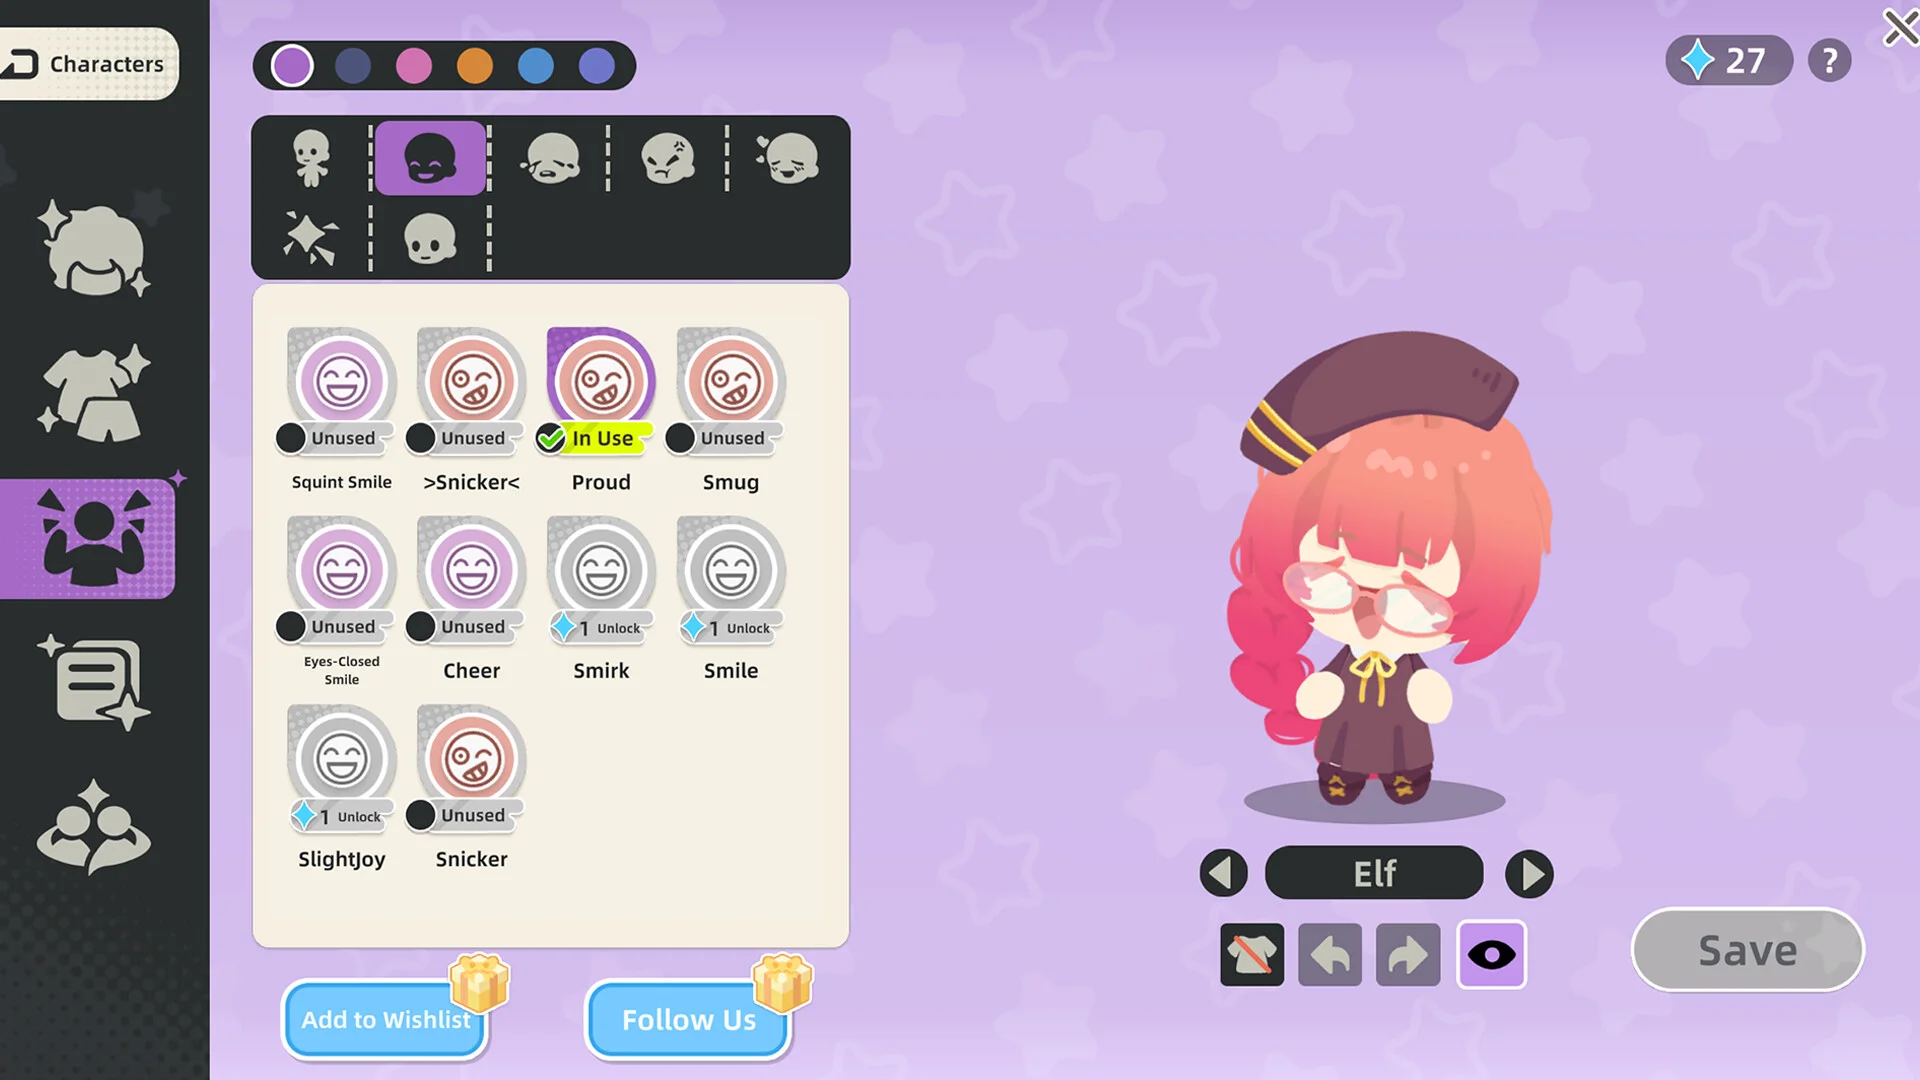
The Custom Upload system in Character House -Desktop Companion- transforms your desktop pet into a truly unique creation by letting players import custom art directly into the live companion engine.
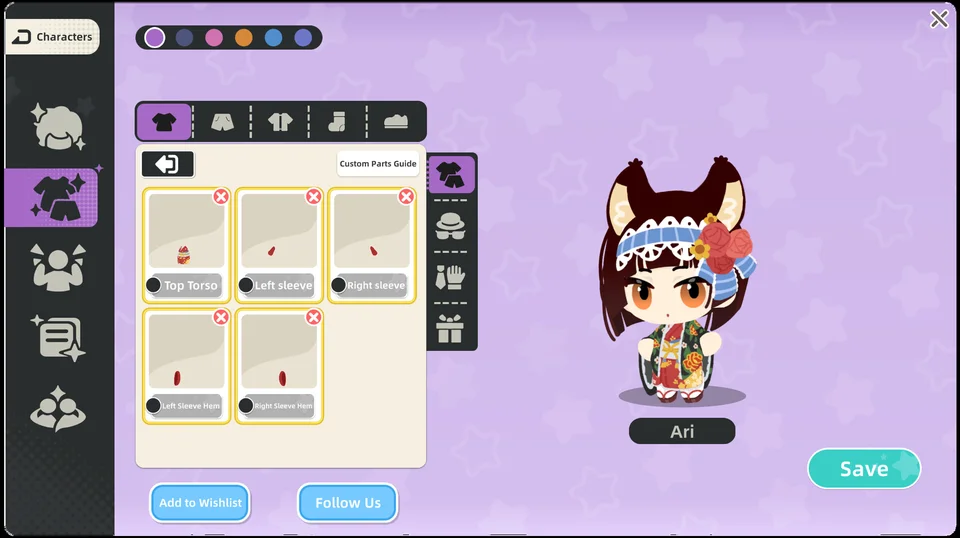
In recent updates to the Character House Demo, developer Yinengjie introduced the Custom Upload system. This official pipeline enables players to craft and load user-made character assets without modifying core game files. The studio opened four core asset categories for complete player customization: Hairstyles, Facial Features, Outfits, and Accessories. Assets loaded through this feature integrate seamlessly with the existing animation rigging.
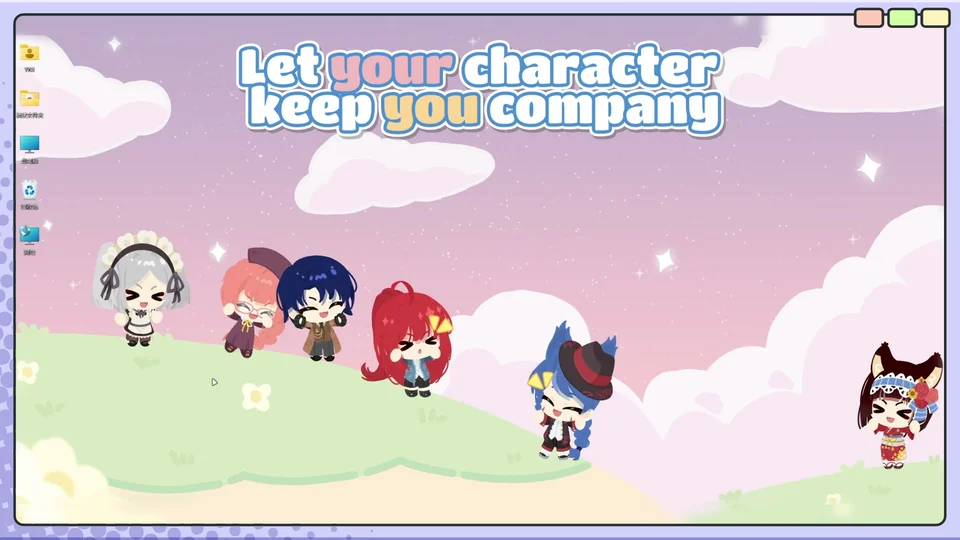
Custom sprites must adhere to standard transparent PNG formatting to ensure crisp edges against transparent desktop window backgrounds. When designing hairstyles or outfits in your preferred graphic editor, preserve the canvas dimensions specified in the official template files provided on the developer portal. Transparent background layers prevent black boxes from appearing around your avatar when running in borderless desktop mode.
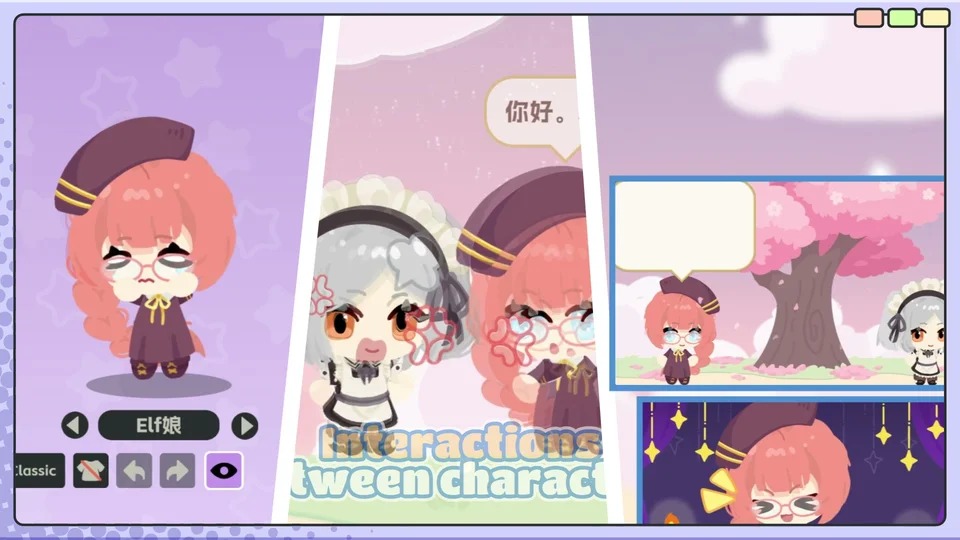
Place your completed asset PNG files into the designated local companion upload folder. Open the in-game dressing interface and select the custom upload category tab. When an asset is selected, use the anchor alignment tool to match connection points with the companion skeleton. Proper alignment ensures hair pieces stay anchored during head bobs, while sleeves move synchronously during keystroke reactions, as detailed in our desktop companion setup guide.
After importing custom line art or flat-colored clothing, players can utilize the in-game color gradient palette to apply custom shades and highlights. Custom outfits can also be paired freely with official accessories like the 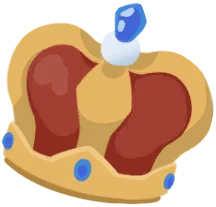 Crown,
 Sailor Cap, and seasonal items discussed in our imagination and crafting guide.