Queen's Domain Beginner Guide: Dungeon Exploration, Grid Movement, and First Floor Survival
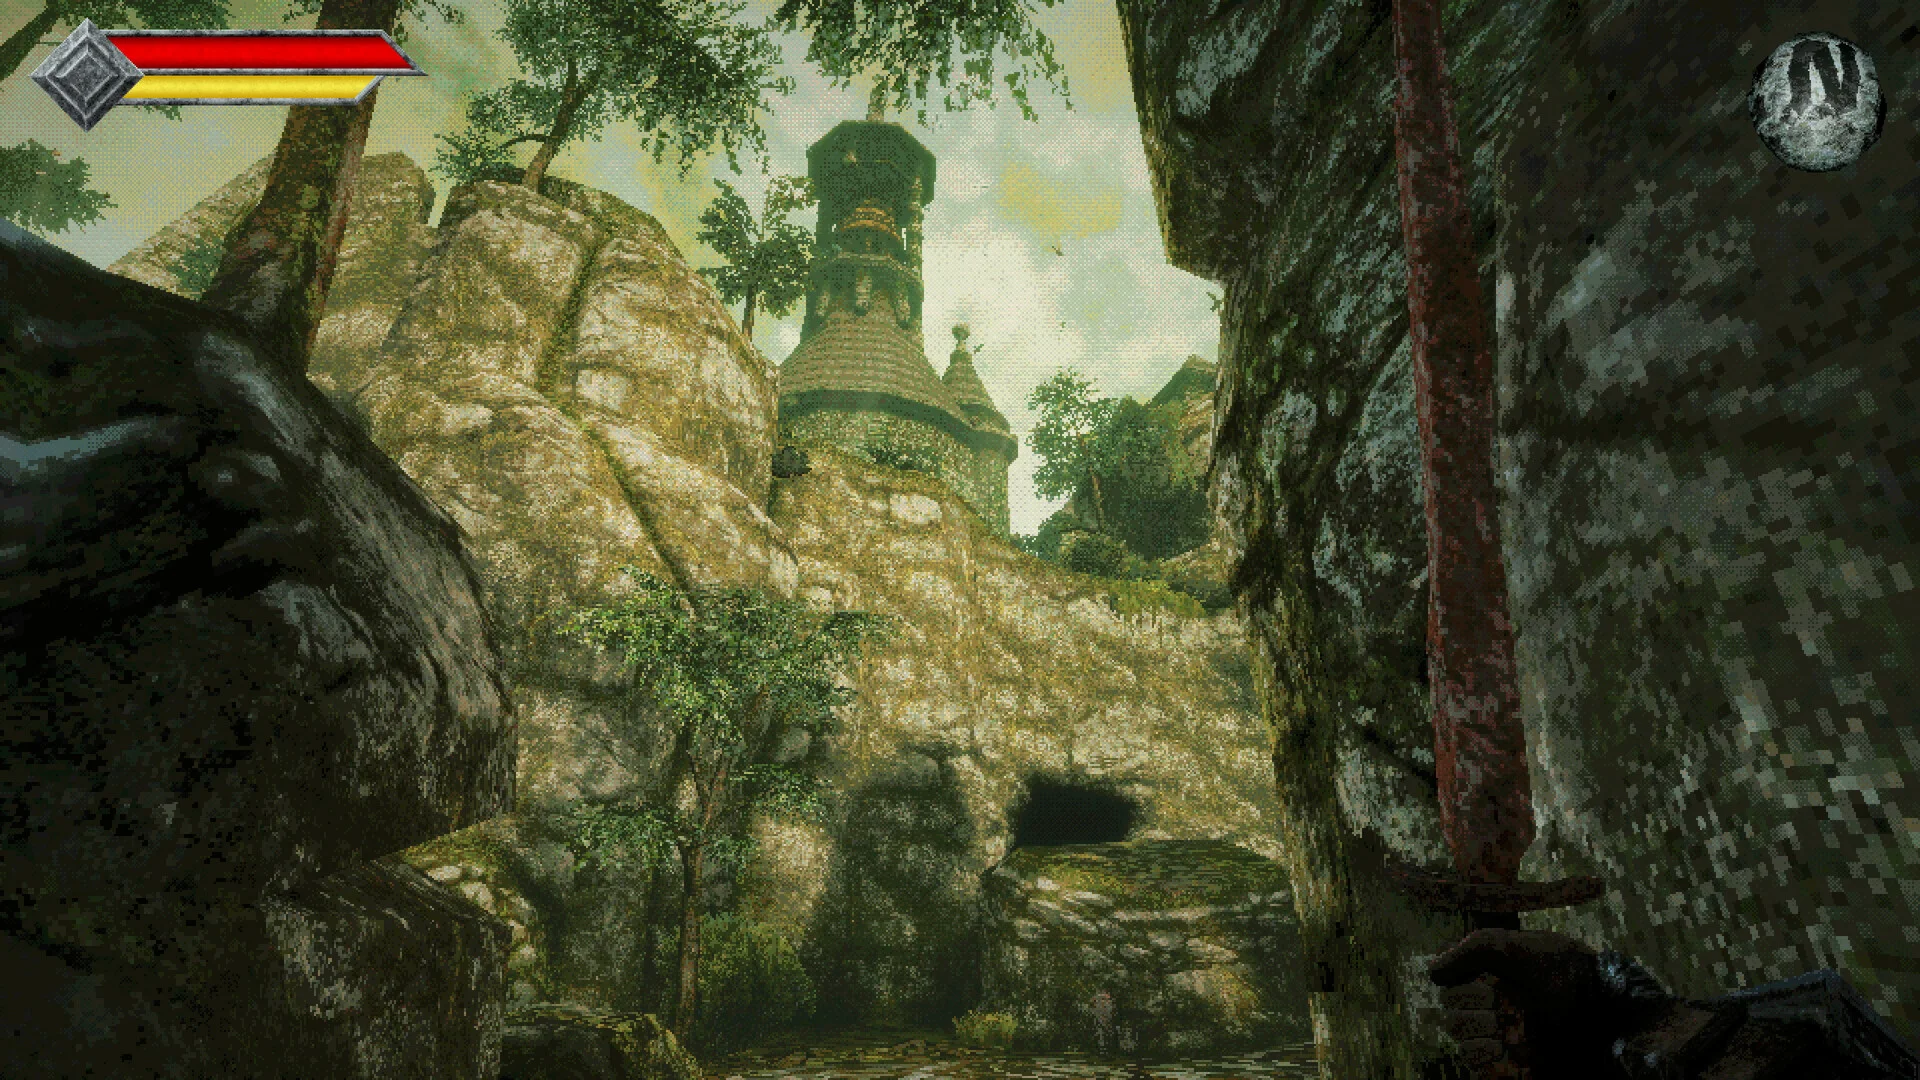
Beginning your quest across Queen's Domain on the mysterious Isle of Neasied demands calculated footwork, strict stamina conservation, tactical damage switching, and attentive navigation through unmapped labyrinth halls.
Surviving the Isle of Neasied Shipwreck
Your journey begins on the sandy coastline after disaster strikes your vessel. Prince Barrow washes ashore on the mysterious Isle of Neasied, completely isolated and tasked with finding his missing father. Survivors huddled near the wreckage provide an initial rusted sword, giving you a basic means of defense against hostile wildlife.
Search nearby beach wreckage and containers to scavenge food resources. Consuming dishes like steamed clams grants temporary bonuses to weapon attack speed. Talk to every survivor along the shore to gather clues regarding inland ruins and stone gate passages.
Mastering Stamina and Weapon Damage Types
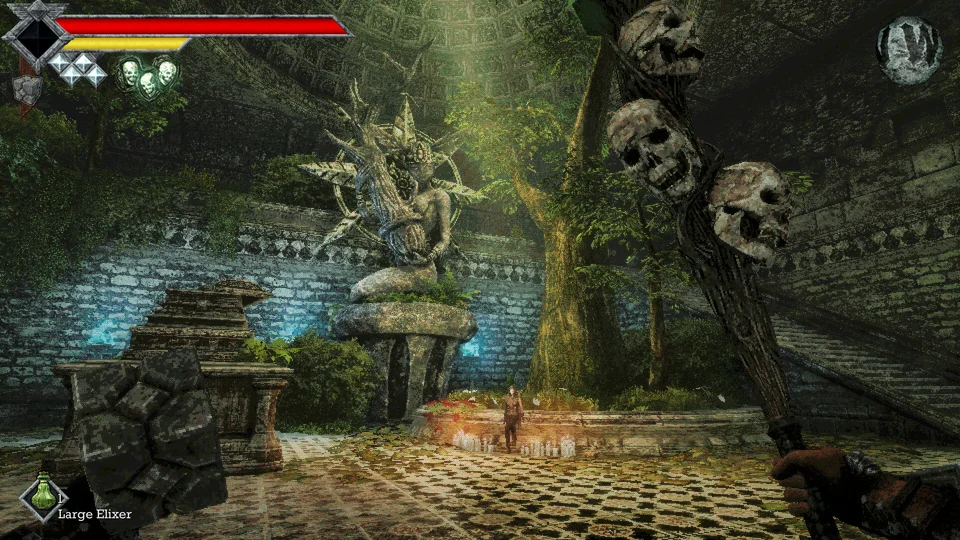
Combat in the labyrinth relies on calculated patience rather than rapid button combinations. Every weapon swing consumes stamina, and strikes delivered with a full stamina pool deal peak damage. Rushing into battle with an empty gauge reduces your offensive output and leaves you vulnerable.
Creatures inhabit distinct damage categories. Giant ladybugs and wall insects yield quickly to slashing blades, while armored beasts require piercing spears. Heavily reinforced skeletons resist edged blades but take heavy damage from blunt clubs. Switching weapons dynamically to exploit enemy vulnerabilities is essential for dungeon survival.
Navigating Corridors Without Quest Markers
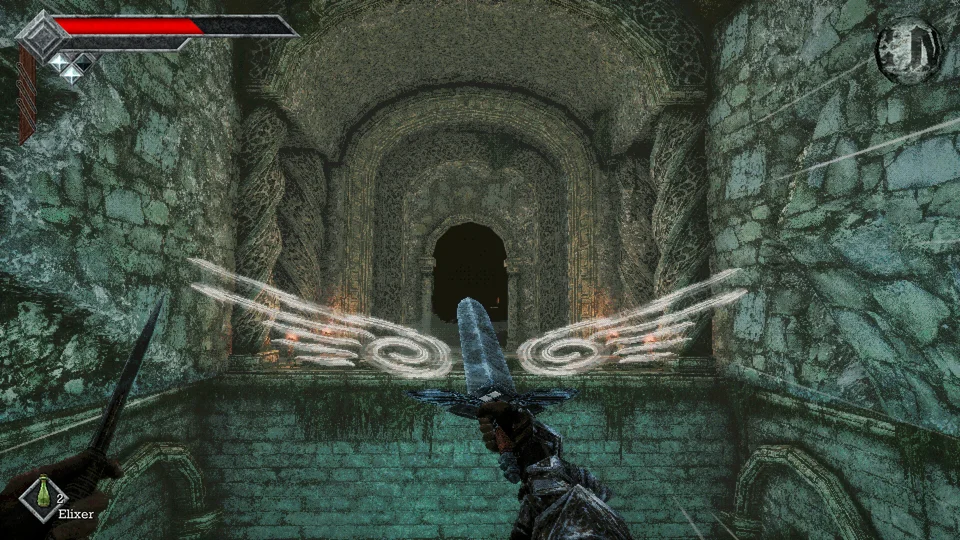
The labyrinth omits minimap icons, quest markers, and visual trails. Explorers must navigate strictly by reading the compass at the top of the interface and observing architectural cues. Remembering corridor layouts and distinct masonry landmarks prevents disorienting loops across unmapped stone halls.
Keep a keen eye on corridor walls for subtle irregularities. Faint cracks often indicate concealed chambers containing valuable loot caches, key items, or shortcuts back toward secure territory.
Operating Distant Switches and Unlocking Shortcuts
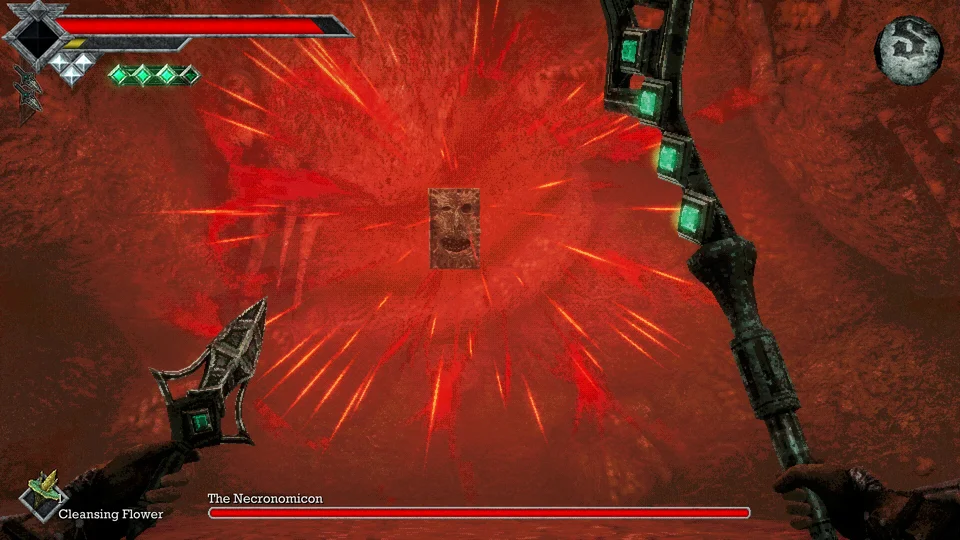
Progress through underground temples frequently halts before iron gates and raised portcullises. Searching offshore mounds reveals belts of throwing knives, which can be tossed across chasms to strike recessed mechanical triggers. Triggering these switches lowers bridges and unlocks alternate transit corridors.
Clearing crypt halls awards ancient keys needed to open sealed sanctum gates. Prioritize opening mechanical shortcuts back toward known areas, significantly shortening the return trek if you perish during deeper exploration.
Managing Infrequent Crystal Save Points
Because auto-saving does not exist, survival requires discovering luminous crystal monuments scattered throughout the labyrinth. Interacting with these crystals saves your progress, replenishes health, and accesses basic merchant trades. However, resting at a crystal immediately revives regional enemies throughout the zone.
Plan your expeditions around these monuments, retreating to save your hard-won loot whenever your healing supplies run low.
For specialized projectile locations and arsenal expansion, consult our grave knives and equipment guide. When preparing to breach sealed sanctums and duel regional guardians, study our combat tactics and spells guide.